This article is an introduction to the PIX4Dmapper interface, where the four sections of the interface are explained.
IN THIS ARTICLE
Main view
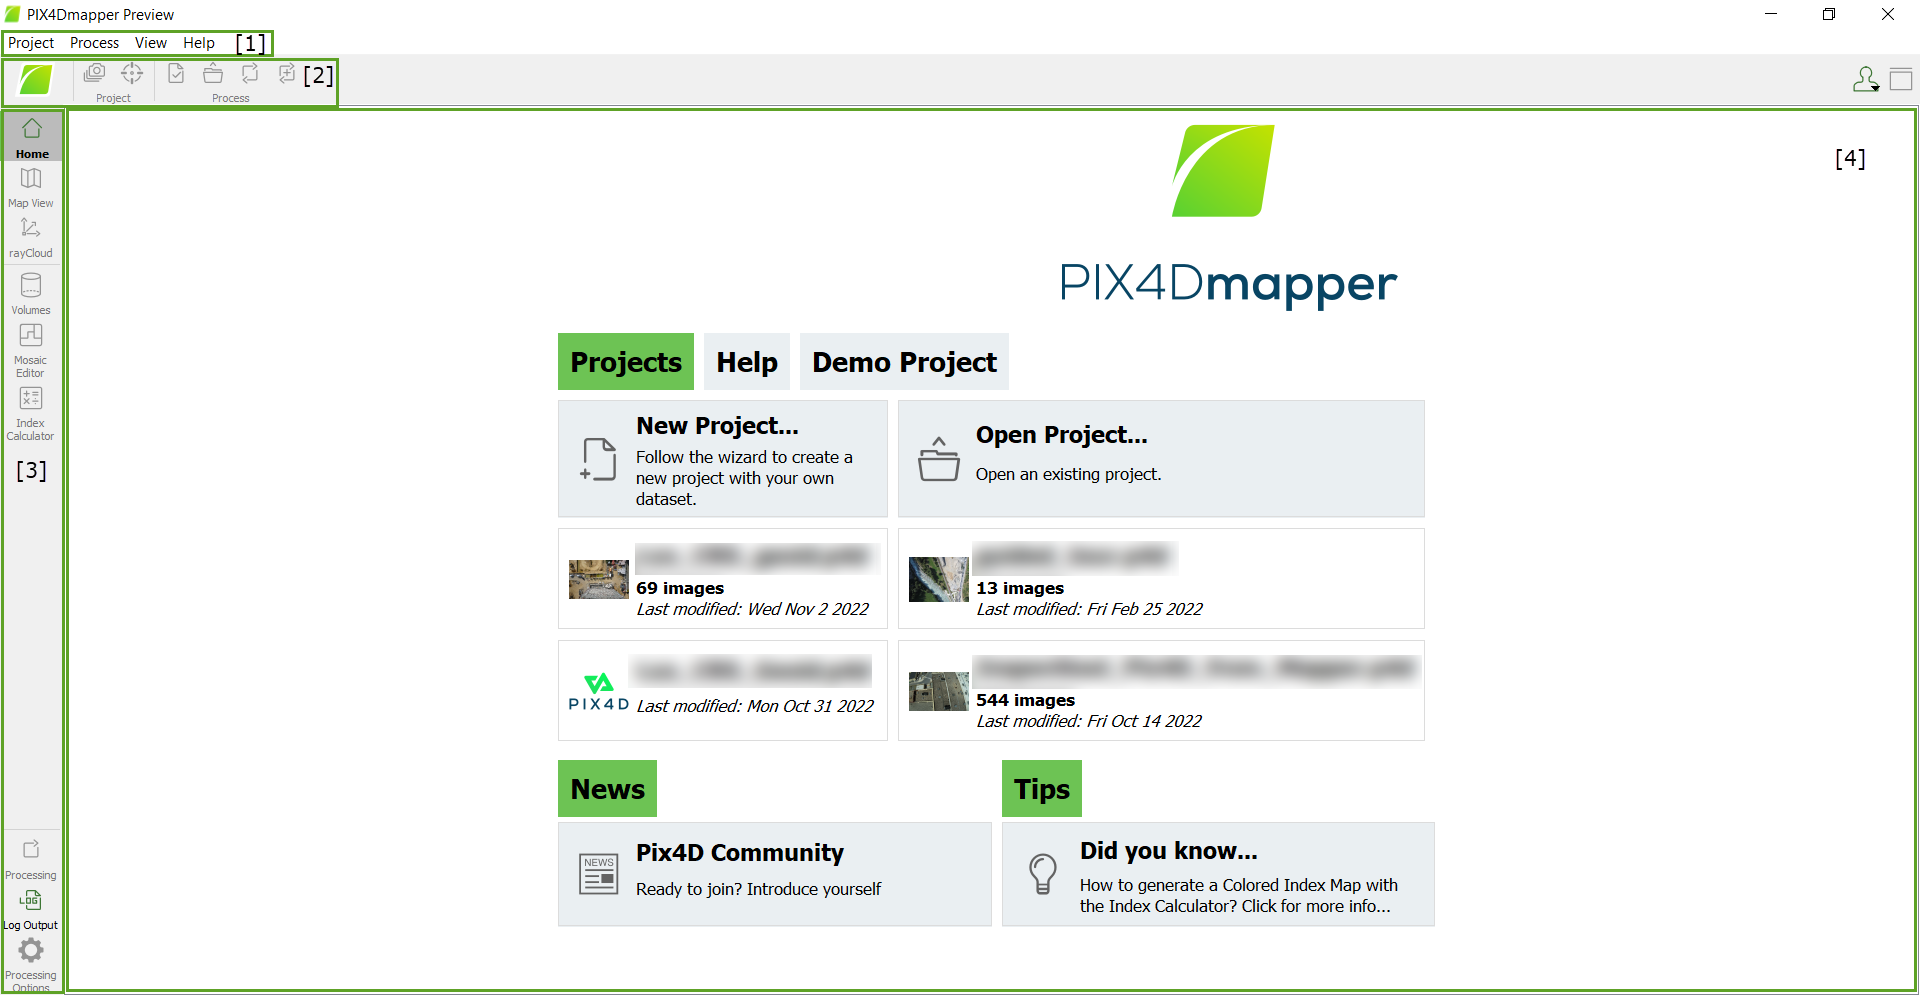
When PIX4Dmapper opens, the Welcome View appears. The Main View is divided into 4 sections:
- Menu bar
- Toolbar
- View toolbar
- Primary workspace
From the Primary workspace, it is possible to directly access the following shortcuts in the Projects tab: Create a new project, navigate to the local path of an existing project and open it, access the most recent projects by clicking on the thumbnail photo without the need to navigate to the in local directory.
There are other options available from this section such as:
- News tab: direct link to Pix4D official website.
- Tips tab: direct link to Pix4D Knowlage base documentation.
- Help tab: direct link to manuals, example datasets, Community page and video tutorials.
- Demo Project... tab: allows to process a demo project with default template.
Menu bar
There are four items:
- Project: This menu allows to create, open, close, save, split a project, and upload a project to PIX4Dcloud only if a license for this product is active under the user account. It also allows to view and define the properties of the images, GCPs, and output coordinate system.
- Process: This menu gives access to all processing options and actions.
- View: This menu gives access to the different views of the software. Depending on the selected view, a new item appears on the Menu bar: Map, rayCloud, Volumes, Mosaic Editor or Index Calculator. This extra menu bar item contains options specific to the selected view.
- Help: This menu:
- Gives access to the Manual, Support Site, and Community page.
- Allows to set some settings (proxy, camera model database, language)
- Gives information about the installed release.
The different options within the menu bar items may be active or grayed out depending on the project's status and selected options.
Toolbar
The different buttons within the toolbar may be active or grayed out depending on the project's status and the selected options. Each button's action can also be accessed through the Menu bar and is explained in more detail in the next articles.
The toolbar buttons are:
On the left:
- Project
 Image Properties Editor...
 GCP/MTP Manager...
- Process
 Quality Report...
 Open Results Folder...
 Reoptimize
 Rematch and Optimize
On the right:
 User Options: Four items can be selected:
- Logged In as USERNAME: Displays the username.
- Cloud Projects: Opens the user website account, displaying the Projects page, where the user can access the uploaded projects (https://mapper.pix4d.com/projects/).
- Manage Licenses: Opens the user website account, displaying the Licenses page, where the user can access the Licenses and Devices information (https://mapper.pix4d.com/licenses/).
- Log Out...: Option to deactivate the license in the installed computer.
![]() Show sidebar: Shows the sidebar on the right of the main window. The Home view and the Volumes do not have a right sidebar.
Show sidebar: Shows the sidebar on the right of the main window. The Home view and the Volumes do not have a right sidebar.
![]() Hide sidebar: Hides the sidebar on the right of the main window. The Home view and the Volumes do not have a right sidebar.
Hide sidebar: Hides the sidebar on the right of the main window. The Home view and the Volumes do not have a right sidebar.
When activating the different views using the View Menu bar item (Map View, rayCloud, Volumes, Mosaic Editor, and Index Calculator) some extra buttons appear in the toolbar. These extra buttons are specific for the selected view.
View toolbar
It appears on the left of the main window and allows to select the view, bars (Processing and/or Log Output bar), and the Processing Options window. Depending on the project's status and the selected options, the different options may be active or grayed out. When starting the software, only the Welcome View and the Log Output bar are active.
The following views are available:


The following bars are available:

 Log Output
The following windows are available:

To show/hide the view toolbar, on the Menu bar, click View > Show View Toolbar.
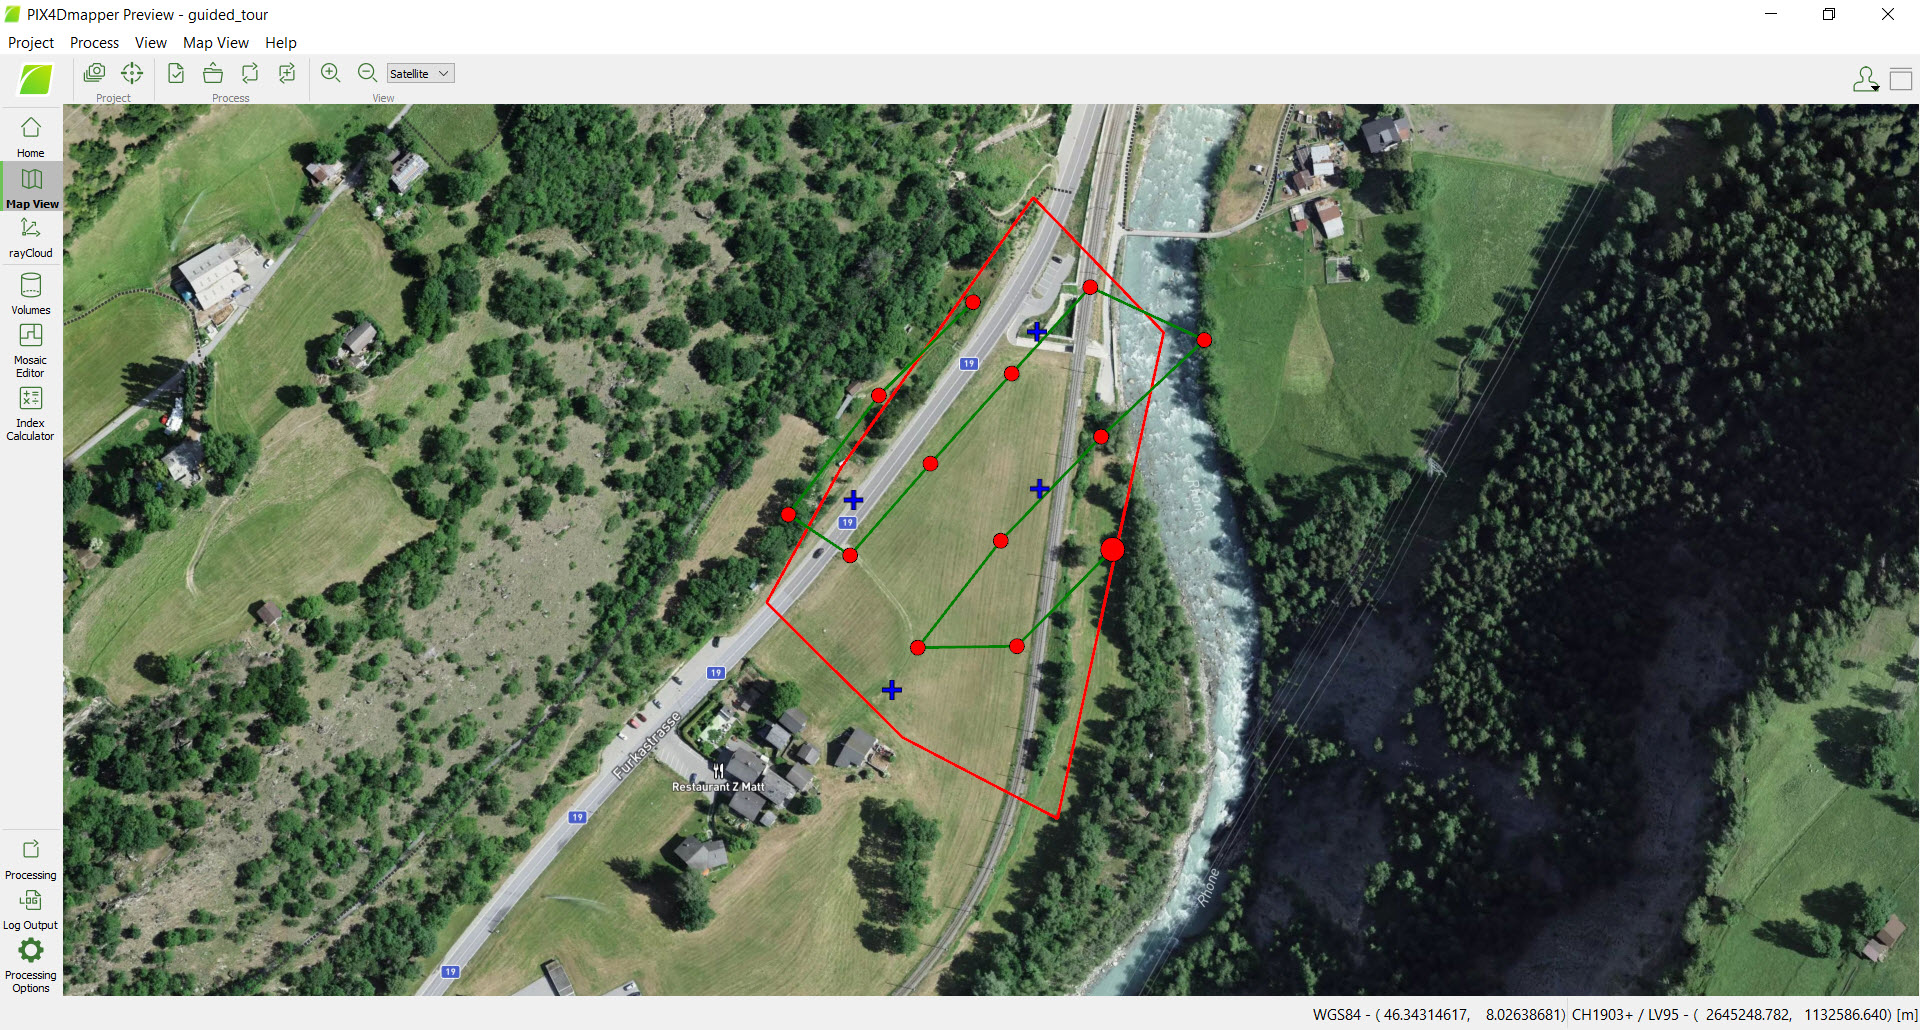
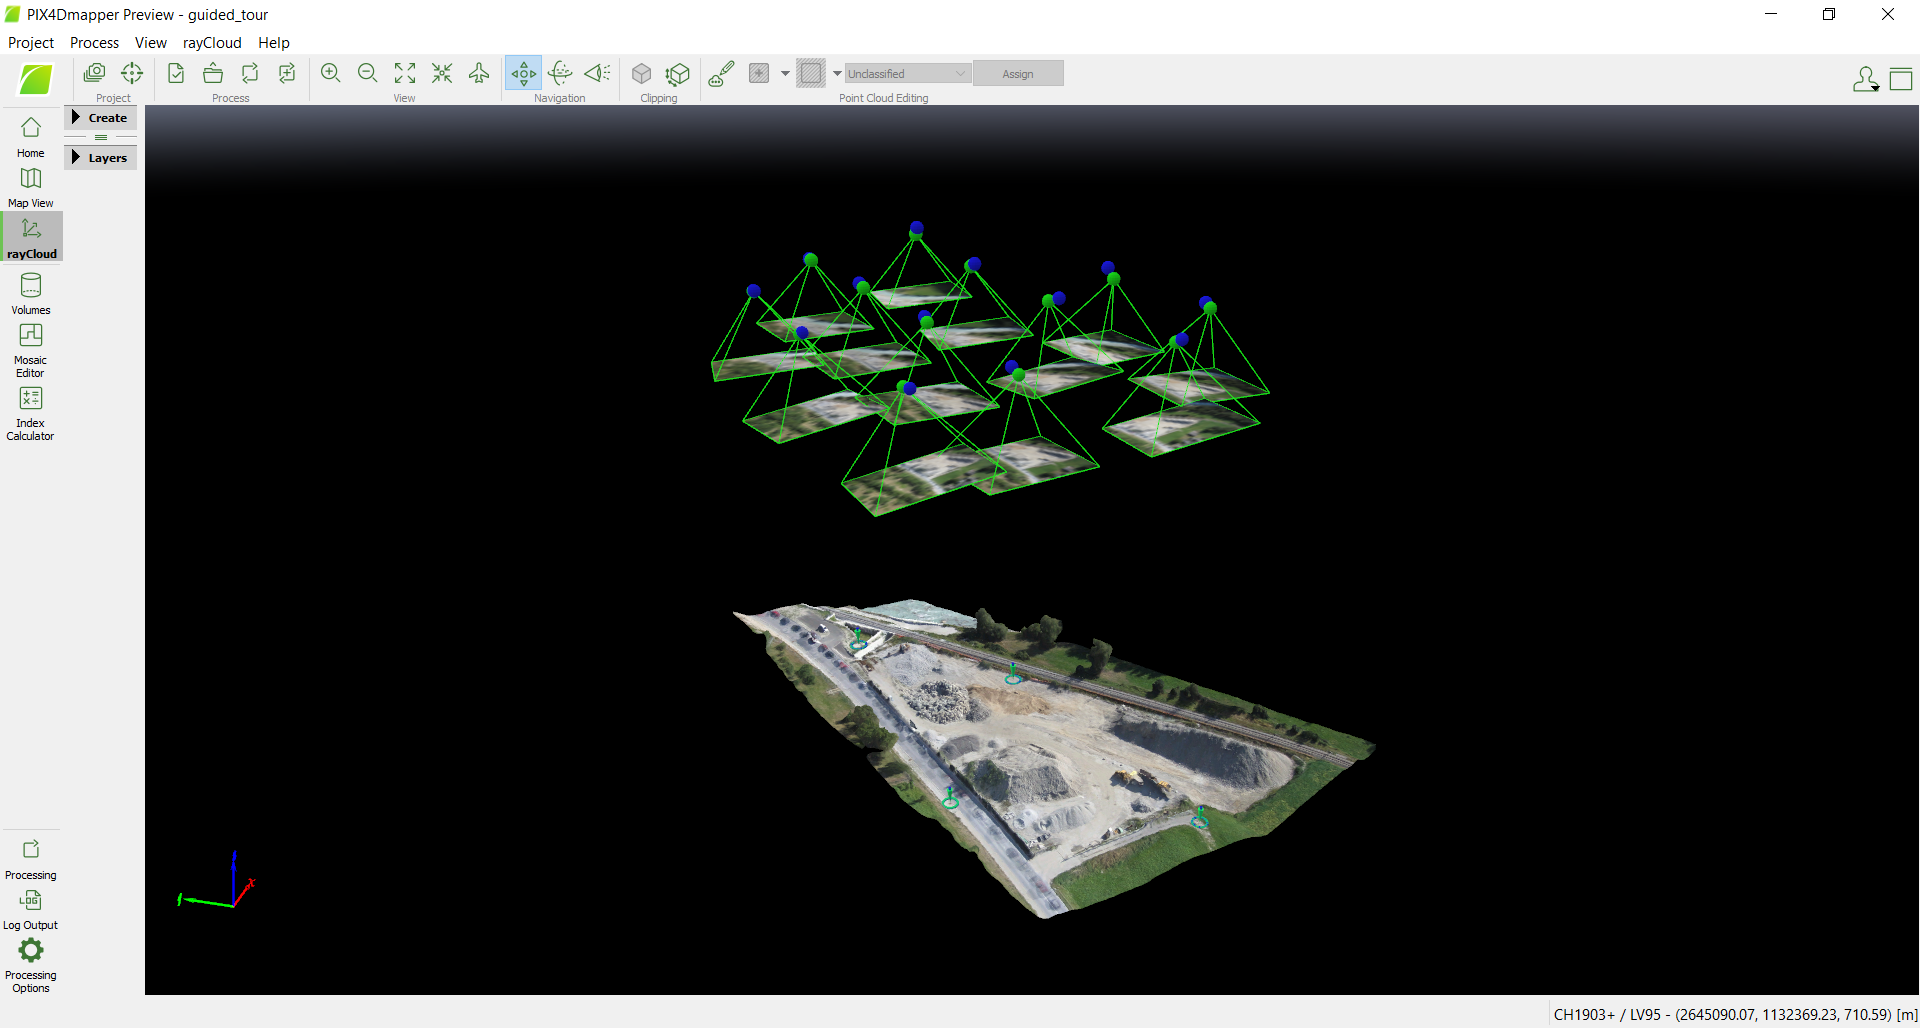
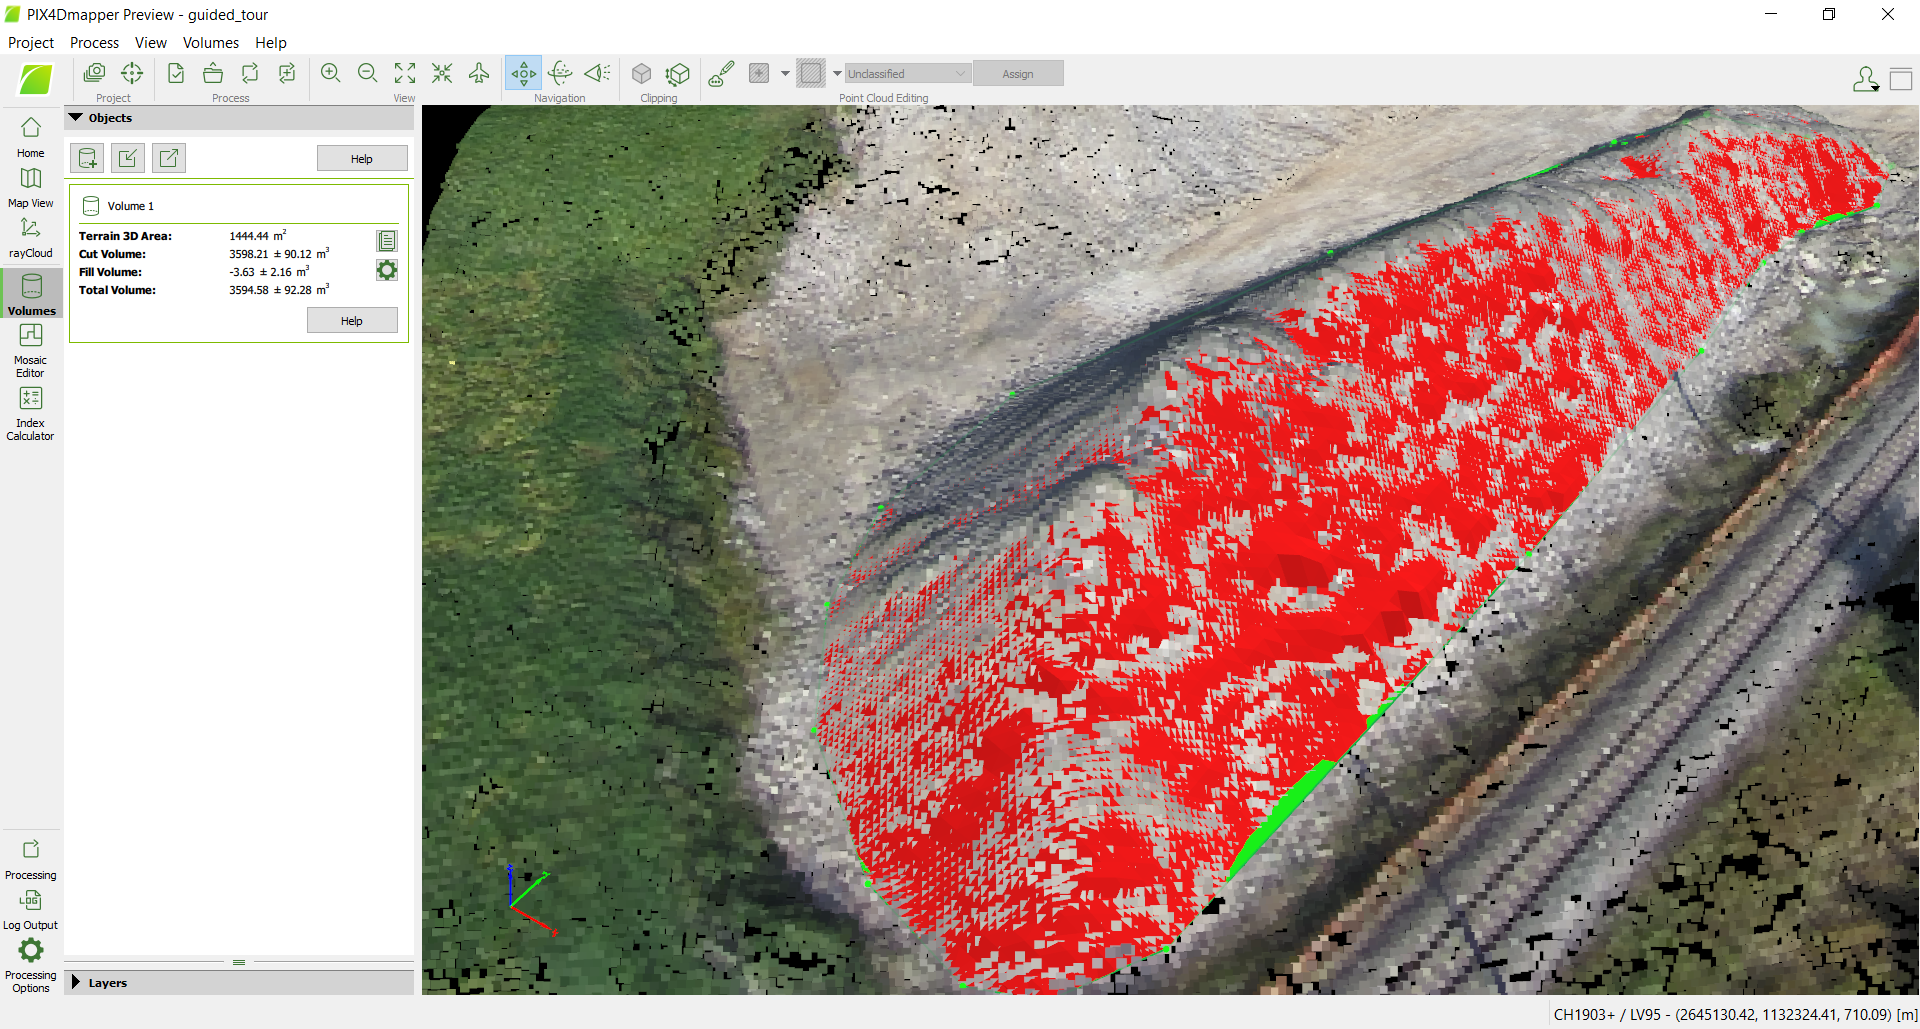
Other views
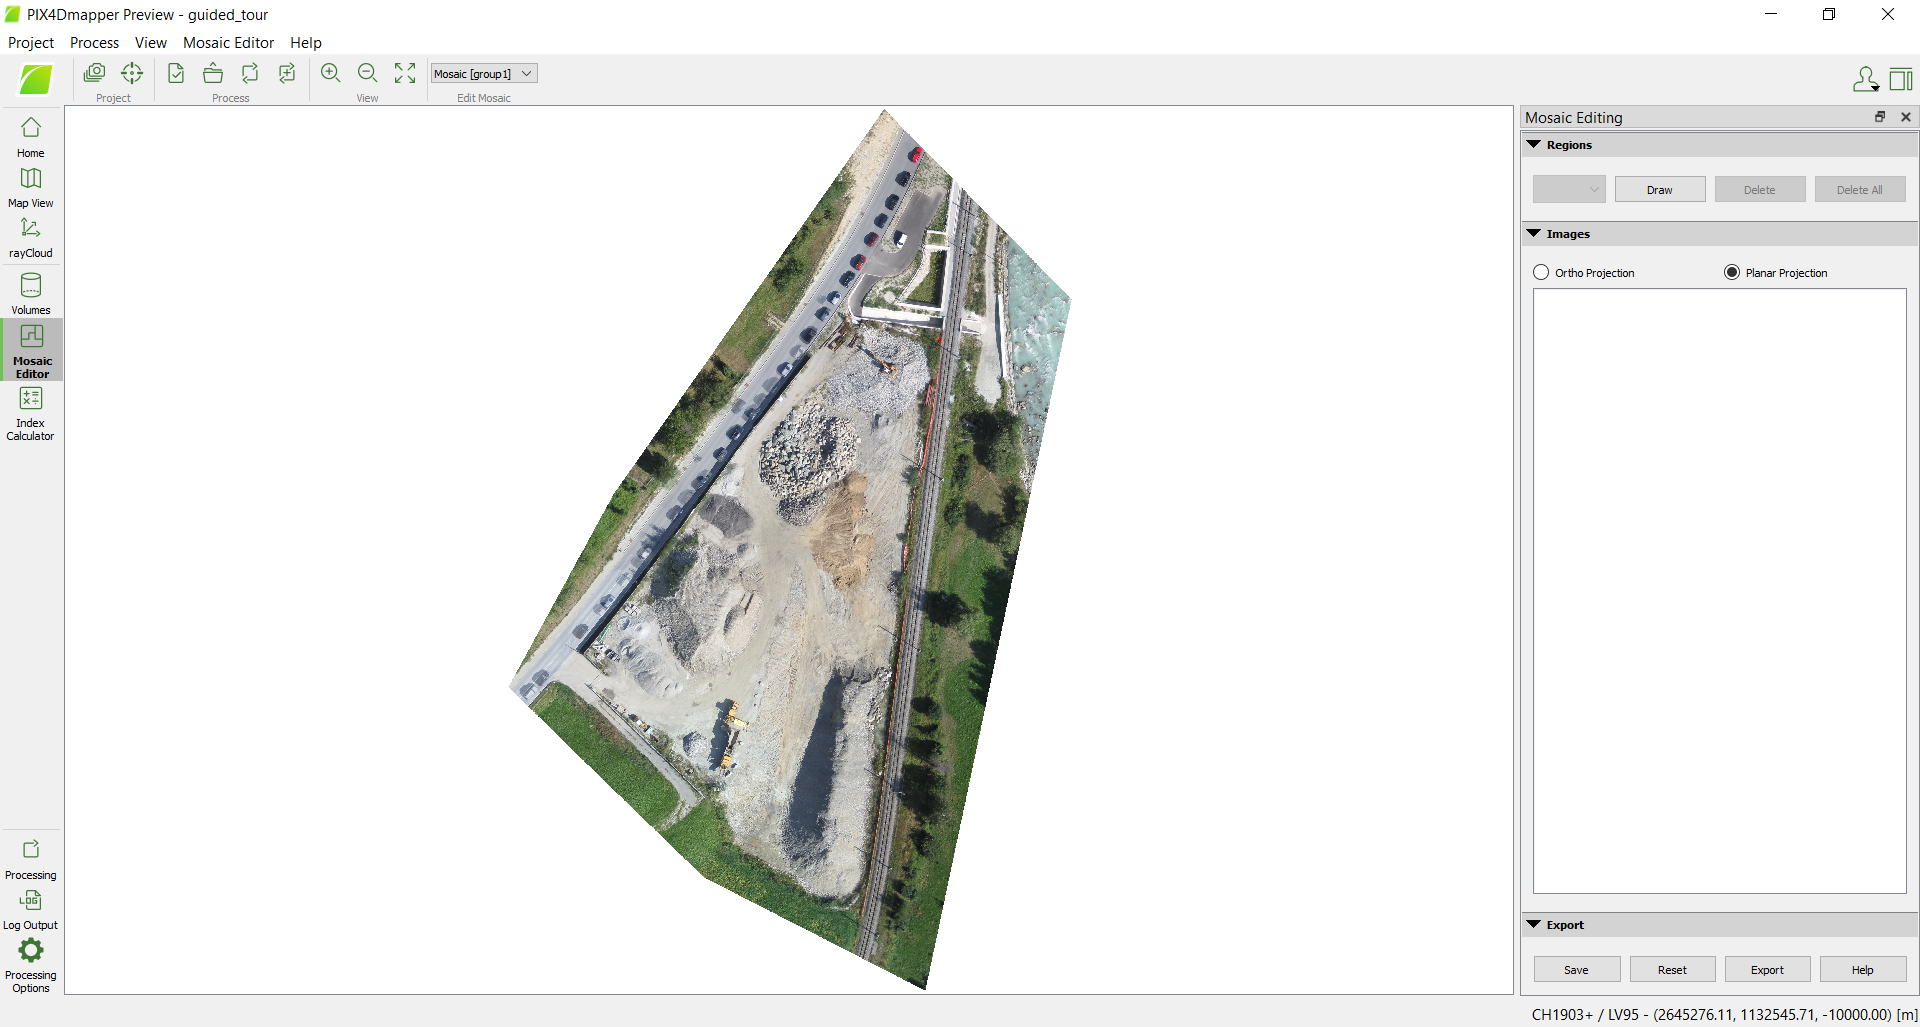
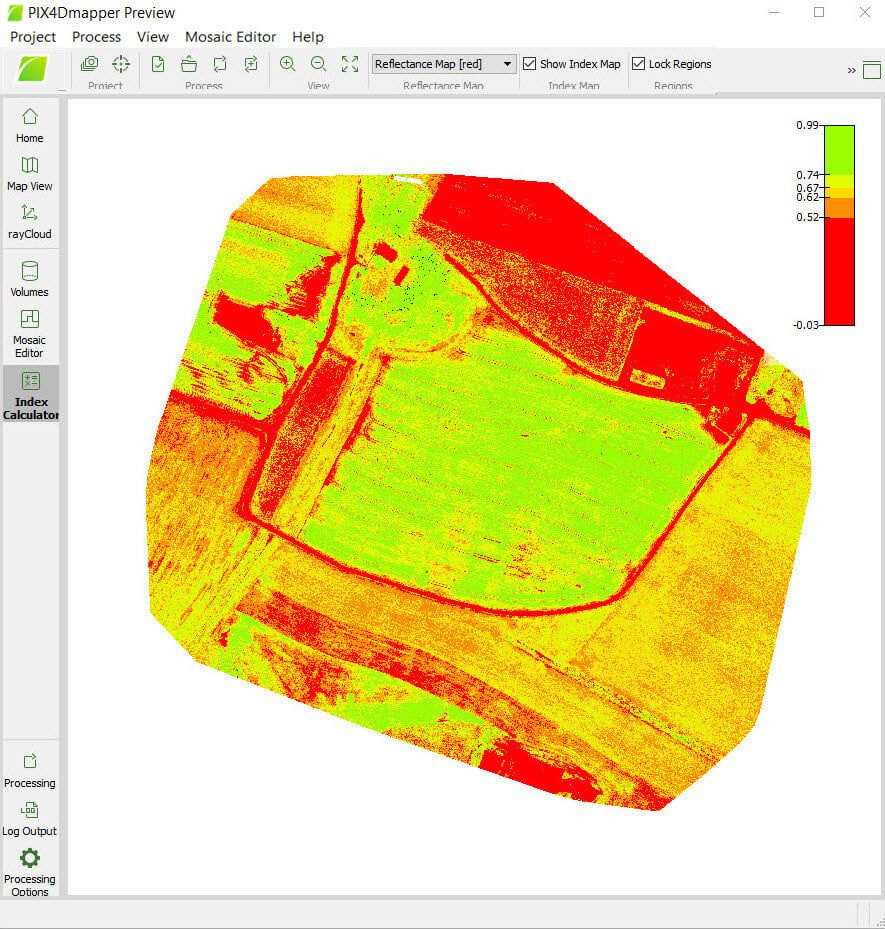
On the View toolbar, it is possible to navigate to other views. When opening a project, the Map View is selected by default, and the 2D View appears. When the rayCloud or the Volumes are selected, the 3D View appears. When the Mosaic Editor is selected, the Mosaic View appears, and when the Index Calculator is selected, the Index View appears.
The availability of these views in the project will become acessible as soon as the corresponding process step is complete. For example, the Mosaic Editor is available when the third processing step finished, otherwise the button view is gray out in the toolbar.