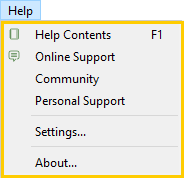
The Help menu has 6 items that can be selected:
- Help Contents: Opens PIX4Dmapper help for the current View.
- Online Support: Opens the Online support site in a browser.
- Community: Opens the Support site, displaying the Community index page.
- Personal Support: Opens the Online form to submit a request to the Support Team in a browser.
- Settings...: Opens the Settings window that gives the user access to the proxy and camera database settings.
- About...: Provides information about the version, License, Terms of service, Privacy policy and third-party licenses.
Help Contents
The Pix4Ddesktop help provides full and detailed information about the current View (Welcome, Map View, rayCloud, Volumes, Mosaic Editor, Index Calculator).
Online Support
Opens a browser pointing to the Support website, which contains numerous articles with step by step instructions, answers to frequently asked questions as well as news, updates, tutorials, use cases, etc.
Community
The Community contains the following topics:
- Important Communication: Updates about software releases, Support material (articles, videos), workshops,...
- User Space: Place to share news or discuss the profession.
- Image Acquisition: PIX4Dcapture, flight plans, indoor mapping, drones, cameras, GPS,...
- Processing: Desktop processing, troubleshooting, outputs, accuracy, computer hardware.
- Pix4D Cloud web platform: Processing, analyzing and sharing with PIX4Dcloud.
- Hall of Fame: Place to share 3D Models, Orthomosaics, fly-through videos of projects.
- Product feedback: Place to share your feedback on Pix4D products.
- Pix4D en español: Where to ask and answer questions in Spanish about any topic.
Personal Support
Contact the dedicated support team for personal support.

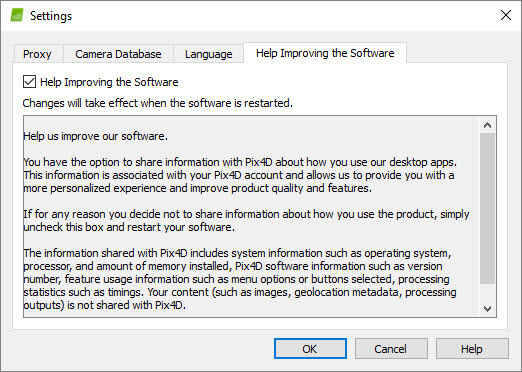
Settings...
Opens the Settings pop-up that gives the user access to the proxy and camera database settings and the language selection.
It has 4 Tabs:
And 3 action buttons:
- OK: Confirm the changes.
- Cancel: Exit without saving.
- Help: Open the PIX4Dmapper help.
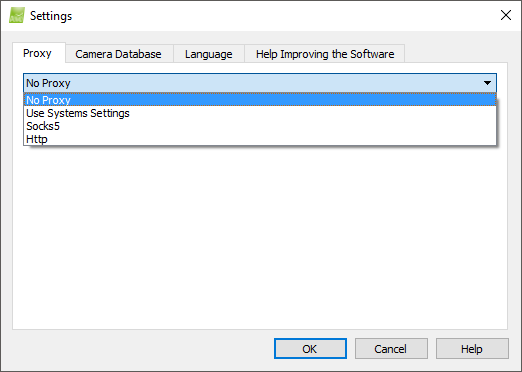
This tab allows the user to configure the Internet connection.
The first drop down list allows the user to select how to connect to the proxy:
- No Proxy (default): If no proxy server is used.
- Use Systems Settings: Uses the system-wide settings.
- Socks5
- Http
The following fields are displayed:
- Host: Proxy host name.
- Port: Proxy port number.
- Username: Proxy user name.
- Password: Proxy password.
In order to enter the proxy settings: How to set up the Proxy Server Configuration.
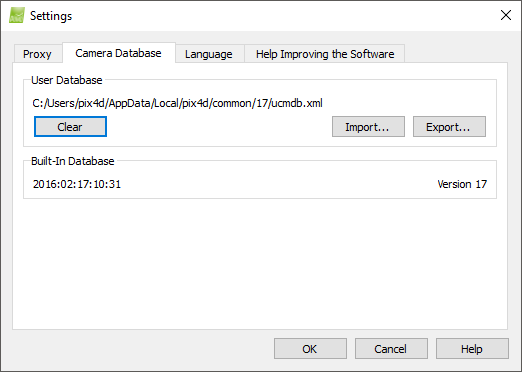
This tab allows the user to clear the user camera model database or to import/export it from/to a file. It also displays the built-in database that is used.
The camera database tab has 2 sections:
- User database: This section has the following action buttons:
- Clear: Clears the user camera model database (cameras added or modified by the user).
- Import...: Loads a camera database file *.xml with cameras added or modified by the user.
- Export...: Exports cameras added or modified by the user to a camera database file *.xml.
- Built-in database: Displays the date and the version of the last built-in camera database update.
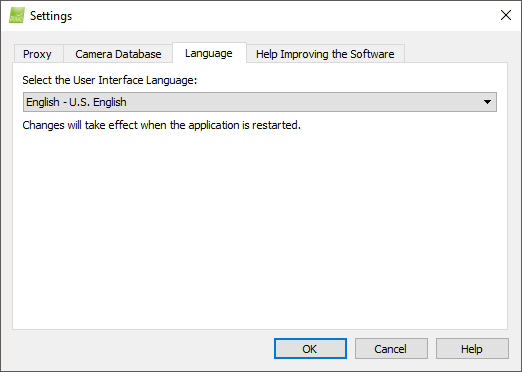
This tab allows the user to set up the language.
The following languages are available:- English - U.S. English (default)
- German (Germany) - Deutsch (Deutschland)
- Spanish (Spain) - español de España (España)
- French (France) - français (France)
- Italian (Italy) - Italiano (Italia)
- Chinese (China) - 中文 (中囯)
- Chinese (Taiwan) - 中文 (台灣)
- Japanese (Japan) - 日本語 (日本)
- Russian (Russia) - русский (Россия)
About...
It provides information about the version, license type, license key, license account, Terms of Use, Privacy Policy and third party licenses.
- License Type.
- License Key.
- License Account: Pix4D user account to which the license is bound.
