History panel is a tool that allows you to experiment in the same project with the processing options and features available to produce optimal outputs. This tool allows us to go back in time to any processing step, compare the different options, and select the best possible results.
This article describes the general workflow that can be followed with the history panel.
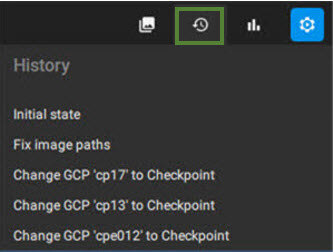
- In the menu bar, click View > Control panel > History, or
- Click History
 in the Control panel shown on the top right.
IN THIS ARTICLE
Create a project
Project settings
How to use the history panel
Create a project
A new project can be created by dragging and dropping images or image folders on the home screen, using the menu bar or the Ctrl + N (⌘ + N) shortcut.
More information can be found in the Create a project article.
After creating a new project, the GCP and the Project coordinate system can be defined.
Project settings
An important aspect in generating optimal results is selecting processing options, choosing a suitable template, adding ground control points (GCPs), or establishing a horizontal and vertical coordinate system corresponding to the project's needs.
For more information about the project settings, have a look at the following articles:
- Calibrate - PIX4Dmatic.
- Tie points (GCPs, MTPs, and CPs) - PIX4Dmatic.
- How to use coordinate systems - PIX4Dmatic.
- How to use vertical coordinate systems and geoids - PIX4Dmatic.
The selection of specific processing options, the output selected to be generated, together with the characteristics of the dataset (amount of images, image resolution, image content) directly impact the processing speed and the use that PIX4Dmatic makes of the hardware components (RAM, GPU, storage need it). For more information, please visit the Processing speed article. After selecting the project settings, the project is ready for processing.
How to use the history panel
It can happen that the selected project settings are not giving the desired results, and some settings need to be manually modified to ensure optimal outputs. In this case, using the history panel is recommended.
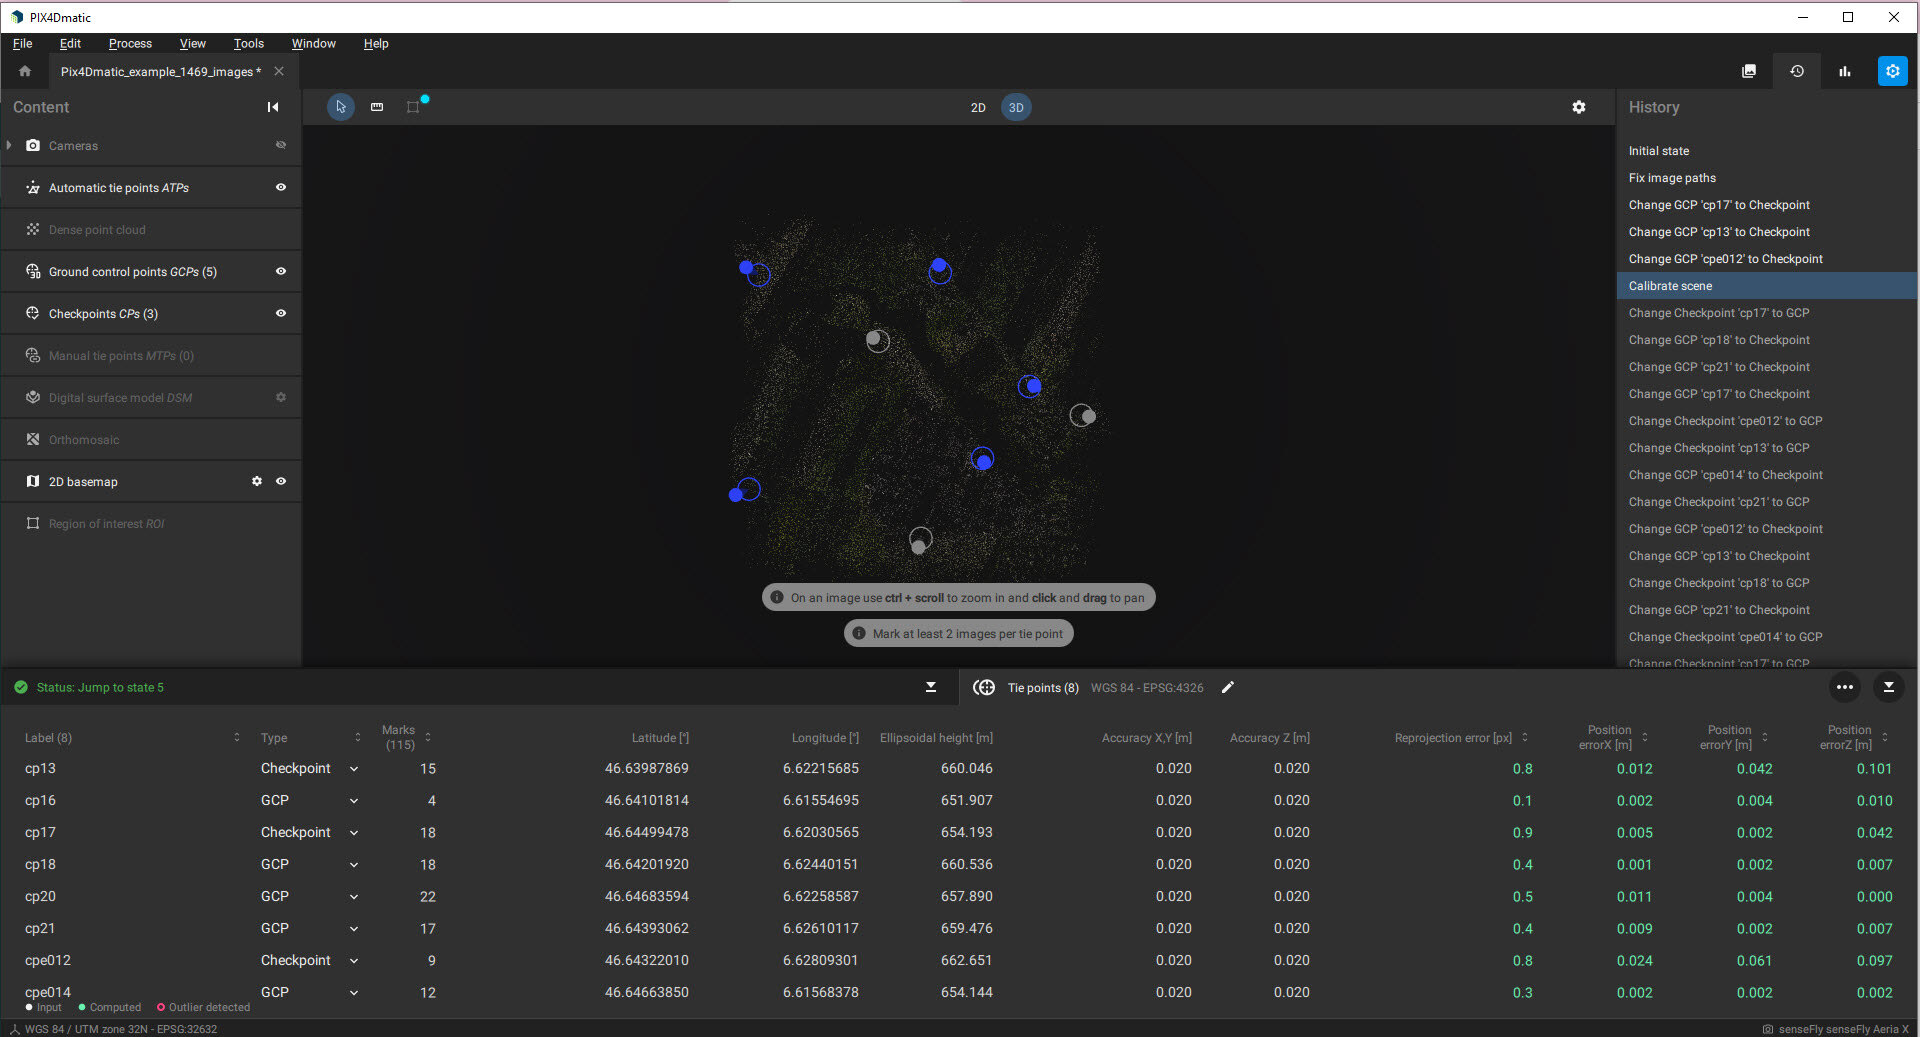
History panel view.
It is possible to try different settings, evaluate the impact of using several features at different processing steps, and go back in time if needed to analyze the different results.
The history panel also allows to undo steps when mistakes are made or to roll back to a previous state of the project. This process can be assisted not only with the history panel but also with the use of shortcuts available in PIX4Dmatic.
Combining the History  panel with the Report
![]() panel can provide a more complete picture of the impact of certain processing options and features in the same project. This evaluation can be performed on every processing step by processing as many times as needed the same step and using the best output as input for the next step.
panel can provide a more complete picture of the impact of certain processing options and features in the same project. This evaluation can be performed on every processing step by processing as many times as needed the same step and using the best output as input for the next step.

Processing scheme using the history panel as a decision tool.
For more information about how to process a project, see the Introduction to a PIX4Dmatic workflow tutorial video.
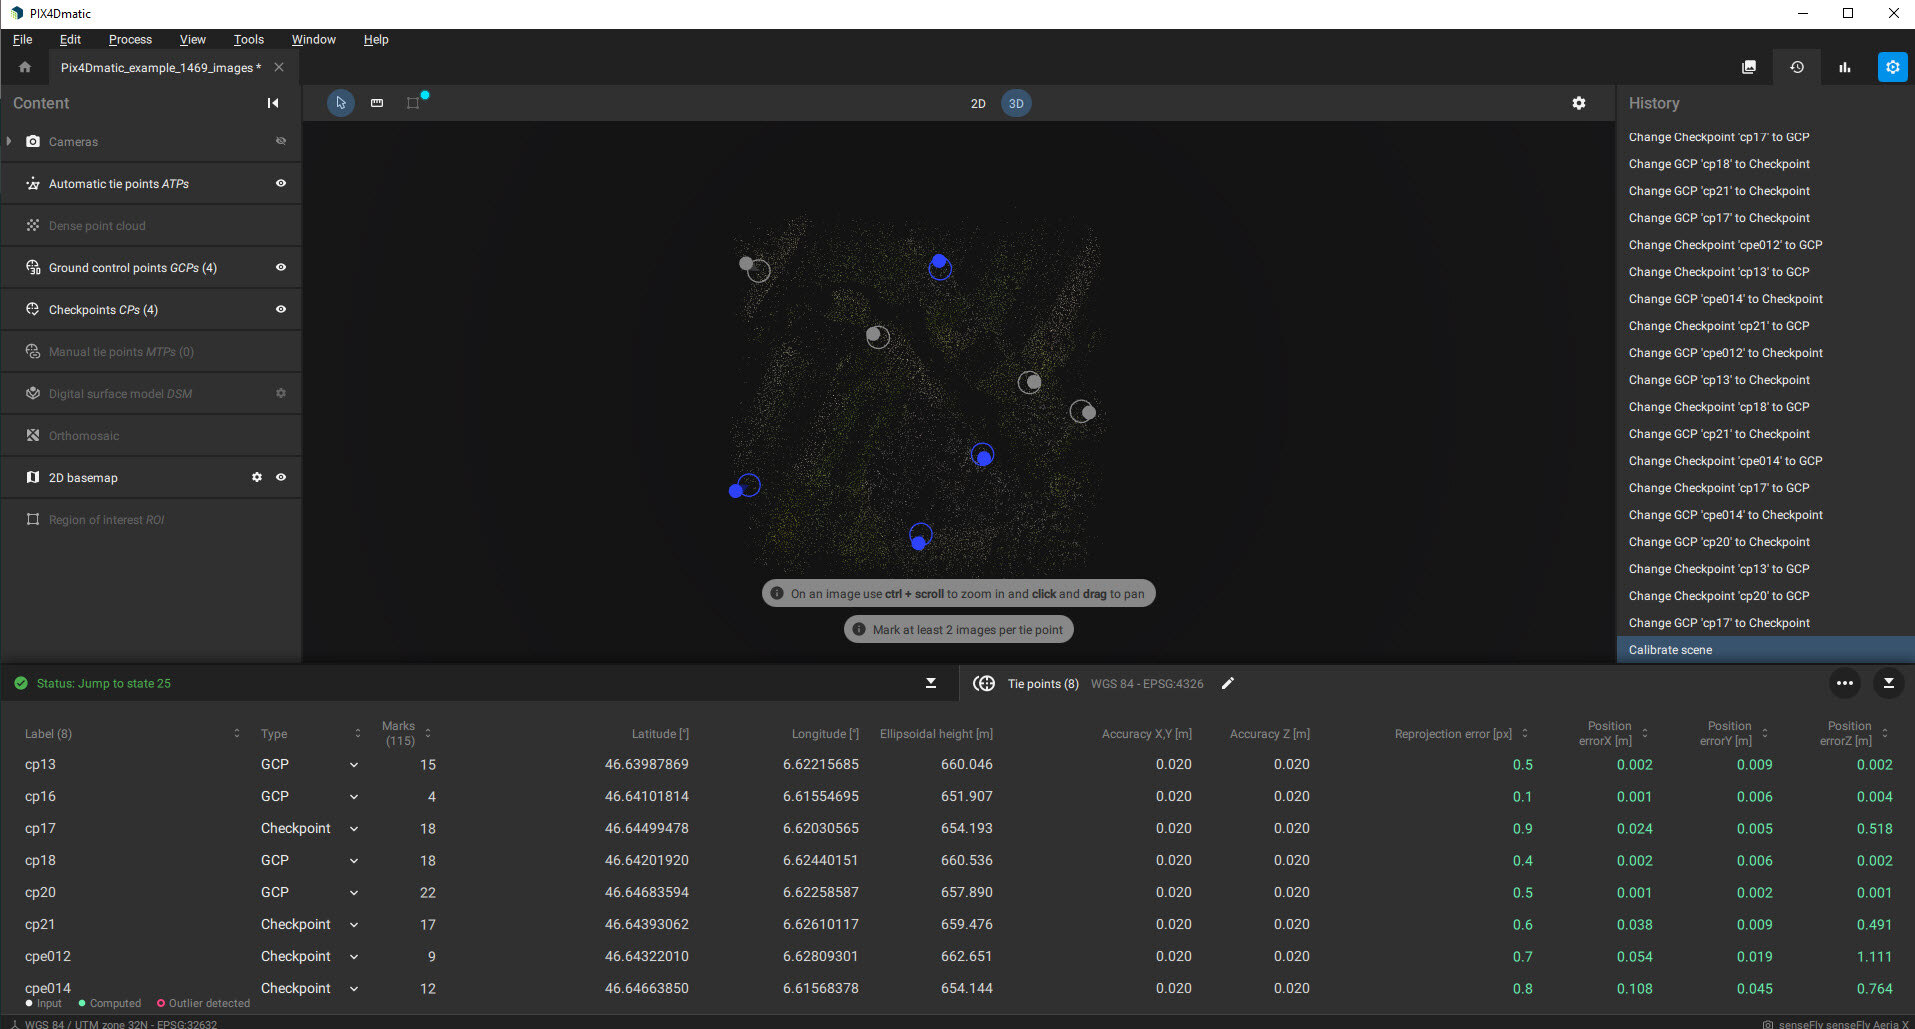
Example using the history panel
The history panel can inspect the results at any processing step.