This article explains how to use annotations in PIX4Dfields using trial plots as an example.
The annotation tool can help with trial plot operations by calculating statistics such as areas, lengths, and mean index values. This tool can also import geotagged images of fields and areas of interest
IN THIS ARTICLE
Import an annotation as shape (GeoJSON, KML, Shapefile)
Import geotagged images as annotations
Create annotations directly on the map layer
Save Magic Tool detections as annotations
Edit an annotation
Export an annotation
Export annotation statistics
Annotation upload for Share to PIX4Dcloud
Import an annotation as Geometry file (GeoJSON, KML, Shapefile)
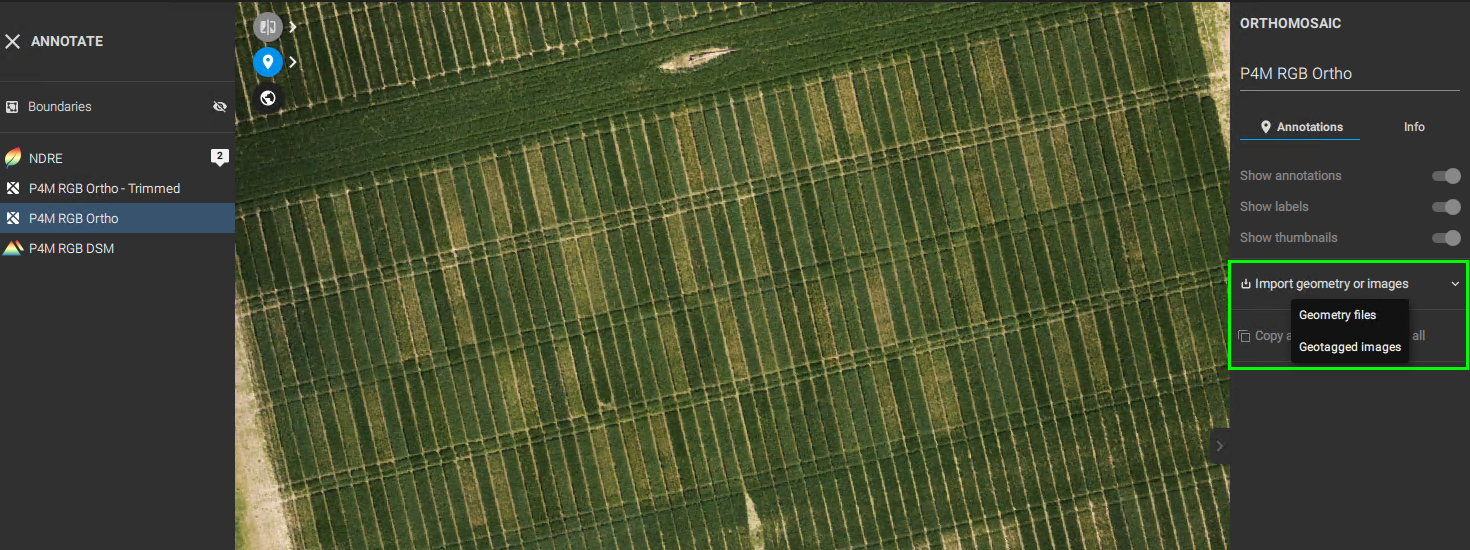
- Go to the Annotations tab on the right board.
- Click on Import geometry or images.
- To read the name of each polygon, the column should be called "name" or "title".
- Choose Geometry files to import as an annotation.
- Click Open.
Import geotagged images as annotations
To import geotagged images:
- Go to the Annotations tab on the right board.
- Click on Import geometry or images.
- Choose one image or many images with geolocation data to import.
- Click Open.
- The images will be imported and created as annotations, which contain the imported image as an attachment.
- The attachment is visible on the map as a thumbnail
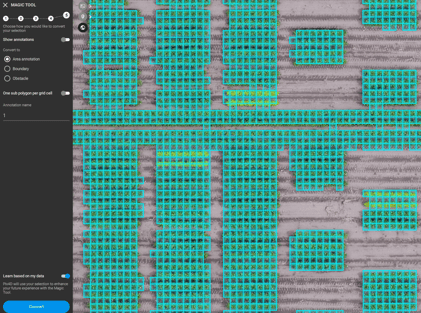
Create annotations directly on the map layer
To add annotations to a layer:
- Click on the Annotation tool icon in the top-left corner of the map layer.
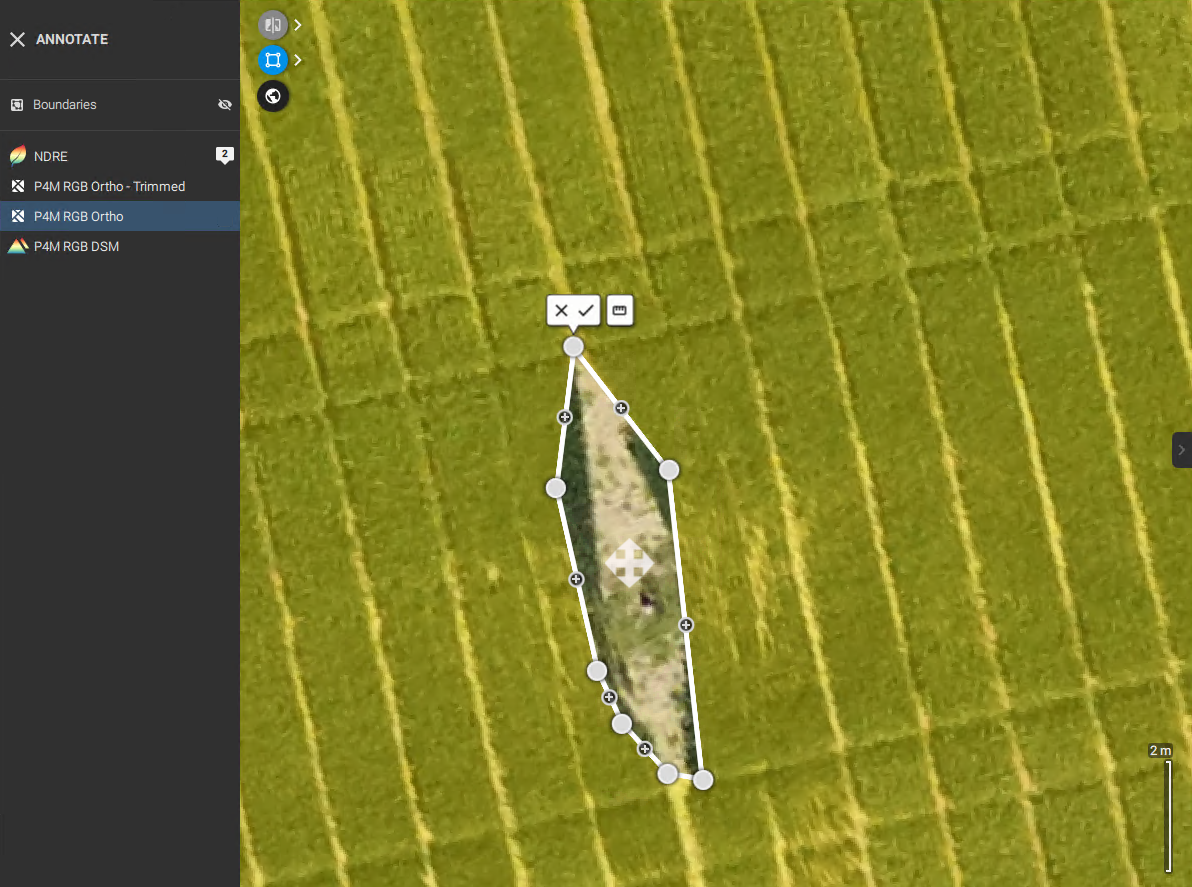
- Chose a Point, Line, Area annotation or MultiPoint .
- Left-click to add each new vertex or a new point.
- When creating an Area, after the third vertex, a set of tools appear:
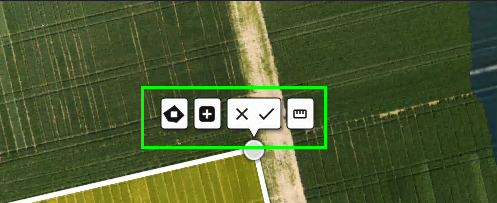
- Click the Add holes icon to take out any unwanted objects inside your annotation:
- When done, click the Checkmark.
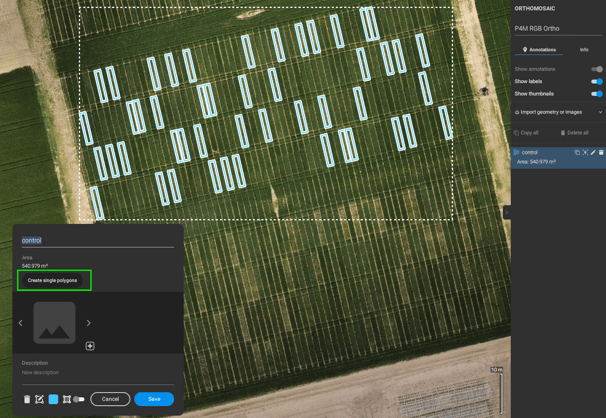
- Click the Add Sub Polygon icon to create a separated polygon on the same Area annotation:
- When done, click the Checkmark.
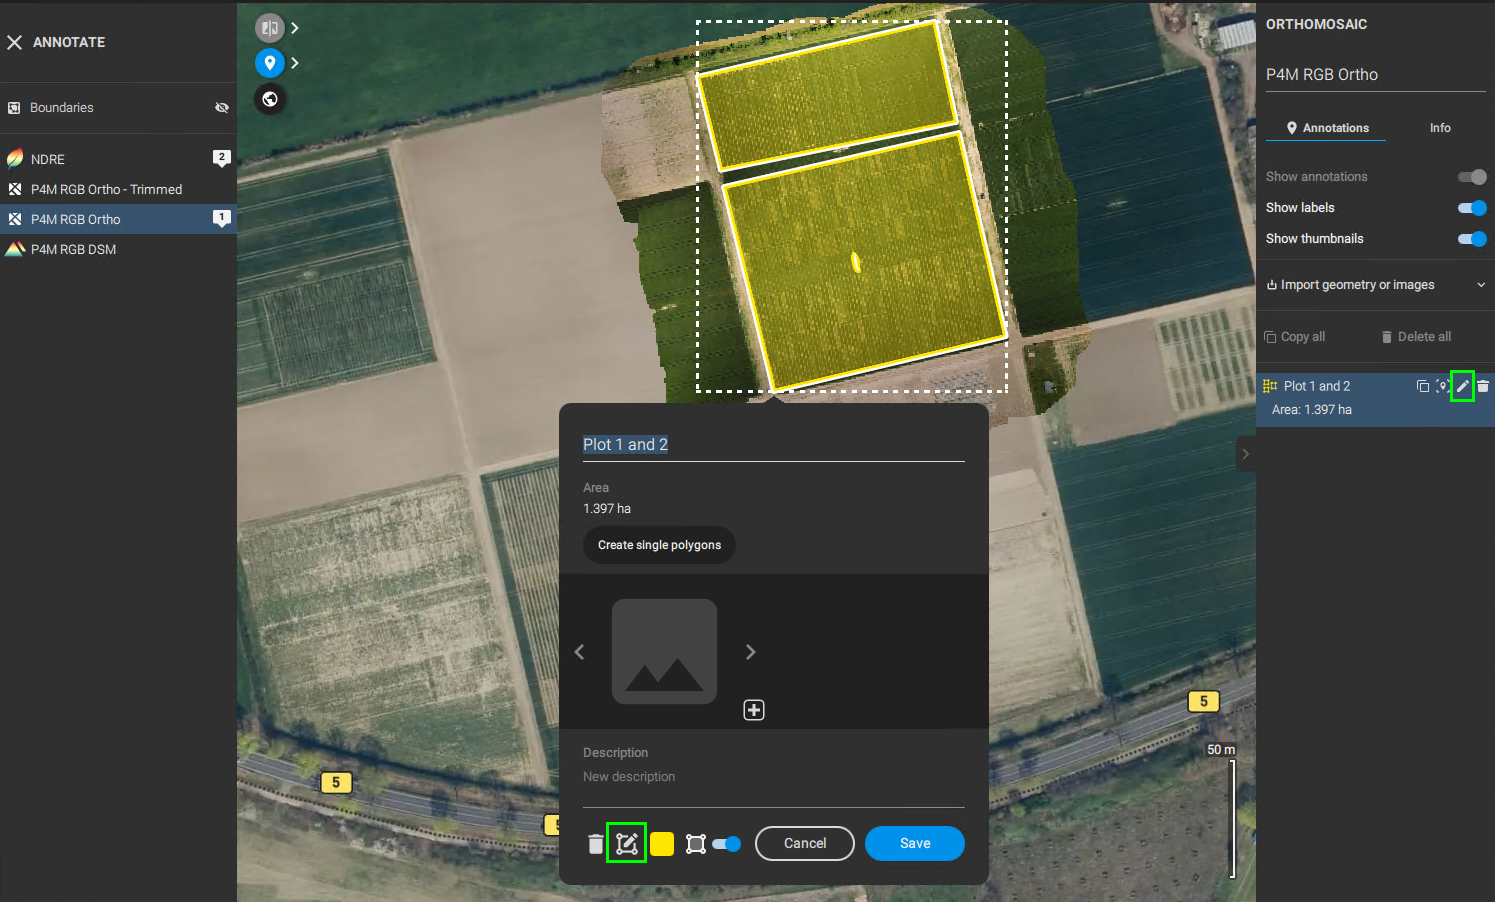
- Add a Title (mandatory) and Description (optional) and Image (optional) to the annotation.
- Click Save.

Copy/convert annotations
To copy or convert:
- Select the annotation you want to duplicate/convert and click the Copy icon:
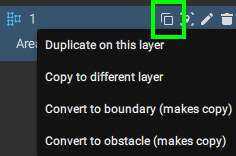
- Choose Duplicate, Copy or Convert to Boundary/obstacle.
- A new annotation is created. The original file you duplicated from stays untouched.
In the final step of the Magic tool, it's possible to convert the detections to Area annotations.
Edit an annotation
- Double-click the annotation to edit in the annotation tab on the right board or directly on the map. Or click the edit icon next to the annotation object on the right board.
- Click the edit icon in the edit annotation dialogue box.
- Drag and drop an area or line with the arrow cross icon or directly in case of point annotation to relocate it.
- For lines and areas:
- Drag the white dots to modify the area or line.
- Click the "plus" sign to create more vertices.
- To remove a vertex, click and drag a vertex on top of another vertex. Wait until a red halo appears around the selected vertex then release the mouse button. This will delete a vertex.
- For lines and areas:
- Click the checkmark to accept the edited area, line, or point geometry, or click the X to cancel and leave the annotation unchanged.
- Add a description in the description part of the annotation dialogue box.
- Images can be attached.
- Save the edited annotation with the Save button.
Export an annotation
To export an annotation:
- Click the Export button at the top right corner of the top bar.
- Under Export, click Annotations.
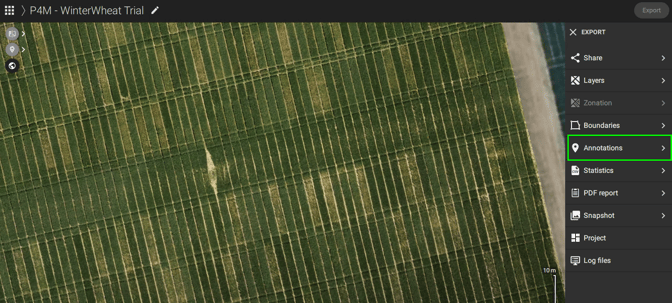
- Under Select layer, choose the annotation layer to export.
- Select the annotation(s) to export.
- Choose a format.
- Click Export. Navigate to the export folder. In the File name, write the name of the file.
Export annotation statistics
Statistics about annotations can be exported. Please visit: PIX4Dfields statistics.
Annotation upload to Share to PIX4Dcloud
Annotations can be shared over the internet by using Share to PIX4Dcloud. One single annotation layer is supported per upload. For more information: Share to PIX4Dcloud.