Image Annotation can be used to remove an object that appears in some images, the sky for oblique images, a constant object that appears in all images or the background of the Orthoplane.
- The Image Annotation feature is available only if step 1. Initial Processing has been completed.
- The modifications do not impact the calibration of the images that is performed during step 1. Initial Processing and after Reoptimize or Rematch and Optimize.
- To account for the annotated pixels, step 2. Point Cloud and Mesh or the Orthoplane need to be reprocessed if they have already been generated, for the Mask and Global Mask annotation types.
To annotate the images:
1. On the Menu bar, click View > rayCloud.
2. In the section Layers of the left sidebar, select the image to be annotated.
- The image can also be selected on the 3D View of the rayCloud.
- An uncalibrated image can also be annotated. However, the annotation will only be taken into account if the image is calibrated.
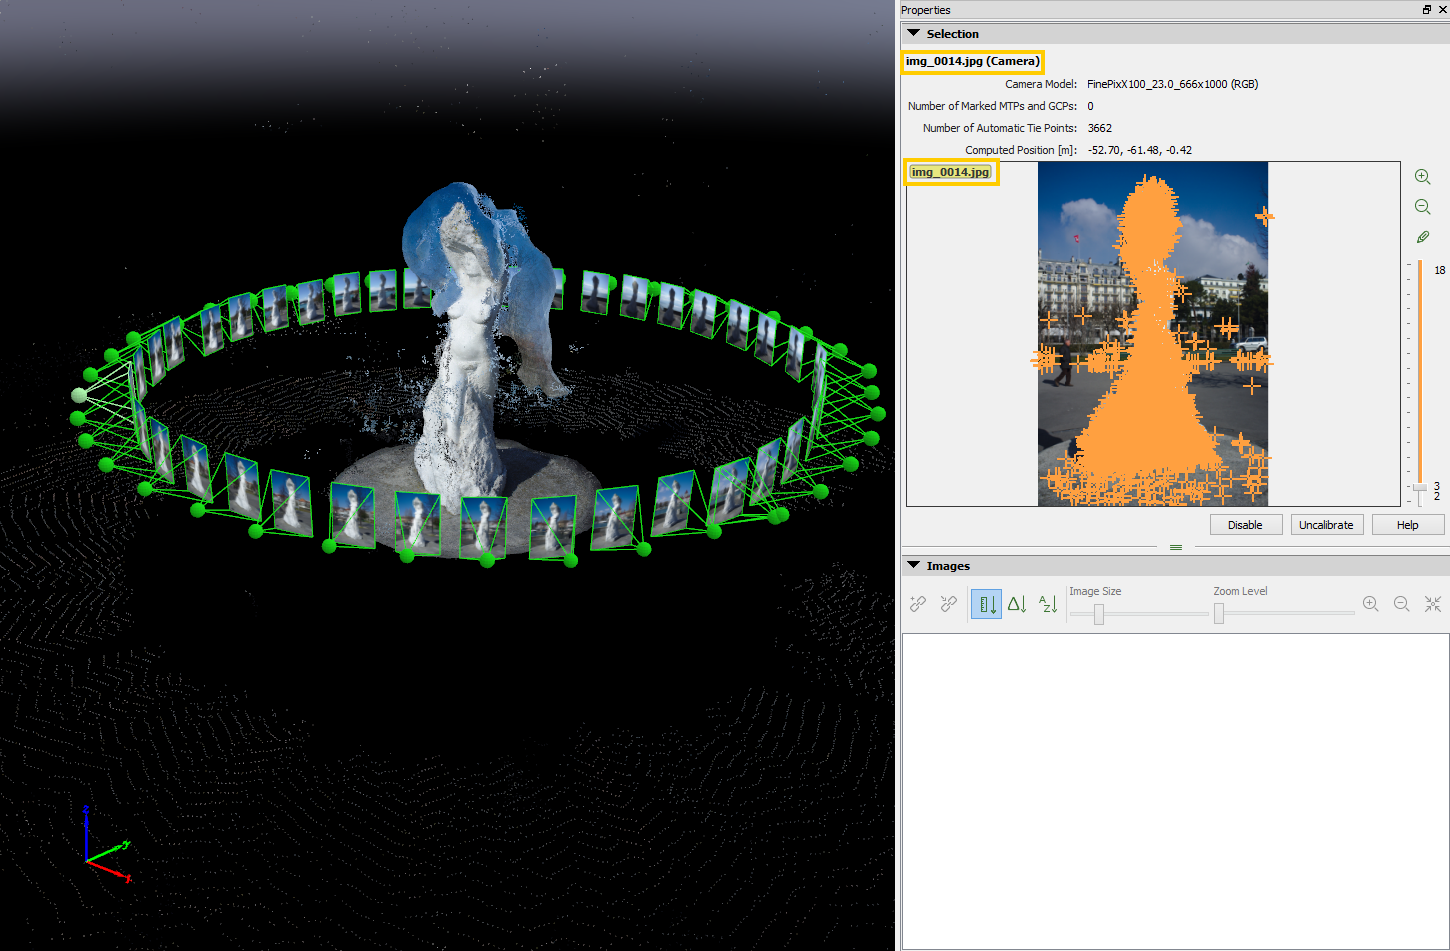
3. Once the image has been selected, it is displayed on the right sidebar of the rayCloud.
4. Click the Annotation tool button  .
.

5. Find the pixels that need to be annotated. Navigate on the image:
- Zoom in: Moving the mouse scroll wheel forwards.
- Zoom out: Moving the mouse scroll wheel backwards.
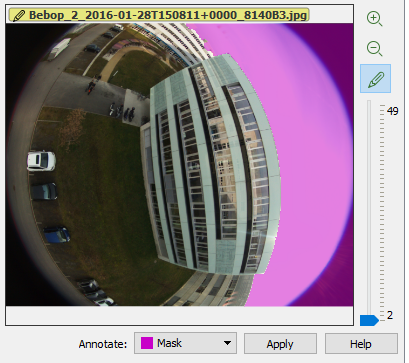
6. Select the annotation type in Annotate:
- Mask: The pixels masked are not used for processing. Suitable for:
- Removing an obstacle that appears in a few images, like a scaffold. For more information: How to remove obstacles from the point cloud in the rayCloud using the Annotation Tool.
- Removing the background of the Orthoplane: For more information: How to remove the Background of the Orthoplane using the Annotation Tool .
- (for Bebop projects) Removing the sky automatically. For more information: Menu Process > Processing Options... > 1. Initial Processing > Calibration.
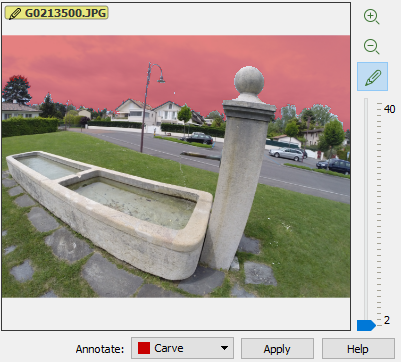
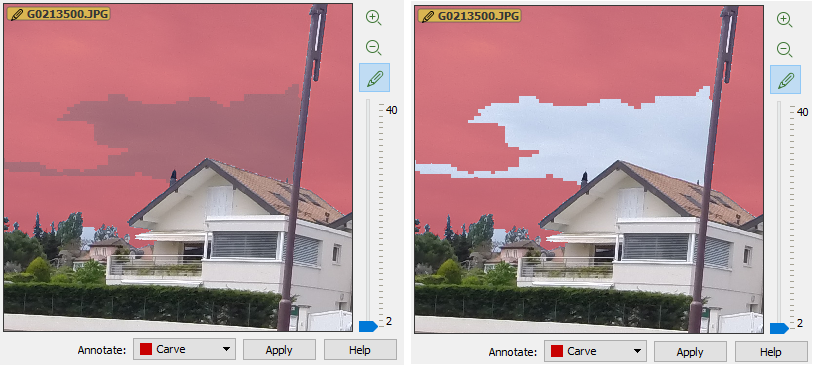
- Carve: All the 3D points located on the rays connecting the camera center and the annotated pixels are not used for processing. Suitable for sky removal. For more information: What is Carve?; How to remove the Sky from the Point Cloud using the Annotation Tool .
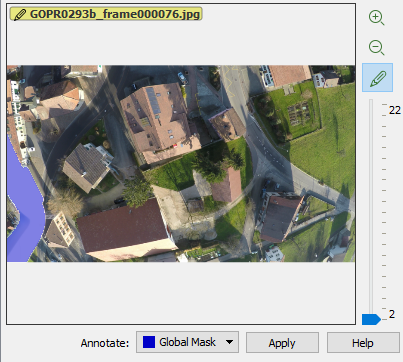
- Global Mask: The pixels annotated are propagated to all the images. All these pixels are not used for processing. Suitable for a consistent obstacle on all the images, e.g. the foot of the drone.
7. When hovering with the mouse over the image, the mouse cursor becomes a pencil and clusters are displayed indicating the pixels that can be annotated. The clusters are purple for Mask, red for Carve and blue for Global Mask. The higher the zoom level on the image, the smaller the clusters. Zoom in if necessary to annotate the images precisely.
8. Click on the cluster that needs to be annotated. It should now be displayed in purple for Mask, red for Carve and blue for Global Mask.
9. Click on more clusters to annotate more groups of pixels.
- Click on the first cluster to annotate.
- Keep the mouse button pressed and move to adjacent clusters.
10. To remove the annotation of some clusters: Hover over the annotated cluster. The mouse cursor becomes a rubber and the hovered annotated clusters are displayed in deep purple for Mask, deep red for Carve and blue for Global Mask. Clicking on them, the annotation is removed.
1. Click on the one of the clusters.
2. Keep the mouse button pressed and move to adjacent clusters.
11. When the image annotation is completed, click Apply.
12. Follow steps 2. to 11. to annotate other images and discard more clusters of pixels.
13. Save the changes in the main window of the rayCloud: On the Menu bar, click Project > Save Project.
14. (optional) If the annotation type selected is Mask or Global Mask, generate a new Densified Point Cloud or a new Orthoplane considering the annotations made: Ensure that the processing will use the annotations and process step 2. Point Cloud and Mesh or generate the Orthoplane again:
14.1. On the Menu bar, click Process > Processing Options...
14.2. Select the processing step 2. Point Cloud and Mesh.
14.3. Ensure that the Advanced box is selected.
14.4. Select the tab Advanced.
14.5. In the section Point Cloud Filters, ensure that the Use Annotations box is selected.
14.6. Click OK.
14.7. Process step 2. Point Cloud and Mesh again or generate the Orthoplane again.