This article describes the steps to remove an orthoplane's background using an annotation tool called Mask.
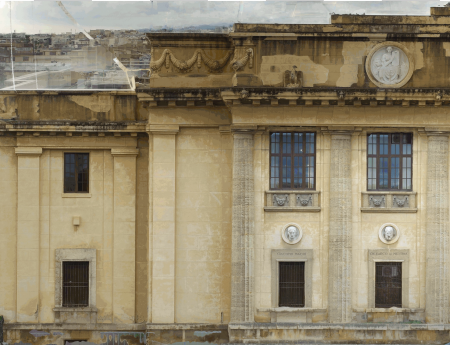
The Orthoplane generates an orthorectified image of the area included in the orthoplane box, i.e. a facade, a slope of a hill, etc. However, it is possible that even though the area of interest is nicely generated, some pixels can still be black. This is due to the area they correspond to is not covered by the orthoplane box. They are covered by background information.
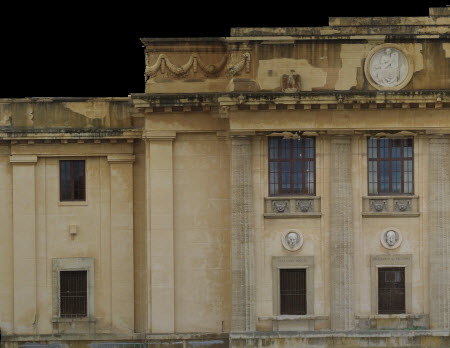
In order to improve the visual aspect of an Orthoplane and remove the background information:
1. Process step 1. Initial Processing and step 2. Point cloud and Mesh.
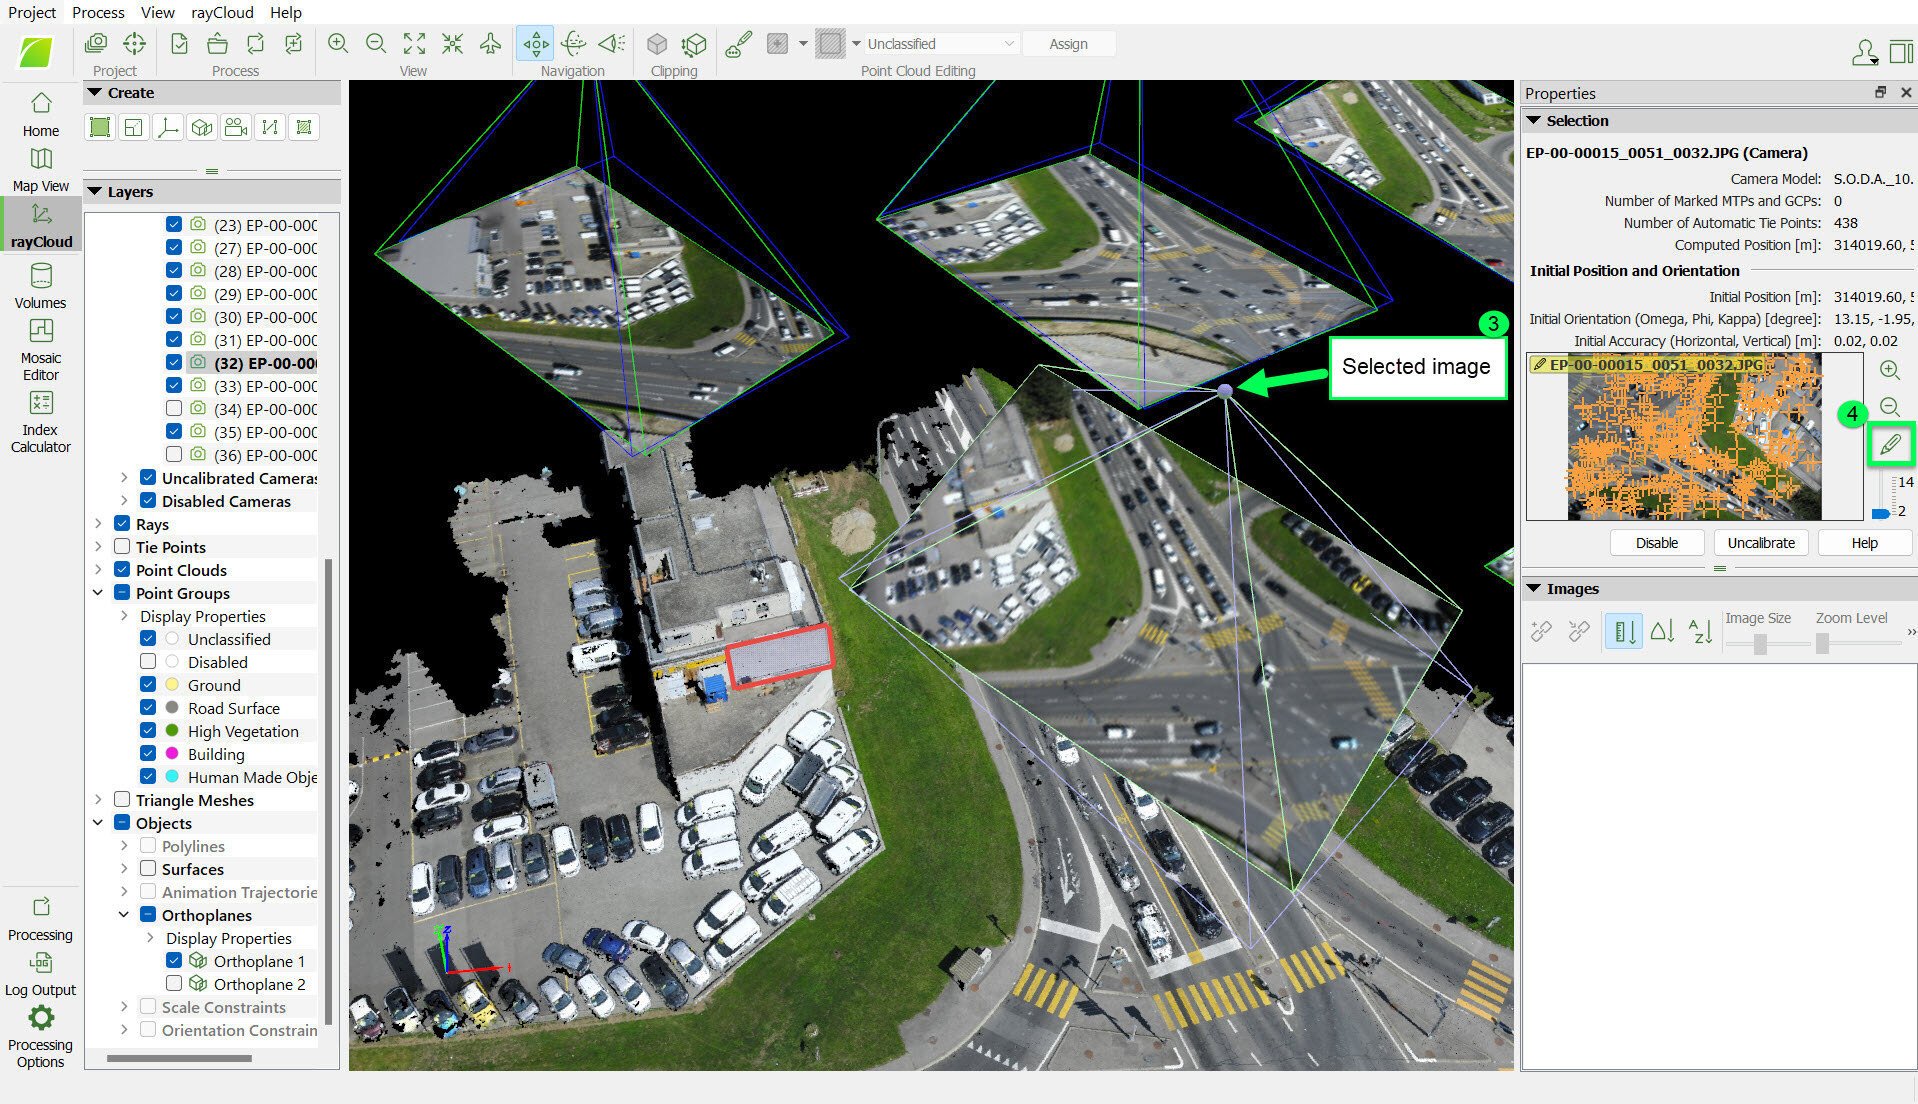
2. Click View > rayCloud.
3. In the rayCloud, in the area of the Orthoplane, select one image in which all the background that distorts the Orthoplane is visualized.
4. In the right sidebar, click to open the Annotation tool.
5. In Annotate, select Mask.
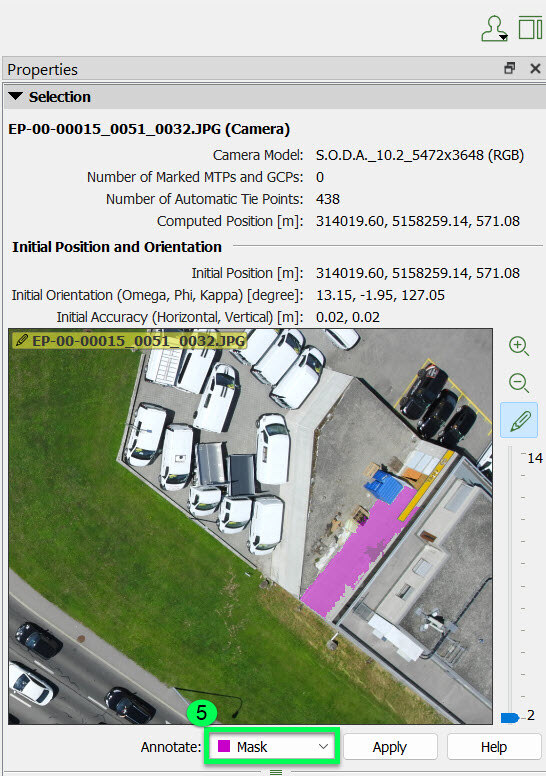
6. Hover over the background areas that should not be part of the Orthoplane and use the left click to mark them. For more information: How to Annotate Images in the rayCloud.
7. If there is no image that covers all the background that distorts the Orthoplane, repeat steps 3-6, until all the background of the Orthoplane box is annotated.
8. Generate the Orthoplane: How to draw a new orthoplane.