PIX4Dsurveyの体積計測ツールは、体積を計算したいオブジェクトの底面をポリゴンで描画し、そのポリゴン面と表示中の点群表面の間の体積を計算します。 デフォルトでは全ての頂点をつなぎ、ポリゴン面の上または下にある空間を三角形化することで体積計算を行います。また、ポリゴン面を垂直方向に任意に移動させることで、用途に応じてより正確な体積を求めることができます。
体積ポリゴンの描画
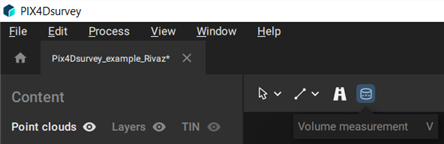
- 画面上部ツールバー、体積測定ツールをクリックして選択

- ポリゴン面の描画を始めます。3Dビューで点群を左クリックし、計測したいオブジェクトにポリゴンが重なるよう描画します。最後に右クリックか Enter を押してポリゴンを閉じます。
- [オプション] シンプル選択ツール
 に切り替え、描画したポリゴンを選択し、各頂点の位置を画像ビュー、メイン画面の3Dビュー、または頂点エディターで微調整してください。
 - [オプション] デフォルトでは、描画したポリゴンの頂点に隣接する点群から地形の傾斜を自動的に検知して、それに応じた角度でポリゴンが作成されます。ポリゴンの全ての頂点を特定の標高値で水平に揃える場合は、まずシンプル選択ツールで体積を選択し、 次に画面左のコンテンツパネル内、体積レイヤー右の 頂点を揃える
 アイコンをクリックしてください。
Tip: 最も低い標高位置の頂点に揃える機能は、複雑な計算処理の実行を避けることができるため、壁に接したストックパイルや、湾上のオブジェクトの体積計算をする際に有効です。PIX4Dsurveyの頂点を揃える機能に関して、詳しくは こちらの記事 を参照ください。
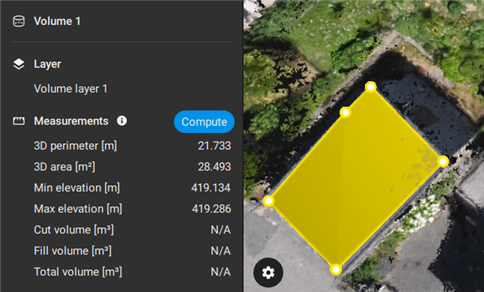
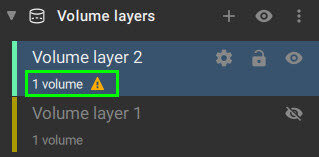
体積計測ポリゴンを閉じて描画が完了すると、コンテンツパネル内にポリゴンの詳細が表示されます。 具体的には
- これから計測する体積の名前と、体積が描画されたレイヤーの名前。 クリックしてレイヤー名の変更や、ギアアイコンから色の変更も可能です。
- 描画されたポリゴンの 3D外周、3D面積、最小標高、最大標高が表示されます。
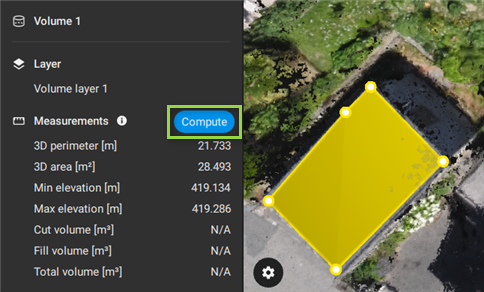
体積の計算を開始
画面左コンテンツパネル内、体積レイヤー横の 計算 ボタンをクリックして体積を計算します。
体積測定が完了すると、切土体積・盛土体積の結果と、発生したエラーが表示されます。
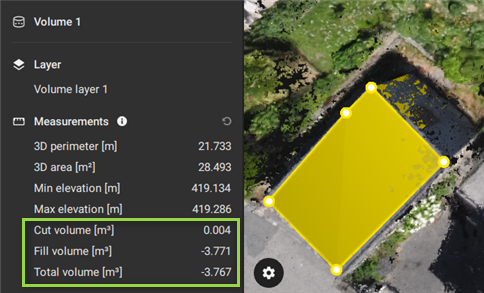
具体的には
- 切土体積 [単位 3 ]: 体積ポリゴン面上部の体積
- 盛土体積 [単位 3 ] : 体積ポリゴン面下部の体積
- 総体積 [単位 3 ]: 体積の合計 (切土 + 盛土体積)
体積または体積レポートをエクスポートする方法
切土・盛土体積を計算した後は、体積レポート、体積ポリゴン、および 体積をエクスポートが可能になります
以下の操作で体積レポートをエクスポートしてください。
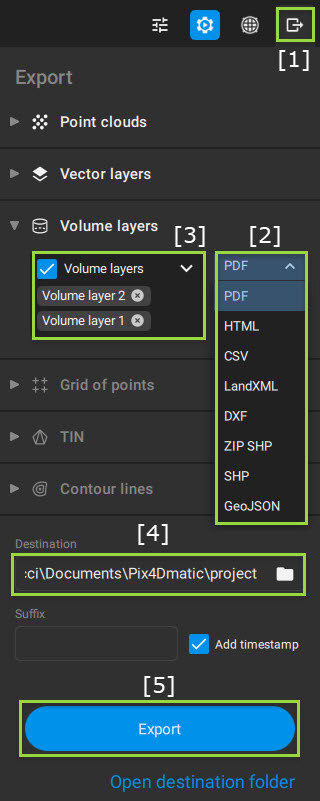
- メニューバーから ファイル > エクスポート をクリック。 または、画面左
 エクスポート アイコンをクリックしてエクスポートパネルを表示
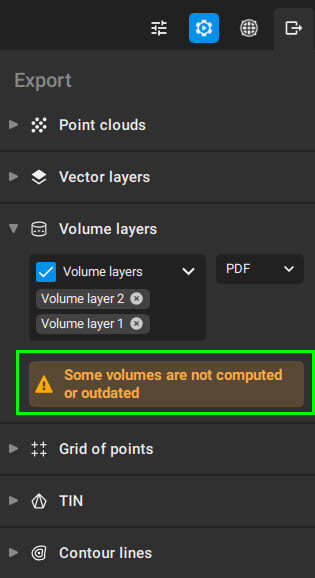
 - エクスポートパネルで、ファイル形式を選択
体積レポート:PDF、HTML、または CSV
体積データ:LandXML
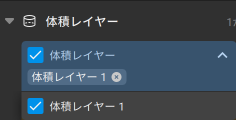
体積ポリゴン:DXF、ZIP SHP、SHP、または GeoJSON - (オプション) エクスポートしない体積レイヤーの選択を x または ✔をオフにして解除
- 保存先フォルダを開く をクリックして、保存先パスを確認
- エクスポートをクリック
ビデオ:PIX4Dsurvey 体積レポート
PIX4Dsurvey ソフトウェアの体積計算方法
PIX4Dsurveyでは、以下のように体積を計算しています。
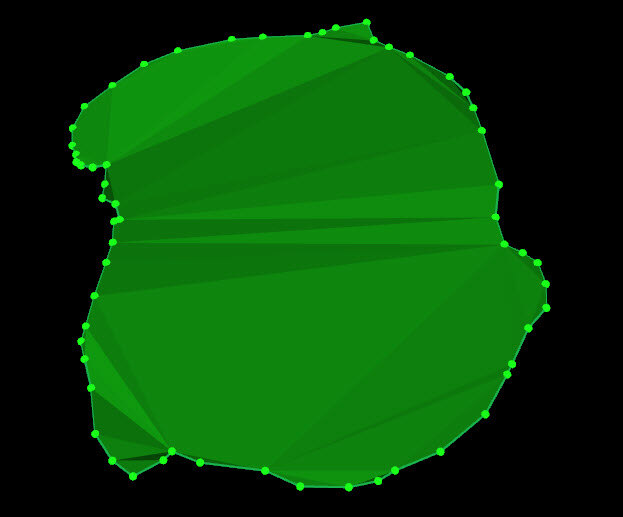
1. 計算したい体積を描画・選択 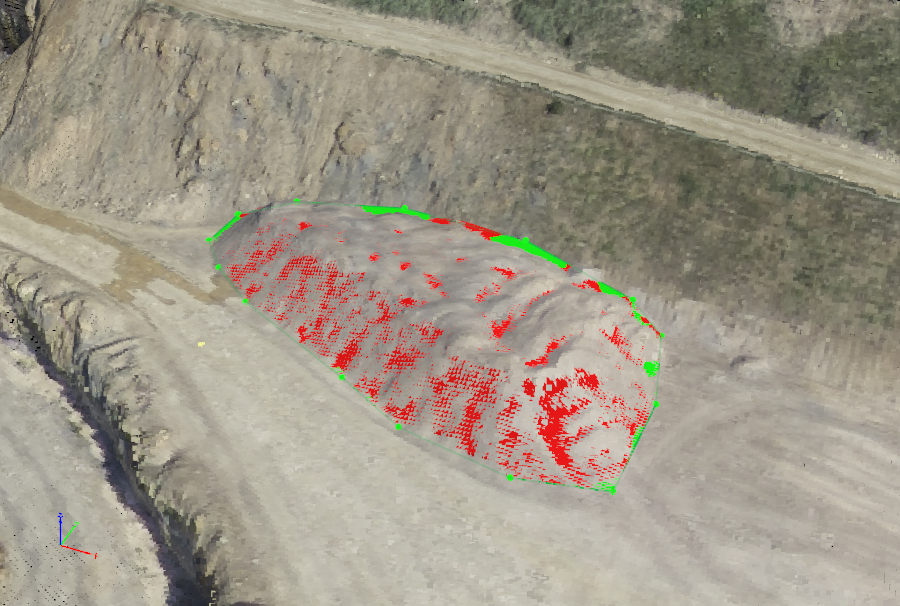
2. 体積ポリゴン面上に GSDと同間隔でグリッドを投影
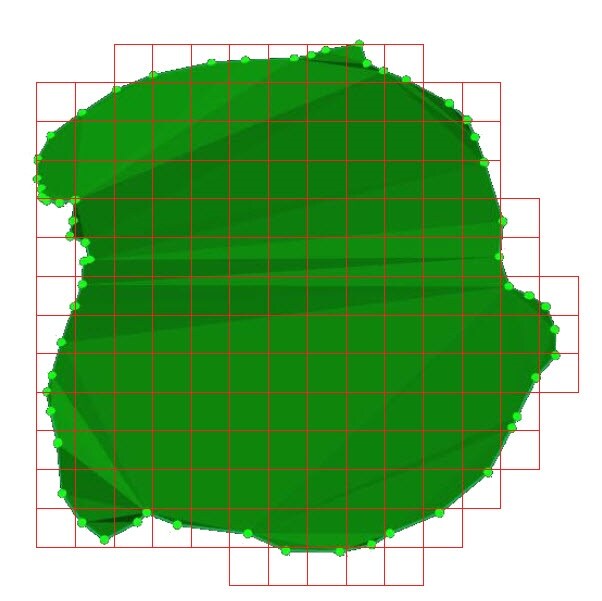
3. グリッドの各セル i について、その体積(Vi) は次式で求められます。
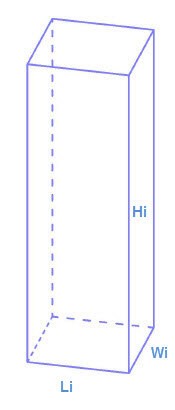
Vi = Li * Wi * Hi
L i = セルの長さ
W i = セルの幅
H i = セルの高さ
長さ (Li) と幅 (Wi) は、プロジェクトGSDの値が入ります。
Li =Wi = GSD
高さ (H i ) は次の式で与えられます。
Hi = ZTi - ZBi
Z Ti = 各セル中心の地形高度
Z Bi = ポリゴン面を構成する各セルの中心の高度
よって、セル i の体積 V i を求める式は以下の通りです。
Vi = GSD*GSD* (ZTi - ZBi)
- Z Ti :各セル中心の地形高度
- Z Bi :ポリゴン面を構成する各セルの中心の高度

4. PIX4Dsurvey は 2 つの体積を計算します。
- 切土体積 V c は、地形がポリゴン面よりも高い標高に位置する場合の、ポリゴン面と 3D 地形の間のボリュームを表します
切土体積 = VC = VC1 + VC2 +...VCN
詳細:
V C 1...N = セル i..N の切土体積
- 盛土体積 V F は、地形がポリゴン面よりも低い標高に位置する場合の、ポリゴン面と 3D 地形の間のボリュームを表します
盛土体積 = VF = VF1 + VF2 +...VFN
詳細:
V F 1...N = セル i..N の盛土体積
5. 切土と盛土の総量は次の式で与えられます。
総量 = VT =VC+ VF