IN THIS ARTICLE
PIX4Dreact tools
Create measurements and markers
Import markers
Edit measurements and markers
PIX4Dreact tools
PIX4Dreact allows measurements to be made and markers to be added to the orthomosaic.
1.  The Move tool is used to pan the map by either clicking and holding the right or the left mouse buttons and dragging. A single click will display the GPS and USNG coordinates
  as a temporary measurement with the option to save as a marker.
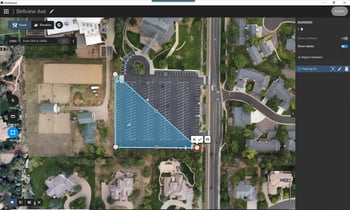
2.  The Measure tool is used to measure distances or areas. The measurements are temporary and cannot be saved or exported. However, measurements can be saved as markers which are permanent and exportable.
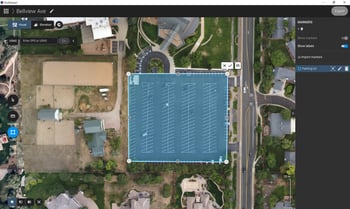
3.  The Mark tool is used to place markers, which are automatically saved in the map. The following markers are available:
 Point: Displays the GPS and USNG coordinates.
 Line: Displays the length (m,ft).
 Area: Displays the surface area (m 2, ft 2 ).
- Count: it enables efficient marking and counting of items.
Create measurements and markers
To create measurements or markers:
- Click Measure or Mark.
- Left-click to start the drawing of the object in the map view.
- Click the check (
 ) to end the drawing.
 - For the Mark tool, enter a title for the marker and click SAVE.
Import markers
PIX4Dreact allows markers to be imported.
- On the sidebar click
 Import markers.
 - PIX4Dreact supports KML, GeoJSON, and SHP file types.
Edit measurements
- Click the plus (+) to add a vertex.
- To remove a vertex, click and drag a vertex on top of a neighboring vertex. Wait until the red halo appears, then release the mouse button.
- To edit the position of a vertex, simply click and drag it to a new position.
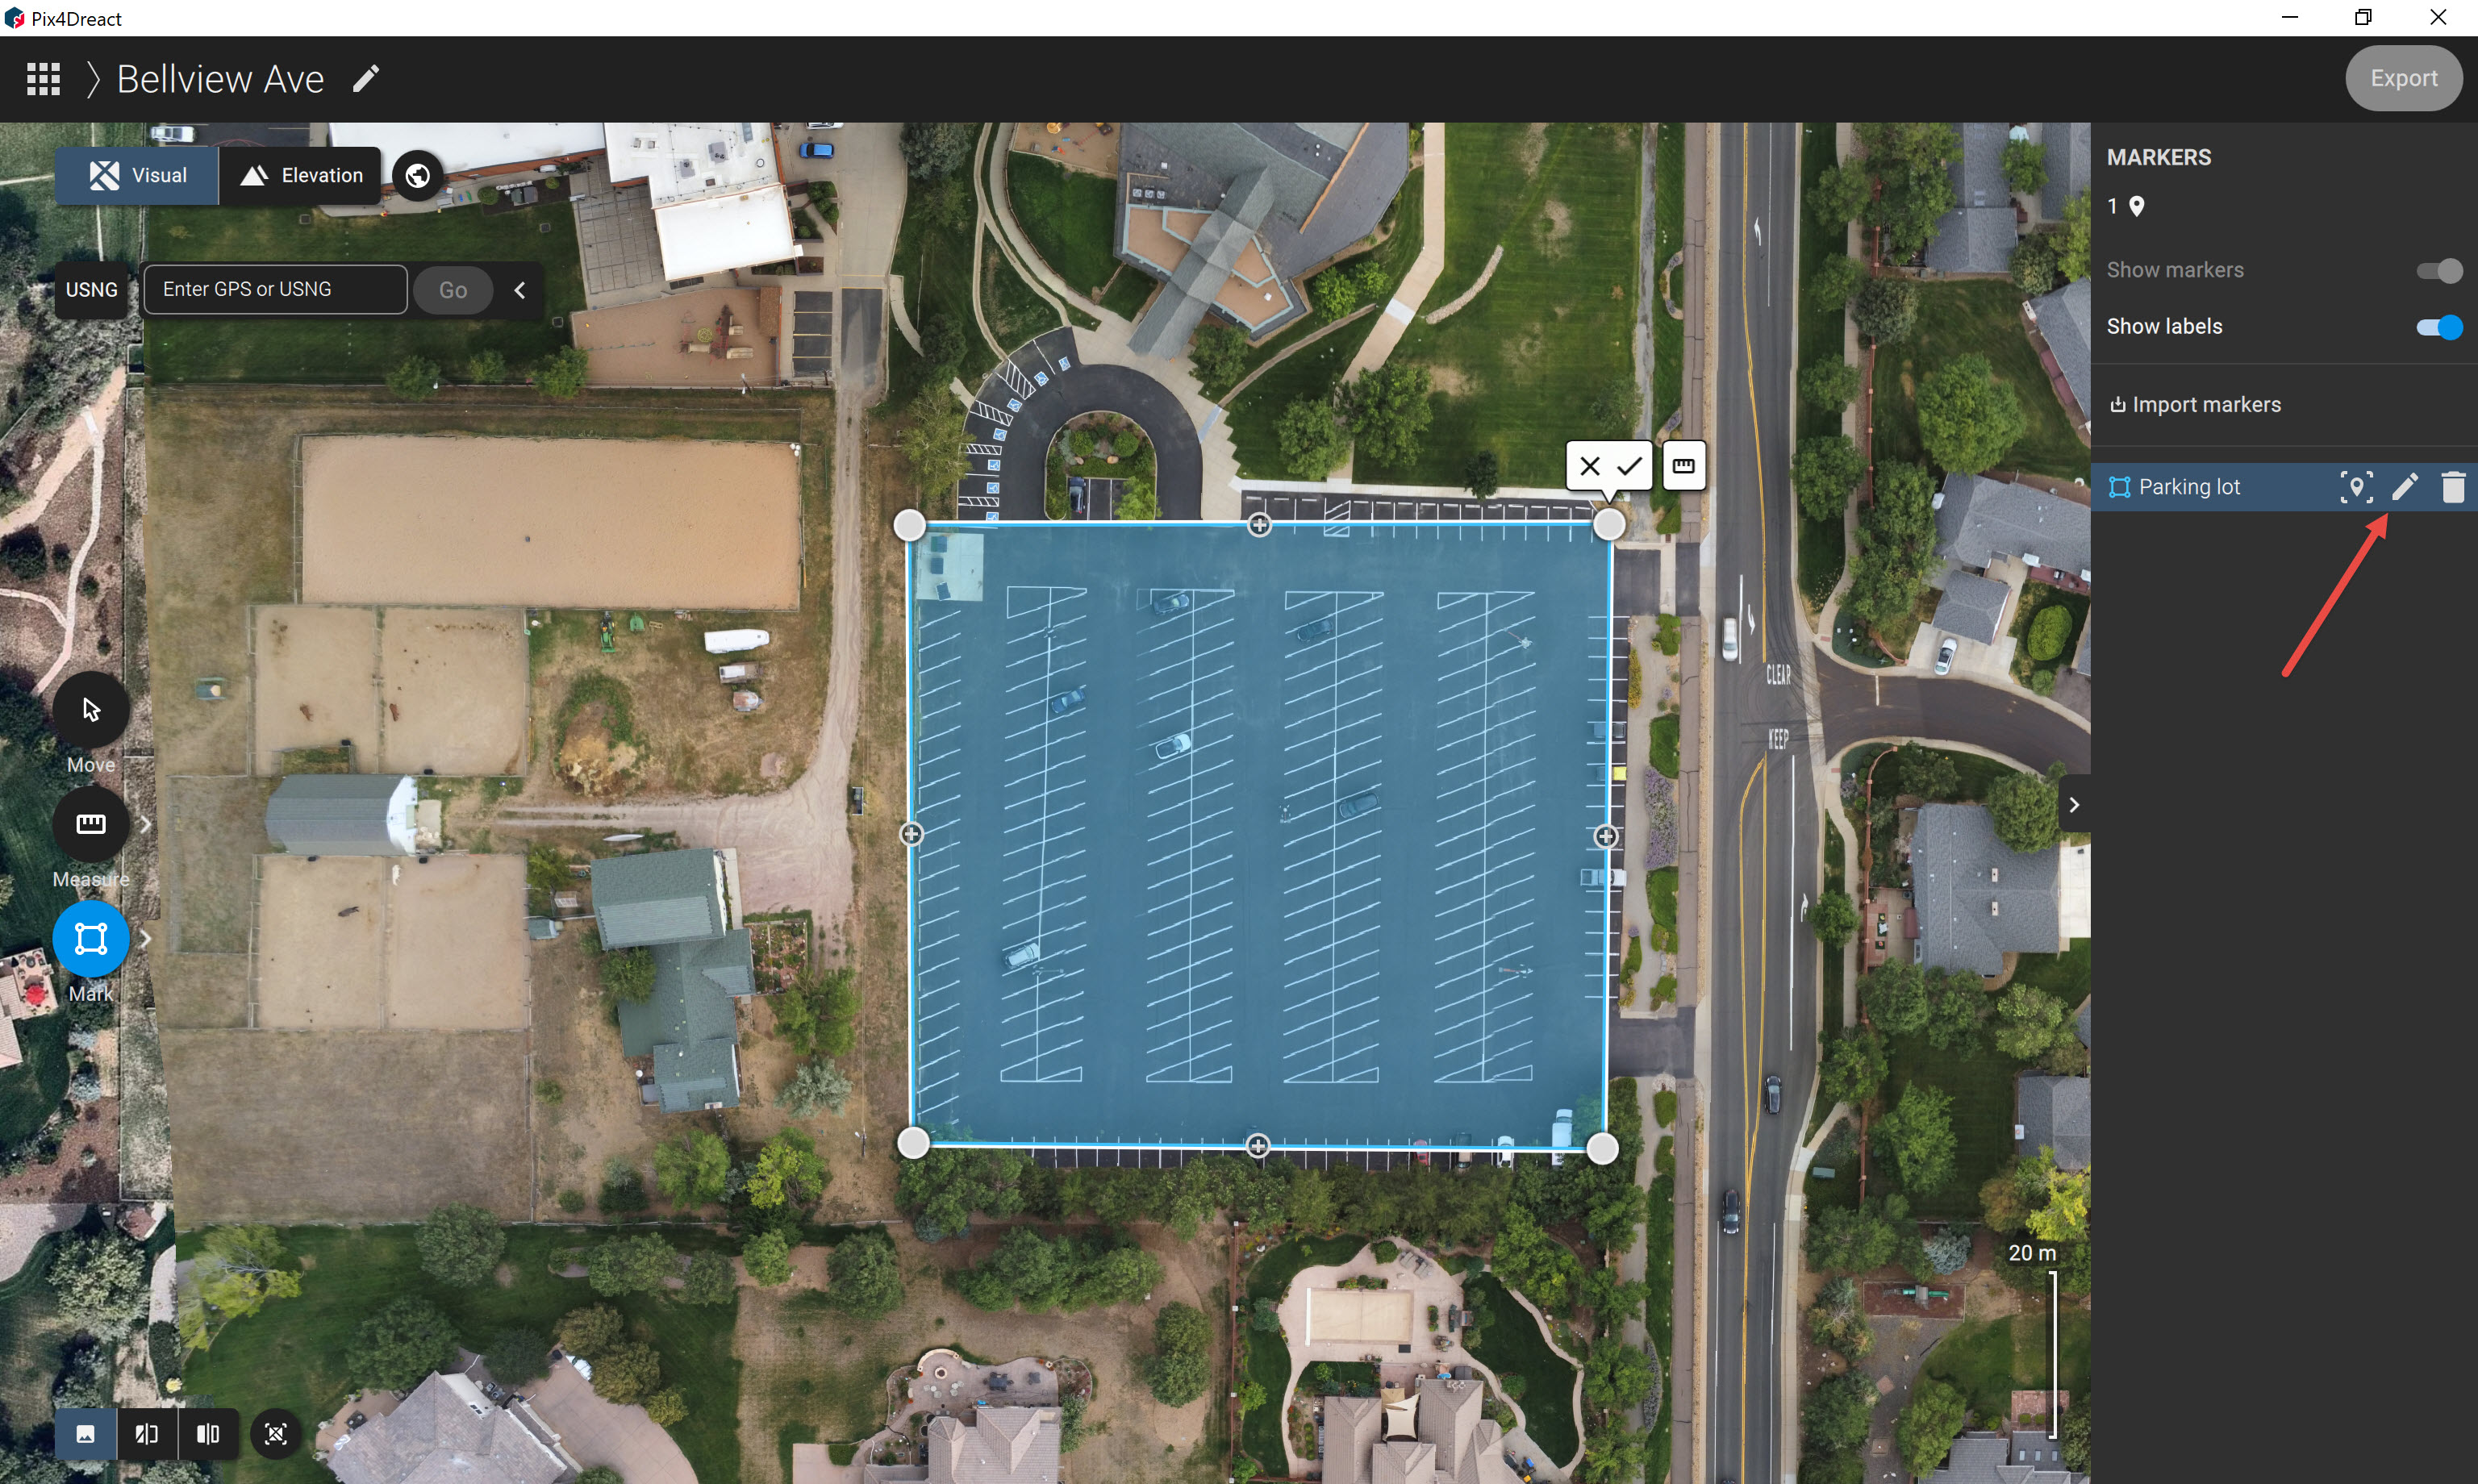
Edit markers
- Find the marker name on the sidebar and zoom on the marker by clicking
 .
. - Edit the marker by clicking
 .
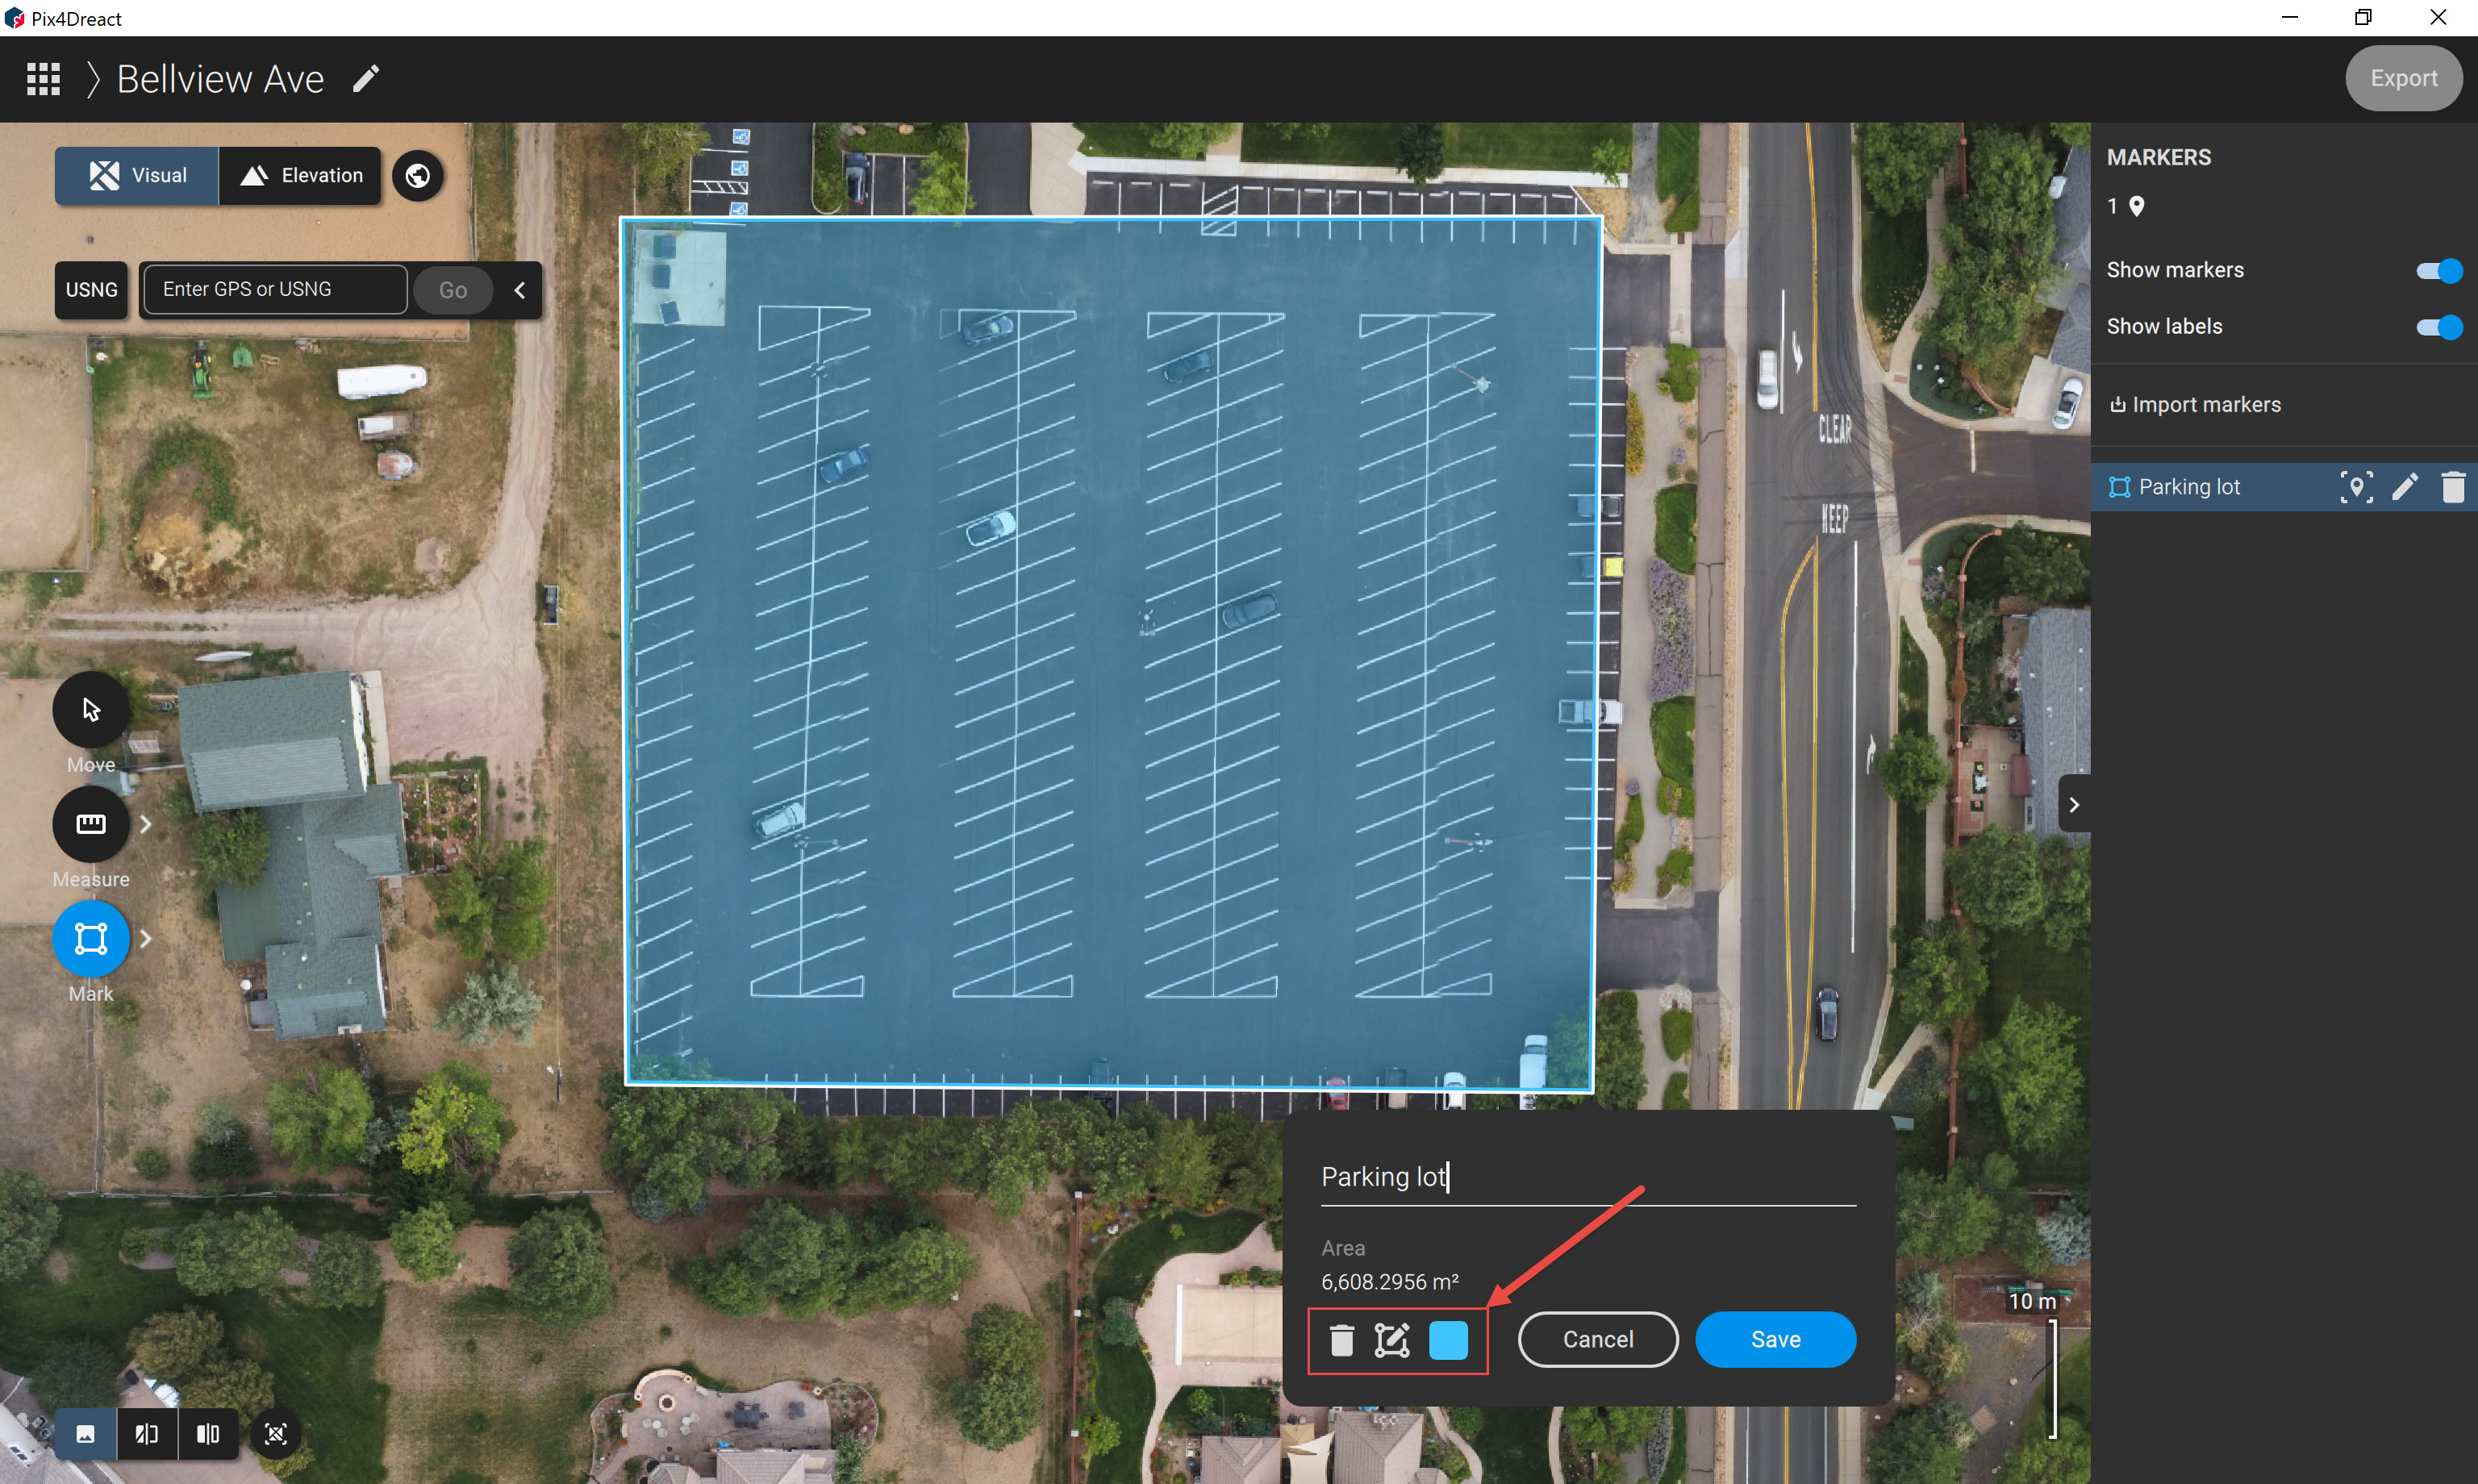
. - A pop-up of the selected marker will open and provides four functions:
- Change title: Renames the marker.
- Delete marker: Removes the marker.
- Edit geometry: Modifies the marker by following the same steps as described in section Edit measurements. Click the check (
 ) to end the editing.
 - Change the color of the marker.