Editing the point cloud allows to clean the 3D model by reducing noise and improving the precision as well as the visual rendering. This impacts the outputs of Step 3. DSM, Orthomosaic and Index.
In order to edit the point cloud in the rayCloud:
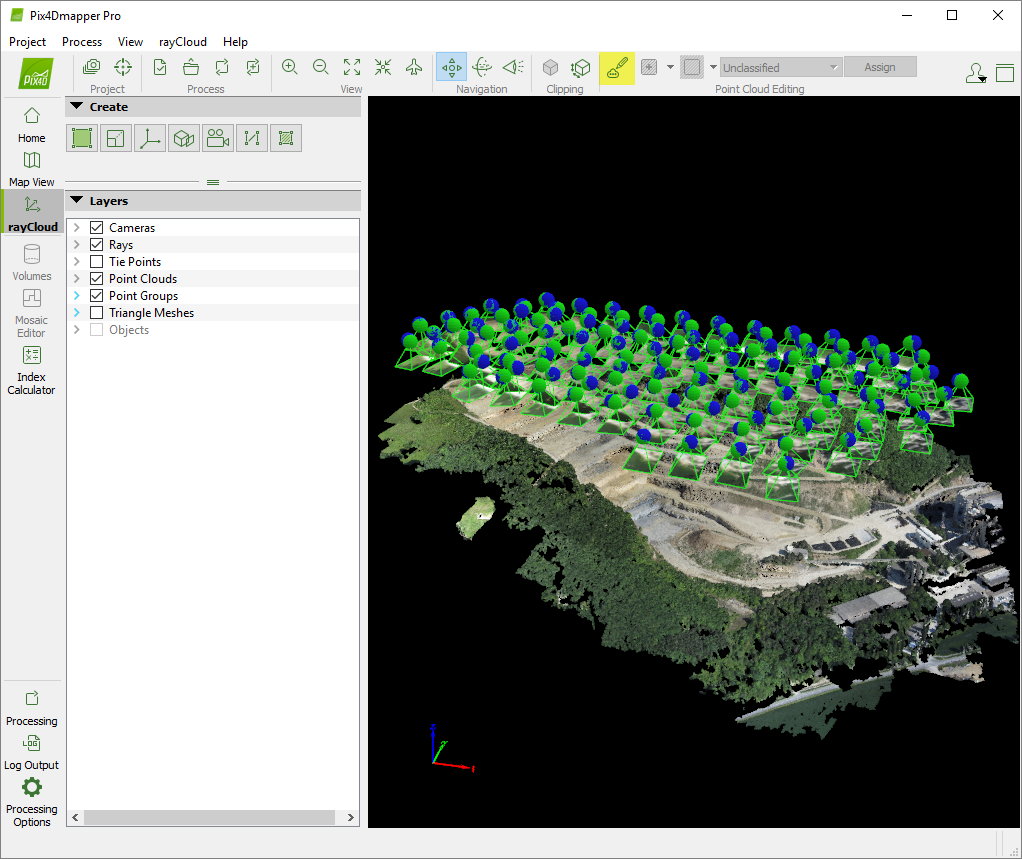
1. On menu bar, click View > rayCloud.
2. If the densified point cloud is not loaded or displayed in the 3D view: In the section Layers on the left sidebar, select Point Clouds.
3. (optional) Visualize / hide the groups of the points to be edited: In the section Layers of the left sidebar, select / unselect the desired Point Groups.
4. In the toolbar, click  Edit Densified Point Cloud in order to activate the editing mode.

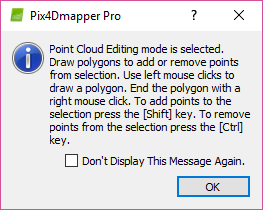
5. The following pop-up message appears. Read it and click OK.

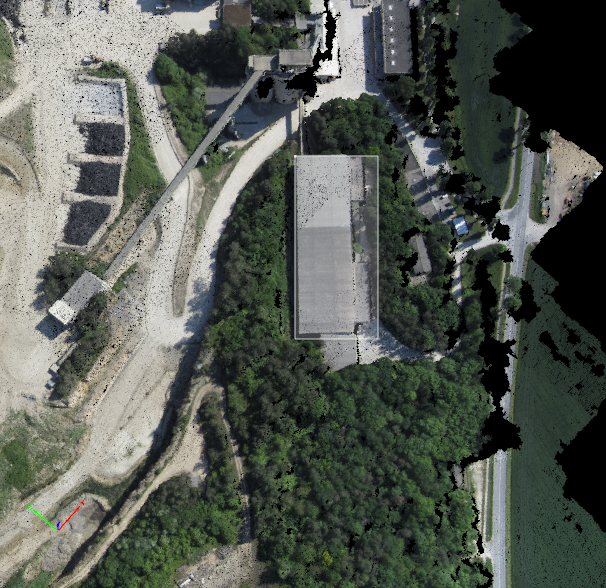
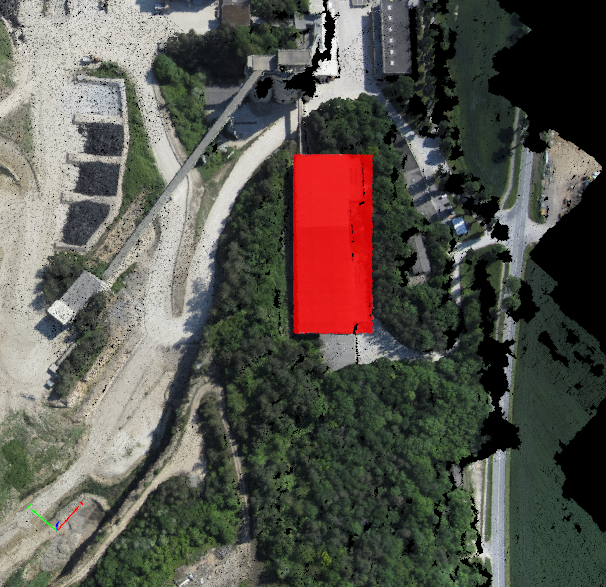
6. By default  Add Points to Selection is selected. To select points, draw a polygon in the 3D View by using left mouse clicks. End the selection with a right-click. A red polygon highlighting the selected points is visible in the 3D View.


7. (optional) To remove points from the selection: In the toolbar, click the arrow beside Add points to selection and select
  Remove Points from Selection. In the 3D View, on an area highlighted in red, left-click to draw a polygon around the points that have to be removed from the selection. End the polygon with a right-click. The selected area is not highlighted in red color.
8. (optional) To clear the current selection: In the toolbar, click the arrow beside Select All and select
  Clear Selection.
9. (optional) To invert the selection (i.e to convert all the non-selected areas to selected areas and vice versa): In the toolbar, click the arrow beside Select All and click
  Invert Selection.
10. Once the points are selected: In the toolbar, click the arrow beside Unclassified and select the group to which the selected points will be assigned. In order to assign the points to a new group, click New Point Group. A pop-up appears, type the new point group name and click OK. The new group created is selected.
11. Click Assign.
- When processing step 3. DSM, Orthomosaic and Index, the points belonging to the group Disabled are not used.
- If the DSM is generated before assigning points of the point cloud to the disabled point group, step 3. DSM, Orthomosaic and Index needs to be computed again to compute volumes based on the edited point cloud.
12. Exit the editing mode by clicking again the button  Edit Densified Point Cloud in the toolbar.
13. In the menu bar, click Project > Save Project.
14. Export the new densified point cloud that was just edited. For more information: How to export the Point Cloud.
