To access the File Upload option, use the menu bar and click on Project. Then, select Upload Project Files…
The File Upload pop-up appears, which allows the user to:
- Upload and process a project on PIX4Dcloud.
- Upload Files on Sketchfab.
Upload and process a project on PIX4Dcloud
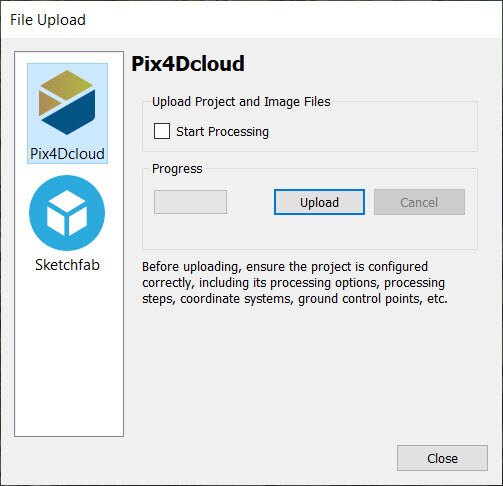
The File Upload window contains 2 sections:
- Upload Project and Image Files: This section holds the Start Processing option.
- Start processing: Enable this option to automatically start processing the project on PIX4Dcloud, once all the information is uploaded successfully. For more information, How to upload project files from PIX4Dmapper to PIX4Dcloud.
- Progress:
- Progress bar: Displays the upload status in percentage
- Upload: Allows to upload the selected files on the cloud
- Cancel: Cancels the upload.
- Network errors, e.g. Internet not available, DNS error, etc
- Authorization errors,e.g the user is not authorized by PIX4Dcloud
- Internal errors,,e.g. problems with incompatible filenames, characters, etc.

Note: Uploading project files from PIX4Dmapper to PIX4Dcloud for processing differs from the Share to PIX4Dcloud option available in PIX4Dmatic and PIX4Dfields. In PIX4Dmatic and PIX4Dfields, the Share to PIX4Dcloud option allows users to upload locally processed files to PIX4Dcloud for sharing purposes. However, this feature is not available in PIX4Dmapper.
Warning: Uploading project files to PIX4Dcloud for processing is only valid for users with a PIX4Dcloud or PIX4Dcloud Advanced license.
Upload files to Sketchfab
The File Upload window contains 2 sections:
- Account: It displays the URL to log in or create (free of charge) a Sketchfab account. There is a limit on the size of the files that can be imported:
- Basic (free account): 10MB per upload.
- Pro: 50MB per upload.
- Premium: 200 MB per upload
- Enterprise: Custom.
- Upload: It displays the instructions to upload the 3D Textured Mesh on Sketchfab: How to upload files to Sketchfab.
Important: In order to use the 3D Textured Mesh in Sketchfab: How to use the 3D Textured Mesh in Sketchfab.