|
|
|
|
|
|
|


Orthomosaic
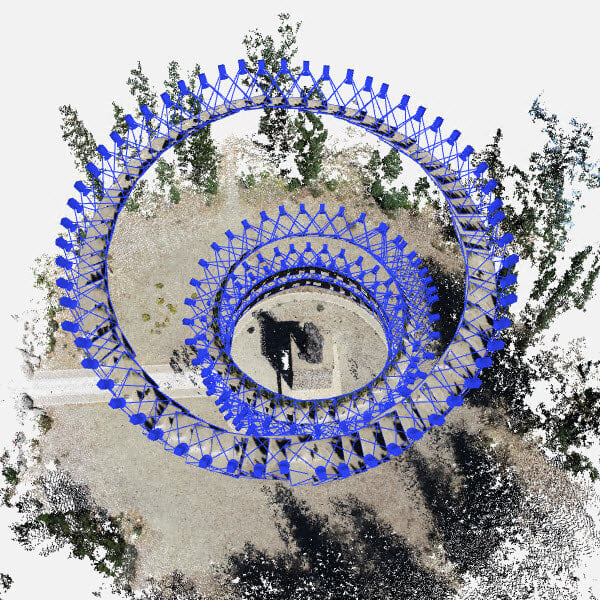
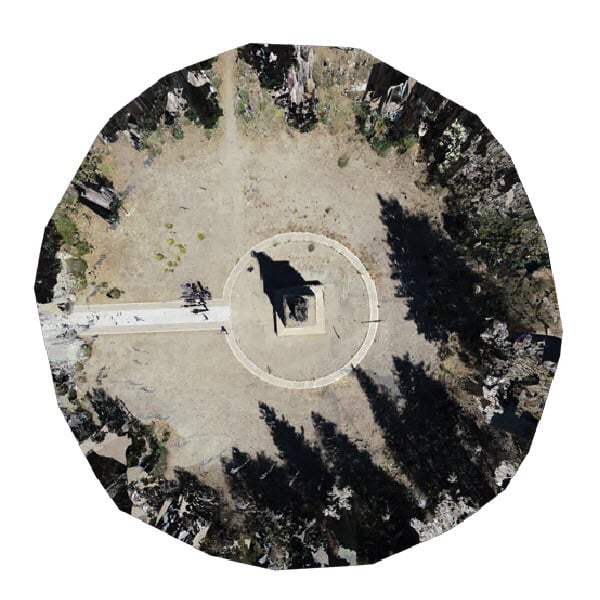
Create an orthomosaic based on the digital surface model (DSM) and the images.
Note: since version 2.4.0, processing can be paused and resumed at any time as long as the project remains open. There is no need to cancel and start over. If processing is paused and the project is about to be closed, the following message will appear.

- Click Processing options
 and enable the Orthomosaic option.
 - On the Menu bar, click Process > Orthomosaic...
IN THIS ARTICLE
ResolutionAlgorithm
Blending algorithm
Oblique
Mask-aware
Applying the Region of Interest (ROI) for cropping
Exports
Export JPG format settings
Export GeoTIFF format settings
It allows users to change the following processing options:

Note: The orthomosaic generation now respects the region of interest (ROI), allowing the orthomosaic area to be restricted without regenerating the DSM.
Resolution
- Resolution: Defines the spatial resolution used to generate the orthomosaic.
- The orthomosaic resolution is the same as the resolution of the DSM. For example, if the DSM resolution is set to 5 cm then the orthomosaic resolution will also be 5 cm.

Algorithm
- Algorithm: Allows switching between the orthomosaic creation algorithms.
- Hardware accelerated (Default): The generation of the orthomosaic will be computed using a GPU-capable algorithm. This option can contribute to reduced processing time.
- Standard: The generation of the orthomosaic will be computed using the standard algorithm relying on the CPU.
Blending algorithm
- Minimal: Computes pixel color using a single or small number of input images.
- Full: Computes pixel color using all the input images.
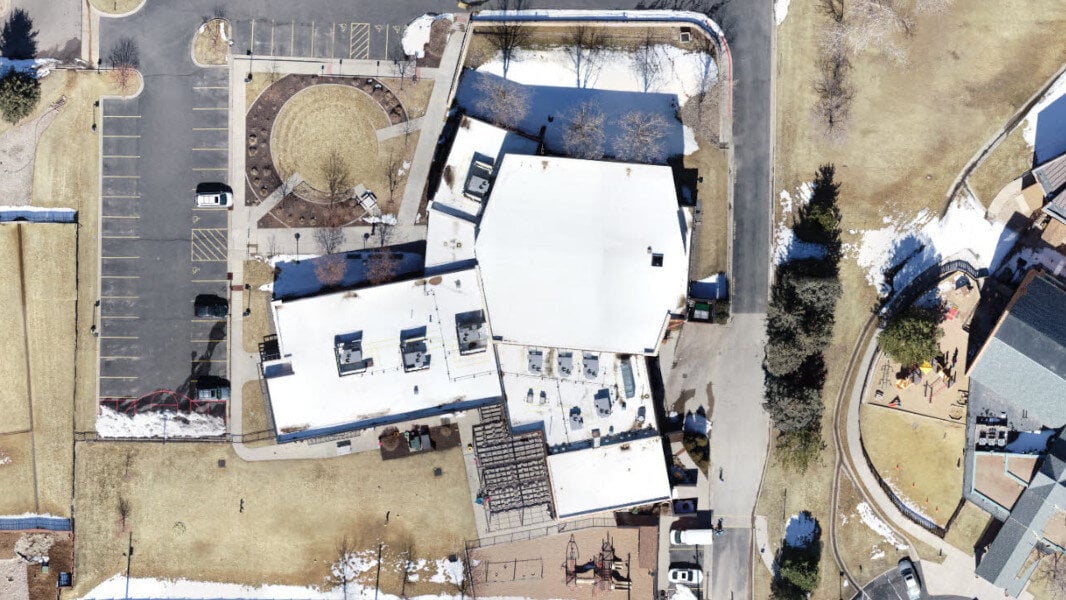
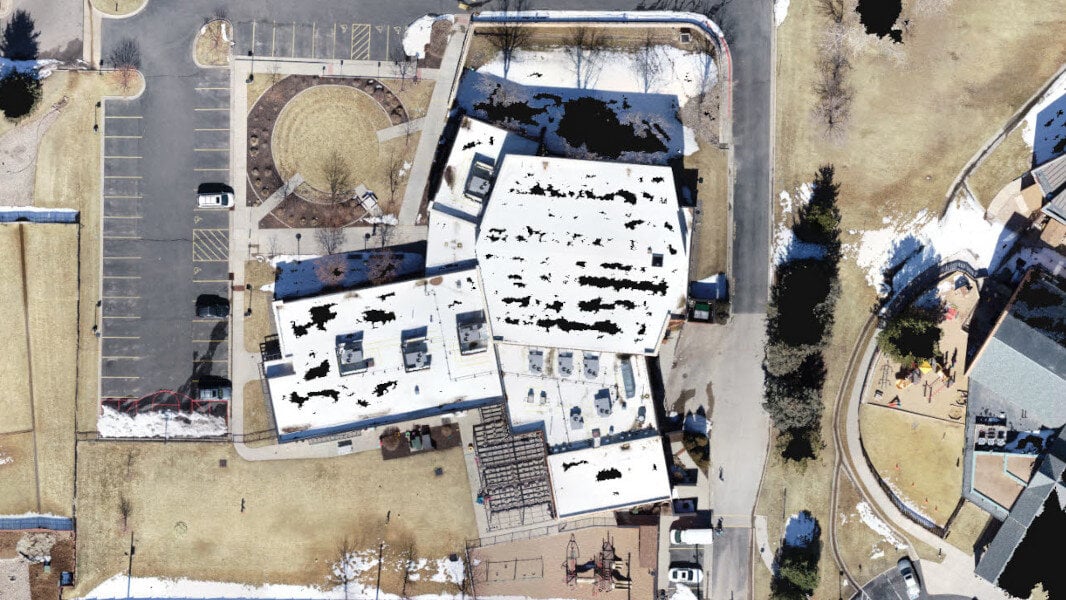
- Deghost: Remove moving objects.
Oblique
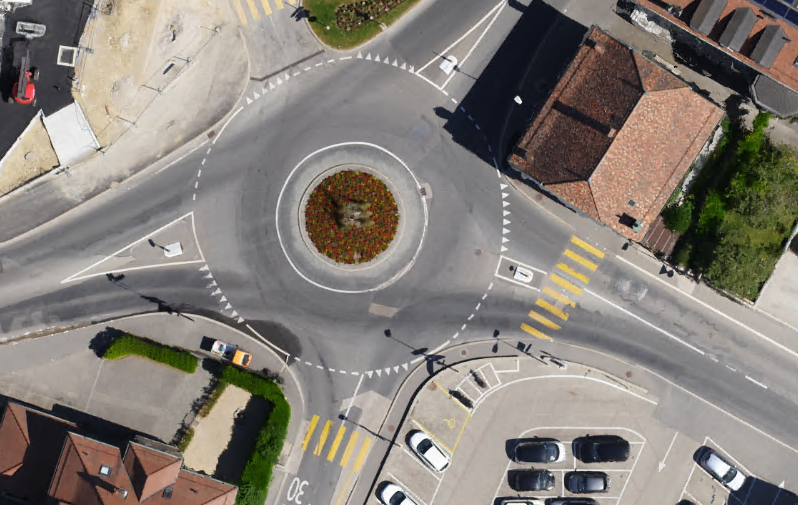
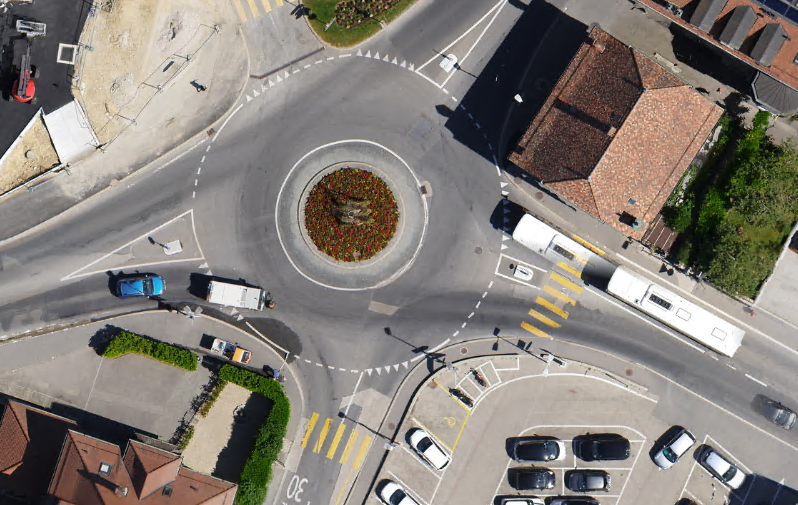
Oblique (default - disabled): Enabling this option improves the orthomosaic for oblique projects.
Mask-aware
Applies a mask to exclude the elements from the orthomosaic. For a detailed understanding of how masks function within PIX4Dmatic, please refer to: Masks - PIX4Dmatic.
Note: Inconsistent results may arise if the mask settings for the orthomosaic and DSM differ. To ensure uniformity, regenerate the DSM to align the mask settings.
Applying the Region of Interest (ROI) for cropping
After processing the Orthomosaic, the Region of Interest (ROI) can be applied to clip the output to a specific area of the project. This reduces the file size and saves time, as reprocessing is not required.
From the content panel, in the Orthomosaic section, the option Apply region of interest becomes available from the three-dot menu after a Region of Interest has been drawn.

Exports
The following formats are available when exporting the orthomosaic:
Export JPG format settings
Tip: Use the JPG file format to ensure small file sizes and compatibility with image viewers. JPG files are not geolocated.
For the JPG format, the following export settings are available:
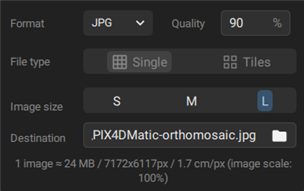
- Quality (90% - default): Defines the compression of the exported file and the JPG quality setting.
- 90%: The default quality value is set to 90% as it is almost indistinguishable from the quality of 100% but the image file created is twice as small.
- 100%: A quality of 100% results in the highest quality but the largest file size, indicating low compression.
- 0%: A quality of 0% results in the smallest file size but very low quality, with the highest compression.
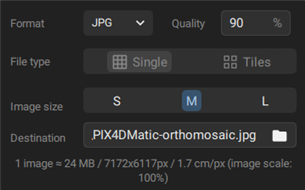
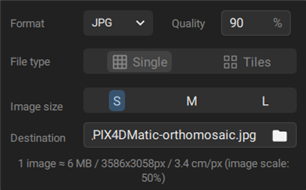
- Image size (L- default): Defines the size of the exported file.
- L: Provides the best quality at the highest resolution achievable with JPEG, but may require more time and memory to open in third-party software. The image retains its original size unless it exceeds the max JPG size of 65535 × 65535 px (~17 GB uncompressed).
- M: A balanced resolution suitable for most applications that does not require maximum detail. The exported image has a max size of 16000 × 16000 px. Larger images are downscaled.
- S: Ideal for quick viewing, sharing via email, or on the web. The exported image has a max size of 4000 × 4000 px. Larger images are resized to fit within the 4000 × 4000 px limit.
Example: For a file with the original size of 7172 × 6117 pixels, the exported file with Image size:
- L: 7172 × 6117 pixels (Image scale 100%).
- M: 7172 × 6117 pixels(Image scale 100%).
- S: 3586 × 3058 pixels (Image scale 50%).
Export GeoTIFF format settings
Tip: Use the GeoTIFF file format to create a geolocated orthomosaic.
For the GeoTIFF (.tiff) format, the following export settings are available:
- Compression (LZW - Default): Defines the compression of the exported file.
- None: No compression is used during the export, resulting in a larger file size.
- LZW compression: No data is lost during the compression of the file (lossless compression) and the .tiff is not degraded. This results in a smaller file size of the exported file.
- JPEG compression: Slight degradation of the .tiff file (lossy compression). The file size is much smaller compared to LZW compression or no compression options.
- File Type (Single - default):
- Single: The image will be exported in a single file.
- Tiles (2048 px - default): The image will be exported in tiles with a predefined size of 1024 px, 2048 px, or 4096 px. The origin of the tiles is the top left corner of the project boundary.
- Image Scale (100%- default): Defines the scale of the exported file.
- 100%: The exported image will keep the original size.
- 50%: The exported image will be scaled to 50% of the original size.
- 25%: The exported image will be scaled to 25% of the original size.
Example: For a file with the original size of 10000 x 10000 pixels, the exported file with Image scale:
- 100%: 10000 x 10000 pixels.
- 50%: 5000 x 5000 pixels.
- 25%: 2500 x 2500 pixels.
- Transparency. Select if the orthomosaic is exported with or without transparency to improve compatibility with third-party software.
- Export CRS. The image will be exported using one of this CRS:
- Project CRS.
- Web mercator.
KML: Tiles and KML/KMZ to import into Google Earth
Note: The KML/KMZ files imported into Google Earth must comply with Google´s guidelines*:
- Unzipped KML and KMZ files can be up to 1GB
*Disclaimer: This link leads to an external website that is not affiliated with Pix4D. Responsibility for the content, security, and privacy policies of third-party sites lies solely with the respective owners.
Tip: To reduce the size of the file, export the orthomosaic at 25% Image scale. If the file is still larger than 1Gb, generate lower resolution DSM and Orthomosaic (by setting Custom resolution for DSM) and re-export them to KML/KMZ.
- Save as...:
- Single: Specifies the path and the file name of the exported file.
- Tiles: Specifies the destination folder.
- On the Menu tab, click File > Export orthomosaic...
- In the Export orthomosaic dialog, select the export settings.
- Click Export.