Download and installation - PIX4Dfields
IN THIS ARTICLE
Download
To download the software:
- Go to the Download software page.
- Log in with the dedicated account.
- Download PIX4Dfields for Windows or macOS.
Installation on macOS
Once the software has been downloaded, install it using the following steps:
1. Double-click the downloaded file.
2. Drag and drop the PIX4Dfields logo into Applications.

3. Navigate to Finder and click on the tab Applications.
4. Double-click PIX4Dfields to run the program.
5. (optional) If the pop-up appears, click Open.
Installation on Windows
Once the software has been downloaded, install it using the following steps:
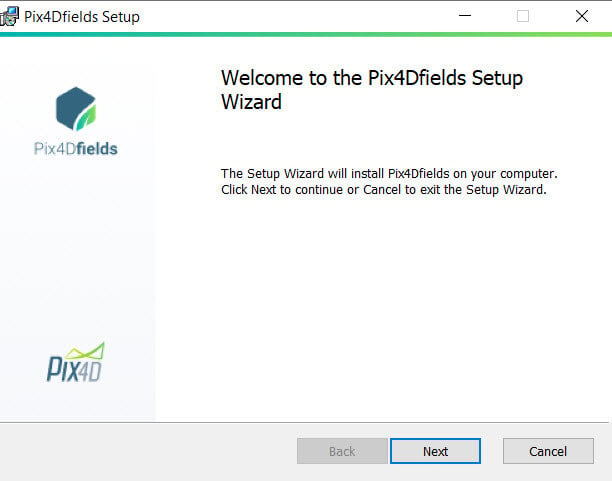
1. Double-click the downloaded file. The PIX4Dfields Setup wizard starts.
2. (optional) If the pop-up Open file - Security Warning appears, click Run anyway.
3. In the pop-up PIX4Dfields Setup, click Next.
4. Read and agree to the End-User License Agreement to continue the installation. Click Next.
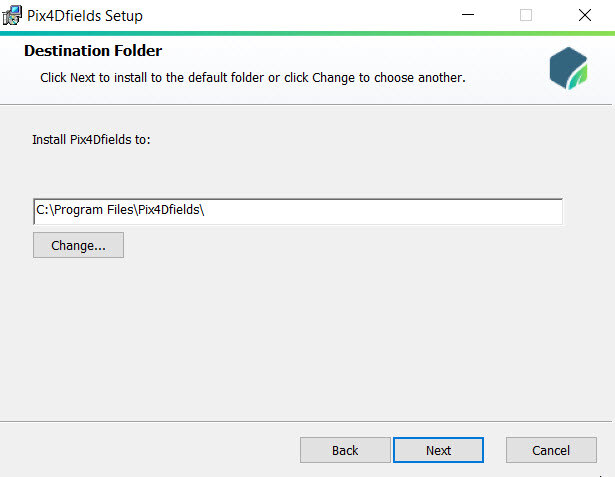
5. (optional) Click Change... to change the destination path for installation and click Next.

6. Click Install.
7. (optional) In the software window: "Do you want to allow the following program to install software on this computer?", click Yes.
8. Click Finish.
9. A shortcut is created on your desktop once the installation is completed.
Login
For step-by-step instructions: PIX4Dfields sign up and the first-time login.
