In order to log in to PIX4Dmapper:
- Make sure that there is an internet connection for this procedure.
- Double-click the PIX4Dmapper shortcut created on the desktop.
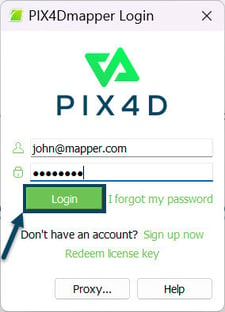
- The window PIX4Dmapper Login opens.

- (optional): If a proxy server is used to connect to the internet, click Proxy... and follow these instructions: How to set up the Proxy Server Configuration - PIX4Dmapper.

- Type in the Email address and Password and click Login.
- Select:
- Discovery Mode to activate the limited version. For more information: PIX4Ddiscovery / Discovery mode - PIX4Dmapper.
Or - Available licenses to choose a license that is already assigned to the account.

- Discovery Mode to activate the limited version. For more information: PIX4Ddiscovery / Discovery mode - PIX4Dmapper.
- Click OK to start using PIX4Dmapper.
Note: To enable license sharing without distributing login credentials, all students should be added to the main organization when using the Educational Classroom license. More information can be found here: PIX4Dmapper installation for computer lab.
After logging in to PIX4Dmapper, this action occupies a seat on the license. If users would like to use the license on another device, please log out from the currently active device first. For more information on how to log out to PIX4Dmapper: How to log out - PIX4Dmapper.
Important: PIX4Dmapper does not support SSO, and users with SSO-enabled accounts may encounter connection issues. As a workaround, a temporary password can be generated on the account page:
- Go to https://account.pix4d.com/settings/security and log in using the SSO-enabled account.
- Click Generate to create a temporary password (valid for five minutes).
- Use the temporary password for your SSO-enabled account in PIX4Dmapper.