1. Open ArcToolbox.
2. Select Data Management > LAS Dataset > Create LAS Dataset.
3. To see the color information (true RGB), open the toolbar LAS Dataset and select RGB.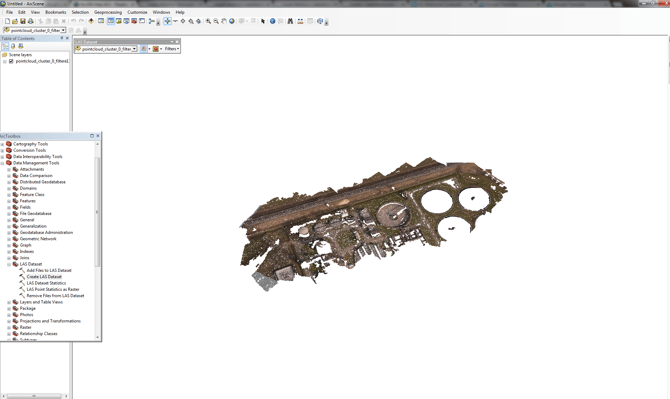
First create a new LAS dataset.
1. Right-click on the folder where the LAS dataset needs to be created, and click New > LAS Dataset.
2. Rename the LAS dataset from New Las Dataset to the desired name for the project.
3. Double-click on the new LAS dataset.
4. In the window LAS Dataset Properties, select the tab LAS Files to add LAS files to the LAS dataset. It is possible to use Add Files or Add Folder.
For more information: ArcGIS help.
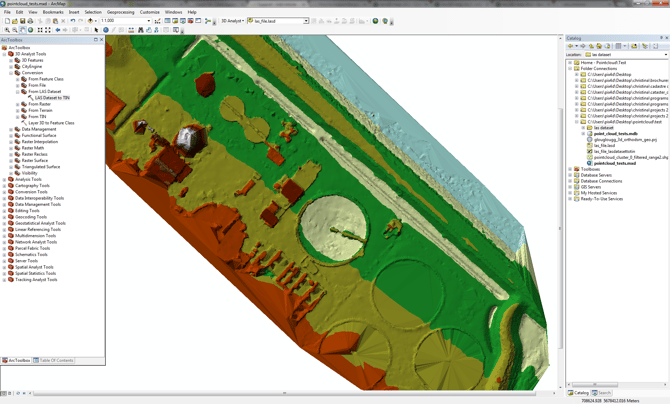
After having created the .las dataset, create a TIN.
1. Open ArcToolbox.
2. Select 3D Analyst Tools > Conversion > From Las Dataset > Las Dataset to TIN.
For more information: ArcGIS help.
Simply drag and drop the .tif file from ArcCatalog or the file explorer window. For more information: ArcGIS help. Alternatively, use the Add Data button on the Standard toolbar. For more information: ArcGIS help.
Pix4Dmapper can generate contour lines. For more information: Menu Process > Generate Contour Lines. However, it is also possible to extract contour lines using the DSM or DTM generated by Pix4Dmapper:
1. Drag and drop the .tif file from ArcCatalog or the file explorer window. For more information: ArcGIS help. Alternatively, use the Add Data button on the Standard toolbar. For more information: ArcGIS help.
2. Open ArcToolbox.
3. Select Spatial Analyst tool > Surface > Contour.
For more information: ArcGIS help.
To improve the visual aspect, it is possible to delete small lines, to smooth the contour lines, and edit the symbology.
Delete small lines
Depending on the area and its elevation, some tiny contours might be generated (see picture below).

1. Right-click the contour lines .shp file and click Open Attribute table.
2. If there is no length field, create one. On the menu bar, click Table options > Add field. This adds a new column with the header length.
3. Right-click the length field.
4. Select Calculate Geometry.
5. In the field Property, select Length.
6. Close the table.
7. On the toolbar Editor, click Editor > Start Editing.
8. From the menu, click Selection > Select by attribute.
9. Set a length value. All the contours that have lengths below this value will be selected.
10. Delete the selected lines.
11. On the toolbar Editor toolbar, click Editor > Save Edits.
12. On the toolbar Editor toolbar, click Editor > Stop Editing.
Smooth contour lines
The contour lines are often sharp and need to be smoothed.
1. Open ArcToolbox.
2. Select Cartography Tool > Generalization > Smooth Line.
For more information: ArcGIS help.

Edit the symbology
For more information: Applications with ArcGIS products.
There are many options in regards with the symbology of an object. Here are instructions about how to define some main contour lines (every 10 meters) by displaying them with thicker line width. This symbology will help to distinguish them from the other contours.
1. Right click on the .shp file of the contour lines.
2. Click Properties.
3. From the menu of the Properties window, click Symbology.
4. Click Categories > Unique values.
5. Change the field Value to Elevation.
6. Click Add Values.
7. In the window Add Values, select the main elevations (in this example every 10 meters) and click OK.
8. Select the new contour values that were just added in the window Symbology, then right-click and click Group Values.
9. Select the symbol for the main contours and the other ones that are grouped and labeled as <all other values>.
1. Open the toolbar KML in ArcGlobe.
2. In the upper-right corner, click the Add KML Data button  .
.
3. Browse for the desired .kml file.
4. Click Open.
Third-party information disclaimer:
PIX4D provides instructions for third-party platforms and products solely as a helpful guide to unblock your integration. Those companies are independent of PIX4D. We do not maintain, control, or guarantee the performance, accuracy or reliability of these products.
PIX4D may provide third-party links or contact information to help you find additional information about this topic. This contact information may change without notice. PIX4D does not guarantee the accuracy of third-party documentation or contact details.