IN THIS ARTICLE
Requirements
How to use the AR Point visualization
AR Status
Requirements
- A PIX4Dcatch Professional License
- RTK device connected (recommended).
How to use the AR Point visualization
To use AR point follow the next steps:
-
Go to the Capture screen
 .
.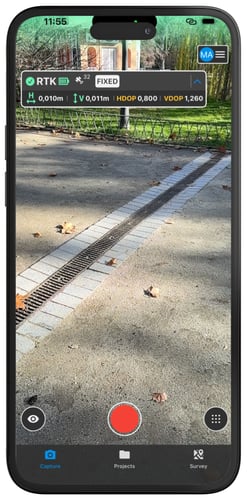
- If applicable, connect the supported RTK antenna.
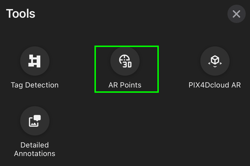
- Tap the Tools menu icon
 and select the AR Points icon
 .
.
- Select the Point Collection and accept the Geolocated AR message.
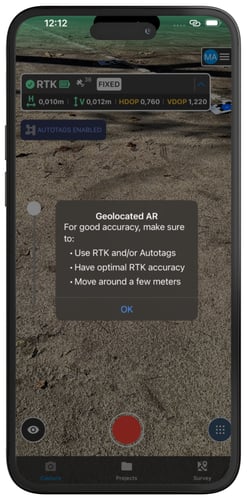
Important: Collections more than 1km (0.6mi) away are unavailable and will appear greyed out.
Note: The AR points are stored in the device.
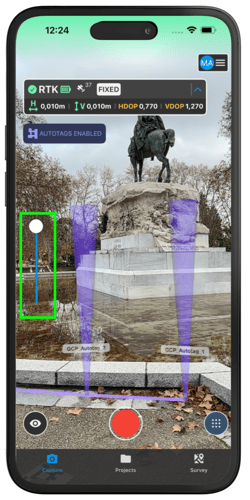
5. An opacity slider appears on the left side of the screen, allowing for the adjustment of the visibility of the points.
Note: Points and labels can be enabled or disabled from the AR Settings.
6. Capture a project with the AR points activated.
Start moving around, and the points will be displayed in AR on the screen within seconds.
Note: AR points can be activated at the same time as Automatic Tag Detection. It is necessary to use a projected coordinate system as geographic coordinate systems are not compatible with the Tag Detection feature.
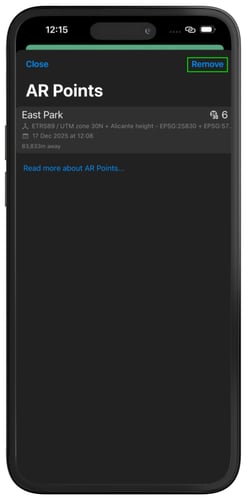
7. To turn AR points off, tap the Tools menu![]() and select AR Points
and select AR Points![]() , then choose the point collection and tap Remove.
, then choose the point collection and tap Remove.
AR Status
When Augmented Reality (AR) points are uploaded for a capture, the system continuously tracks their alignment status. Once the AR points are uploaded, alignment feedback is provided through on-screen messages and visual status indicators.
.png?width=250&height=500&name=Plantilla%20Iphone%20(38).png)
AR Status Indicators
The AR status indicators appear below the connection card and provide immediate feedback on the current alignment state:
![]() Indicates that AR points are not currently aligned.
Indicates that AR points are not currently aligned.
![]() Indicated that the AR points are properly aligned and ready to use.
Indicated that the AR points are properly aligned and ready to use.
On-Screen Alignment Messages
During the alignment process, the system displays contextual messages to guide the user:
![]()
Indicates that the user needs to move the device to help the system find the correct alignment for the AR points.
![]()
Appears when the user is moving too quickly for the system to achieve proper alignment.
![]()
Confirms that the AR points are correctly aligned and that the capture process can begin.
Useful information
Further details regarding Augmented Reality Point are available on the PIX4D blog.