IN THIS ARTICLE
Minimum requirements to access the integrationRequest access to PIX4Dcloud integration
Processing a dataset with PIX4Dcloud
Opening a processed dataset
Licenses: This article is only valid for PIX4Dcloud Pro licenses (formerly PIX4Dcloud Advanced).
Roles: Only Owners, Managers, and Editors can process and access datasets in PIX4Dcloud.
Minimum requirements to access the integration
To use the FlytBase–PIX4Dcloud integration, the following requirements must be met:
-
A drone dock
-
An active FlytBase subscription
-
One of the following:
-
PIX4Dcloud Pro with available credits, or
-
A PIX4Dcloud Enterprise with API access subscription
-
Request access to PIX4Dcloud integration
To request and configure access to the integration:
-
Log in to the FlytBase account.
-
Under My Organizations, click Go to operations for the organization to be connected to PIX4Dcloud.
-
In the top-left corner, click the hamburger menu icon
 .
. -
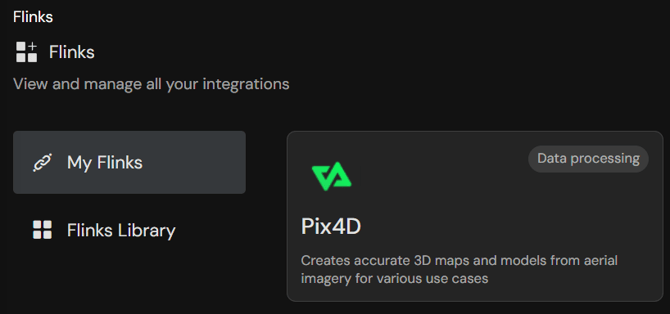
Navigate to Integrations and click Flinks.
-
Click Flinks Library.
-
Under PIX4D integration, click Connect.
-
Request access by sending an email to support@flytbase.com
Once access is granted:
-
The integration appears under My Flinks.
-
Click PIX4D under My Flinks.
-
Under Configuration, click Link to open the PIX4D login page.
-
Enter the PIX4D account credentials.
-
Click Authorize when FlytBase requests access to the PIX4D account.
Information: Ensure the integration status shows Linked before processing a dataset.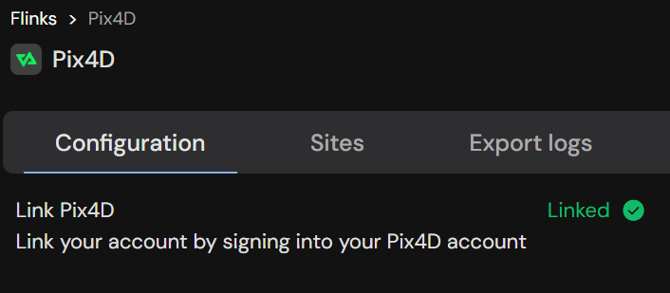
Processing a dataset with PIX4Dcloud
- Login into your FlytBase account.
- Under My Organizations, click Go to operations in the organization for the Organization that is connected to PIX4Dcloud.
- In the top left corner, click on the hamburger menu icon
 .
. - Navigate to Gallery.
- Click Export manager.
- For the dataset to be processed, click the Share icon
 > Share to flink.
 - In the Share to flink window, select PIX4D as Flink and the desired site name in Site.
- Click Share to send the dataset to PIX4Dcloud for processing.
- Check the status of the dataset Export by clicking
 under the user account icon.
Warning: Only datasets with Export ready status can be processed.
Opening a processed dataset
Once processing is complete, the dataset can be accessed in several ways:
-
My Flinks > PIX4D > Export Logs
-
My Flinks > PIX4D > Sites
-
Under Model status, click Complete
-
Via the email notification received from PIX4D
Information:
-
Two emails are sent:
-
The first confirms that processing has started and provides an estimated processing time.
-
The second confirms that processing is complete and includes a direct link to the dataset in PIX4Dcloud.
-
Tip: For more information about PIX4Dcloud, its tools, and workflows, visit: https://support.pix4d.com/hc/pix4dcloud.