IN THIS ARTICLE
Introduction
Creating a Targeted Operation
Exporting for John Deere sprayers
Import to the John Deere Terminals
Introduction
John Deere supports the import of prescription files created with PIX4Dfields, which precisely define the treatment area, assign rate to zones and outline obstacles.
This enhances operational safety and efficiency by ensuring that the application is limited to the intended areas while avoiding obstacles and restricted regions. A single fixed rate or variable rates can be applied across the prescribed area, streamlining workflow and minimizing the risk of accidental application outside the defined boundaries.
Creating a Targeted Operation
Targeted operations enable users to mark obstacles, no-spray and variable rate zones directly on a operations layer. These zones can be delineated based on drone, satellite and external imagery.
To create a Targeted spraying map, please follow the procedure described here: How to create a targeted spraying map - PIX4Dfields.
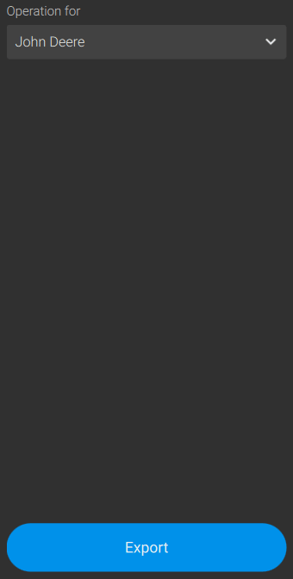
Exporting for John Deere sprayers
To export the Targeted Operation to John Deere drones:
-
Go to the Export menu.
-
Click Operations.
-
Select the Operation to be exported.
-
Select John Deere.
- Click Export.
A *.shp file named as the TOPS layer will be created into a Rx folder contained in a main folder named as the PIX4Dfields project. The attributes will include:
- The spray areas.
- The rates applied.
- The units of the prescription applied (e.g. Kg/ha) .
The file will not include a geometry for no-spray zones.
Import to the John Deere Terminals
This guide covers the essential steps for Gen 4, G5, and GreenStar 3 displays.
- Prepare Your USB Drive
The most common reason for import failure is incorrect folder structure. John Deere terminals are very specific about where they look for data.
-
Folder Name: Place the exported
Rxfolder from PIX4dfields at the root (top level) of your USB drive -
Required Files: You must include all "sidecar" files for each prescription. At a minimum, ensure the
.shp,.shx, and.dbffiles are present and share the exact same name. -
Layout Example:
USB_DRIVE/Rx/my_prescription.shp(plus associated files).
-
- Import Data to the Terminal (Gen 4 / G5 / 4600 / 4640)
-
Insert the USB into the terminal.
-
Select Import: If a prompt appears, select Import Data. Otherwise, navigate to Menu > System > Data Manager (or File Manager).
-
Source: Choose Import from USB Drive.
-
Select Files: Use the checkboxes to select your prescription folder or file, then click Next.
-
Finalize: Select Rx Prescription as the data type and click Import.
-
- Assign the Prescription to Your Operation
-
Go to Work Setup or Applications.
-
Ensure your Customer, Farm, Field, and Equipment are correctly selected.
-
Tap on Target dose/Rx.
-
Select your imported prescription from the list.
-
Configure Rates: Select the correct rate column from the file and verify the units (e.g.,
L/ha). -
Set Fallbacks: Enter a "Look-ahead" or fallback rate to use if you lose GPS signal or drive outside the mapped area.
-
Quick Troubleshooting
-
Terminal can't find files: Double-check that the folder is named
Rx(not "RX" or "prescriptions") and is not hidden inside another folder. -
Wrong Rates: Ensure you have selected the correct attribute column during the "Target dose" setup.
-
GreenStar 3 (2630): Ensure your shapefile is in WGS-84 non-projected format, as these legacy displays are more restrictive with coordinate systems.