
IN THIS ARTICLE
How to use the Assisted Road Marking
To use the Assisted Road Marking tool:
- Open the project in PIX4Dsurvey.
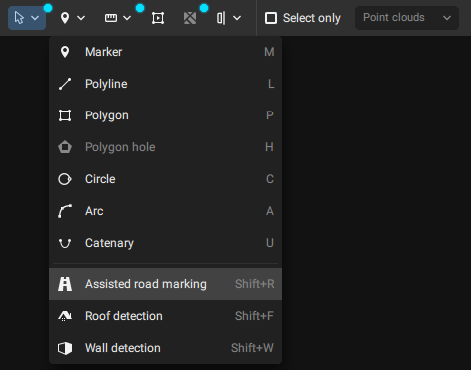
- Select the Assisted Road Marking tool
 from the toolbar or press the Shift + R key.
- Left-click on two points on the line-type road to automatically vectorize it:
- The first point is the seed point in order to create the first vertex
- The second should be the direction point on the line-type road markings to give the direction of vectorization.
- The seed point extends into a quick selection and vectorization of road marking points which automatically appear on the screen. The extension stops wherever it is unclear to the algorithm how to continue.
- (Optional) Results can be manually corrected by selecting the vertex or continue by providing a new seed point and a new direction point.
- (Optional) To stop the Assisted Road Marking tool while it is running:
- Right-click or press Enter to stop the algorithm and keep the vectorization.
- Press the Esc key to stop the algorithm and discard the vectorization.
- To exit the Assisted Road Marking tool:
- Right-click or press the Esc key to change to
 Simple selection (default).
 - Right-click or press the Esc key twice to deselect the created polyline.
Note: For the vectorization of a dashed line-type road, the seed point and the direction point need to be on two neighboring dashed lines. - Right-click or press the Esc key to change to