The Roof detection tool in PIX4Dsurvey allows for the automatic detection of roof surfaces and creates a polygon for every selected roof element. The algorithm uses the slope information and creates a planar polygon for every roof element selected. The color of the point cloud is not taken into account.

- On the toolbar, click the
 icon.
icon.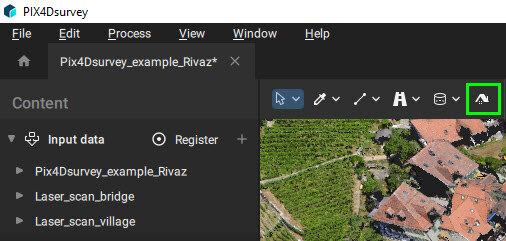
IN THIS ARTICLE
Definitions
How to use the roof detection tool
How to measure the roof polygons
Modify the roof polygons
Definitions
A roof element is part of a roof that can be described with a single plane.
The image below shows three different roof elements.
This point serves as a guide to tell PIX4Dsurvey where to start growing a polygon.
The image below shows three seeds, one for each roof element. Every roof element must have at least one seed.
For each seed, a planar roof polygon is created. If two seeds grow into the same polygon, this will become a single polygon.
The image below shows the three created roof polygons, one for each roof element.


How to use the roof detection tool
- Open a project in PIX4Dsurvey.
- (Optional) Go to the Layers tab in the Content sidebar and select a layer.
- The created polygons will be added to the selected layer.
- If no layer is selected (or a locked or invisible layer is selected), a new layer is created.
- Select the Roof detection tool from the toolbar.
- Click the left mouse button on all roof elements in order to create the seed points. One roof element can have more than one seed.
- Right-click or Enter key to start the creation of the roof polygons.
- You can track the progress in the status center.
- If no roof is detected around a seed point, no roof polygon will be created around that seed.
- When possible, create seed points in a flat and non-noisy area
- Avoid placing seed points very close to the rooftop/plane edges
- Sometimes multiple seed points need to be selected for a single roof element/plane, especially for very large planes and for planes with obstacles in between (other planes, such as a dormer roof, can also be seen as obstacles).
- When in doubt, select an extra seed point, and the algorithm will still merge them into a single plane when possible.
How to measure the roof polygons
To learn more about measurements on roof polygons, please visit this article: How to measure roof polygons.
Modify the roof polygons
Sometimes, the roof polygons need to be slightly corrected. In these cases, it is possible to follow the standard procedure for geometry editing, as explained in the article Editing geometry in the 3D view.