IN THIS ARTICLE
Use an organizational logo on a custom PDF
Delete or change a logo from your custom PDF
Set personalized credentials (name, address, email)
Export custom PDF
Important: The settings for the custom PDF can be found in the dashboard. The export functionality can be found inside an opened project.
Use an organizational logo on a custom PDF
To set an organization's logo on a custom PDF:
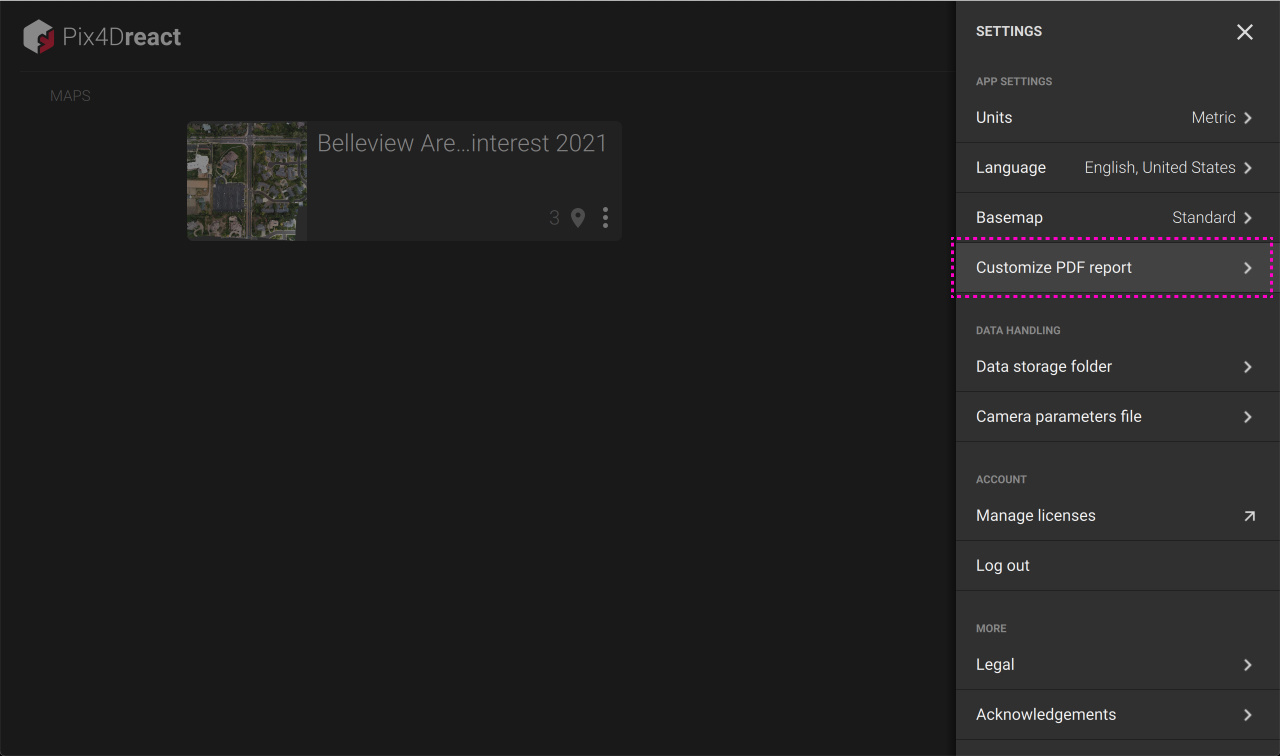
- Inside the dashboard settings, click Customize PDF report.
- Click Add logo to upload an organization's logo that will be displayed inside a customized PDF report.
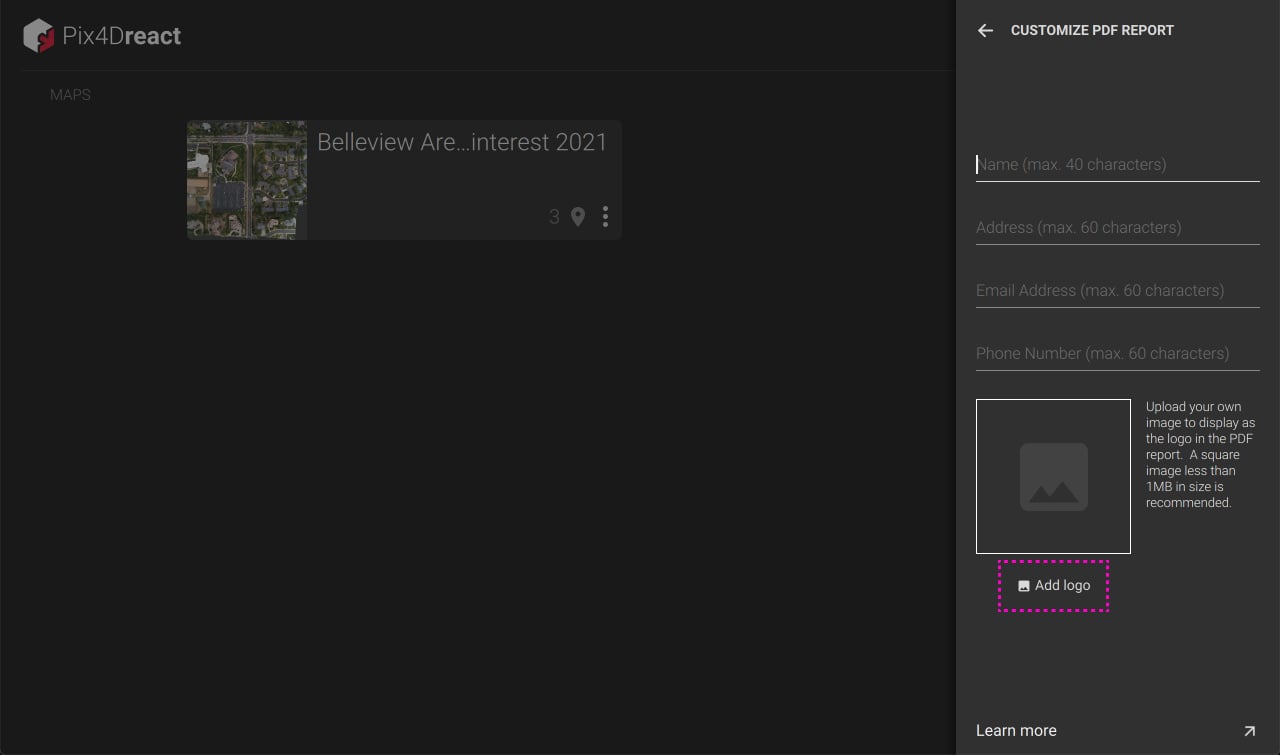
Note: A square image no larger than 1MB in size is recommended.
Delete or change a logo from your custom PDF
Delete or change a logo from your custom PDF:
- Inside the dashboard settings, click on Customize PDF report.
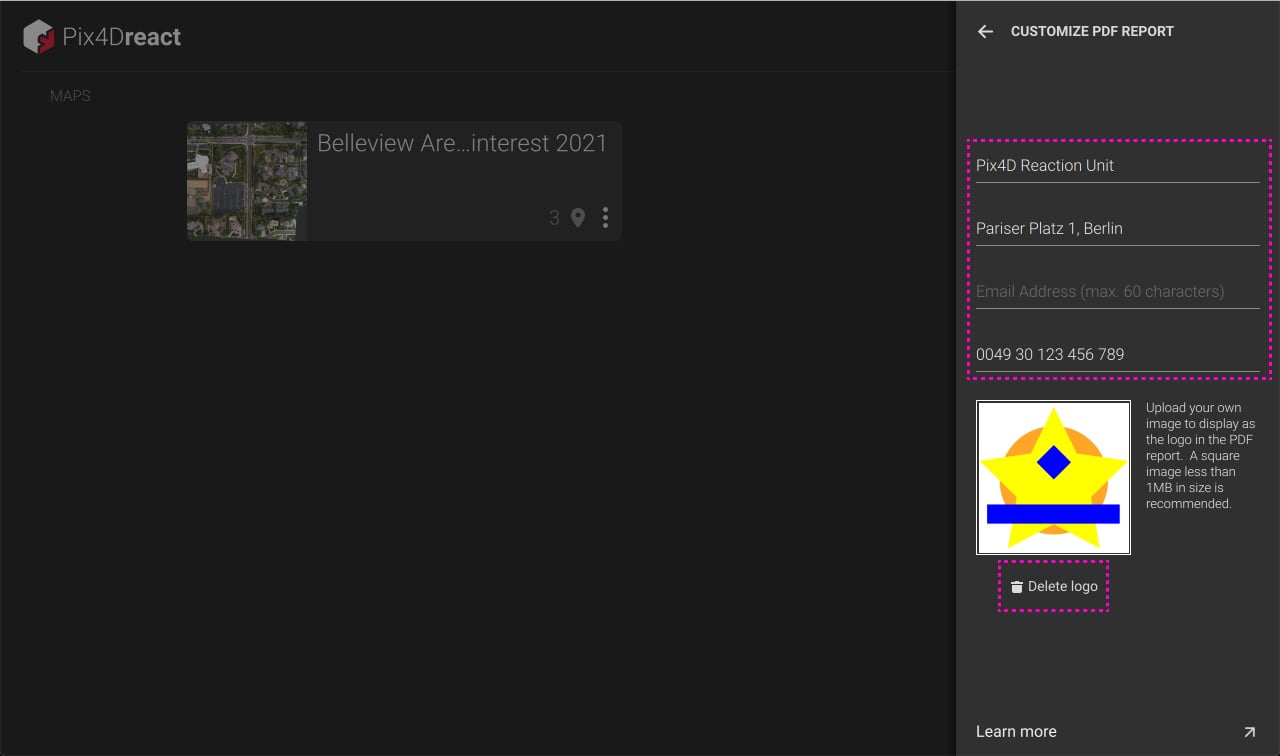
- Click on Delete logo to delete the existing image.
Set personalized credentials (name, address, email)
To set your name, address, and email for your customized PDF:
- Inside the dashboard settings, click on Customize PDF report.
- Fill in name, address, and email into the respective fields
Note: Fields are not required. Non-filled fields will not be displayed in a customized PDF.
Export customized PDF
To export a customized PDF:
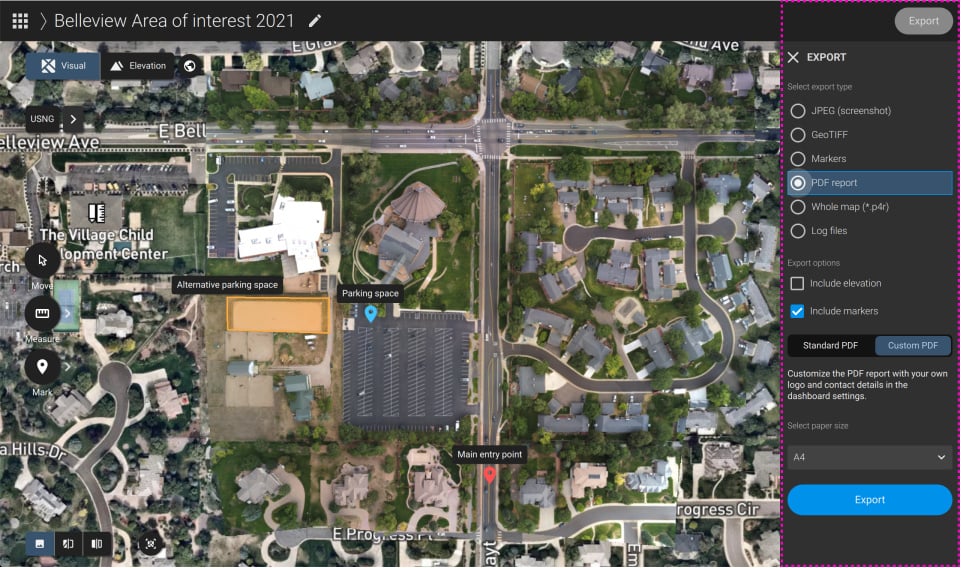
- Inside an opened project, click Export.
- Select the export type PDF report.
- Select Custom PDF.
- Choose your other export options
- Click Export on the bottom of the right side tab.
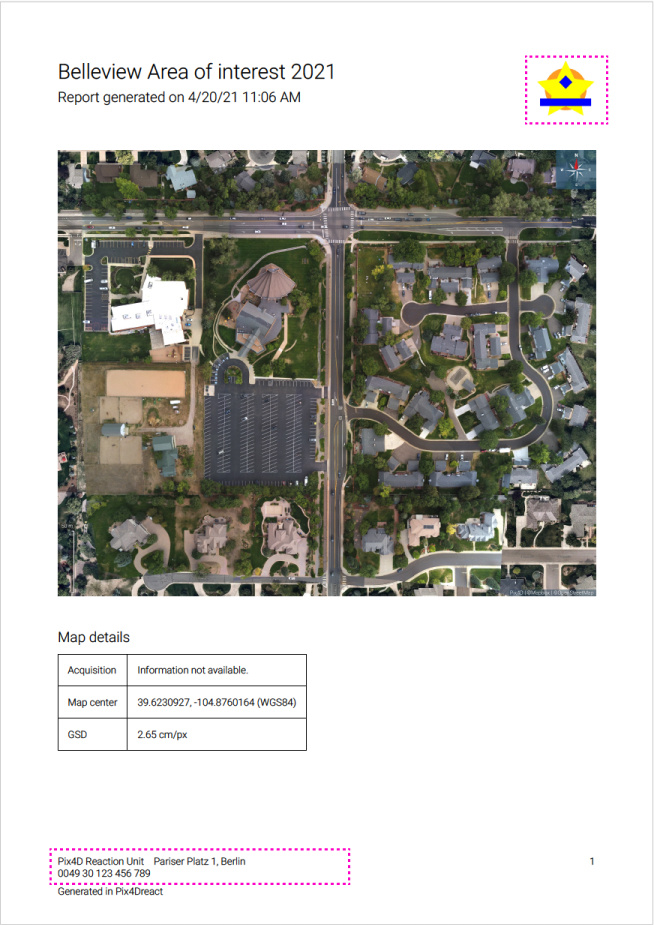
Important: Custom credentials will be displayed at the bottom of every page. Custom logos will replace the PIX4Dreact logo on the upper right area of every sheet.