How to generate an RGB orthomosaic
1. Navigate to the directory holding the Quantix Mapper imagery (SD card or other location).
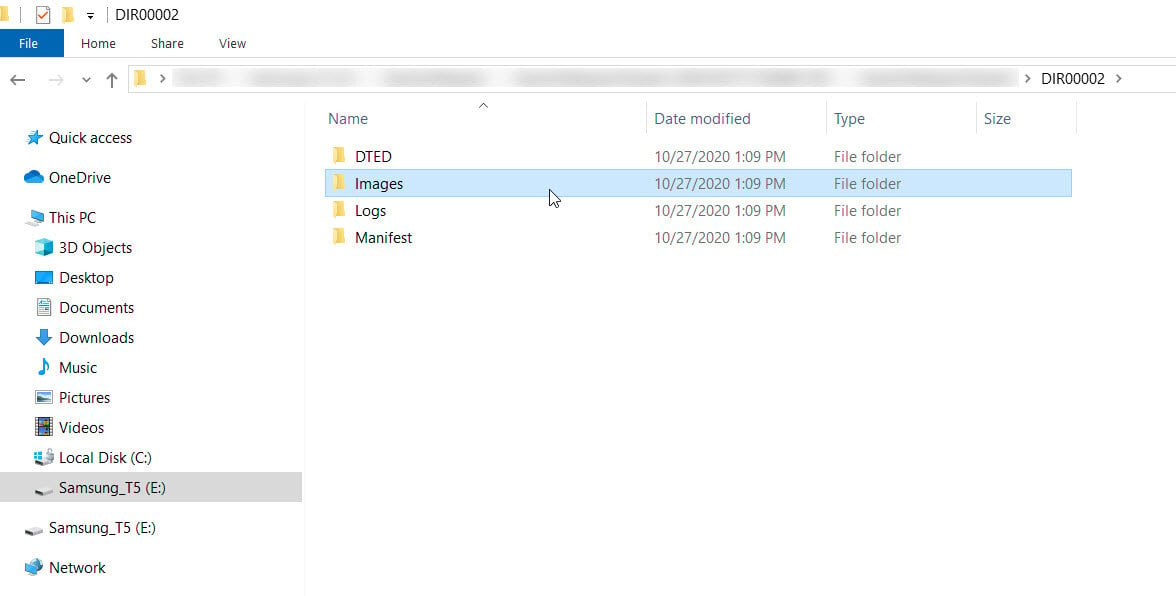
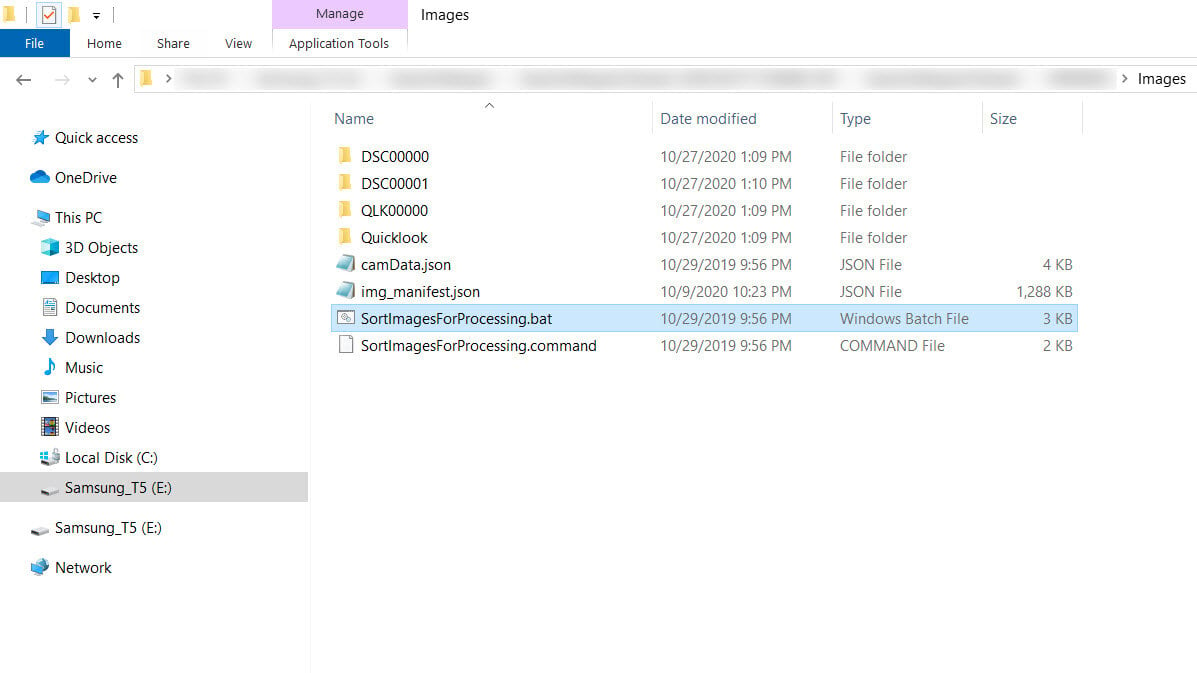
2. First, the images must be sorted into RGB and RGN folders. To quickly sort the images into their respective folders double click on the SortImagesForProcessing.bat file in the Quantix Mapper project. This will add an RGB, RGN, RGB_QL, and NDVI_QL folder to be used in the following steps.
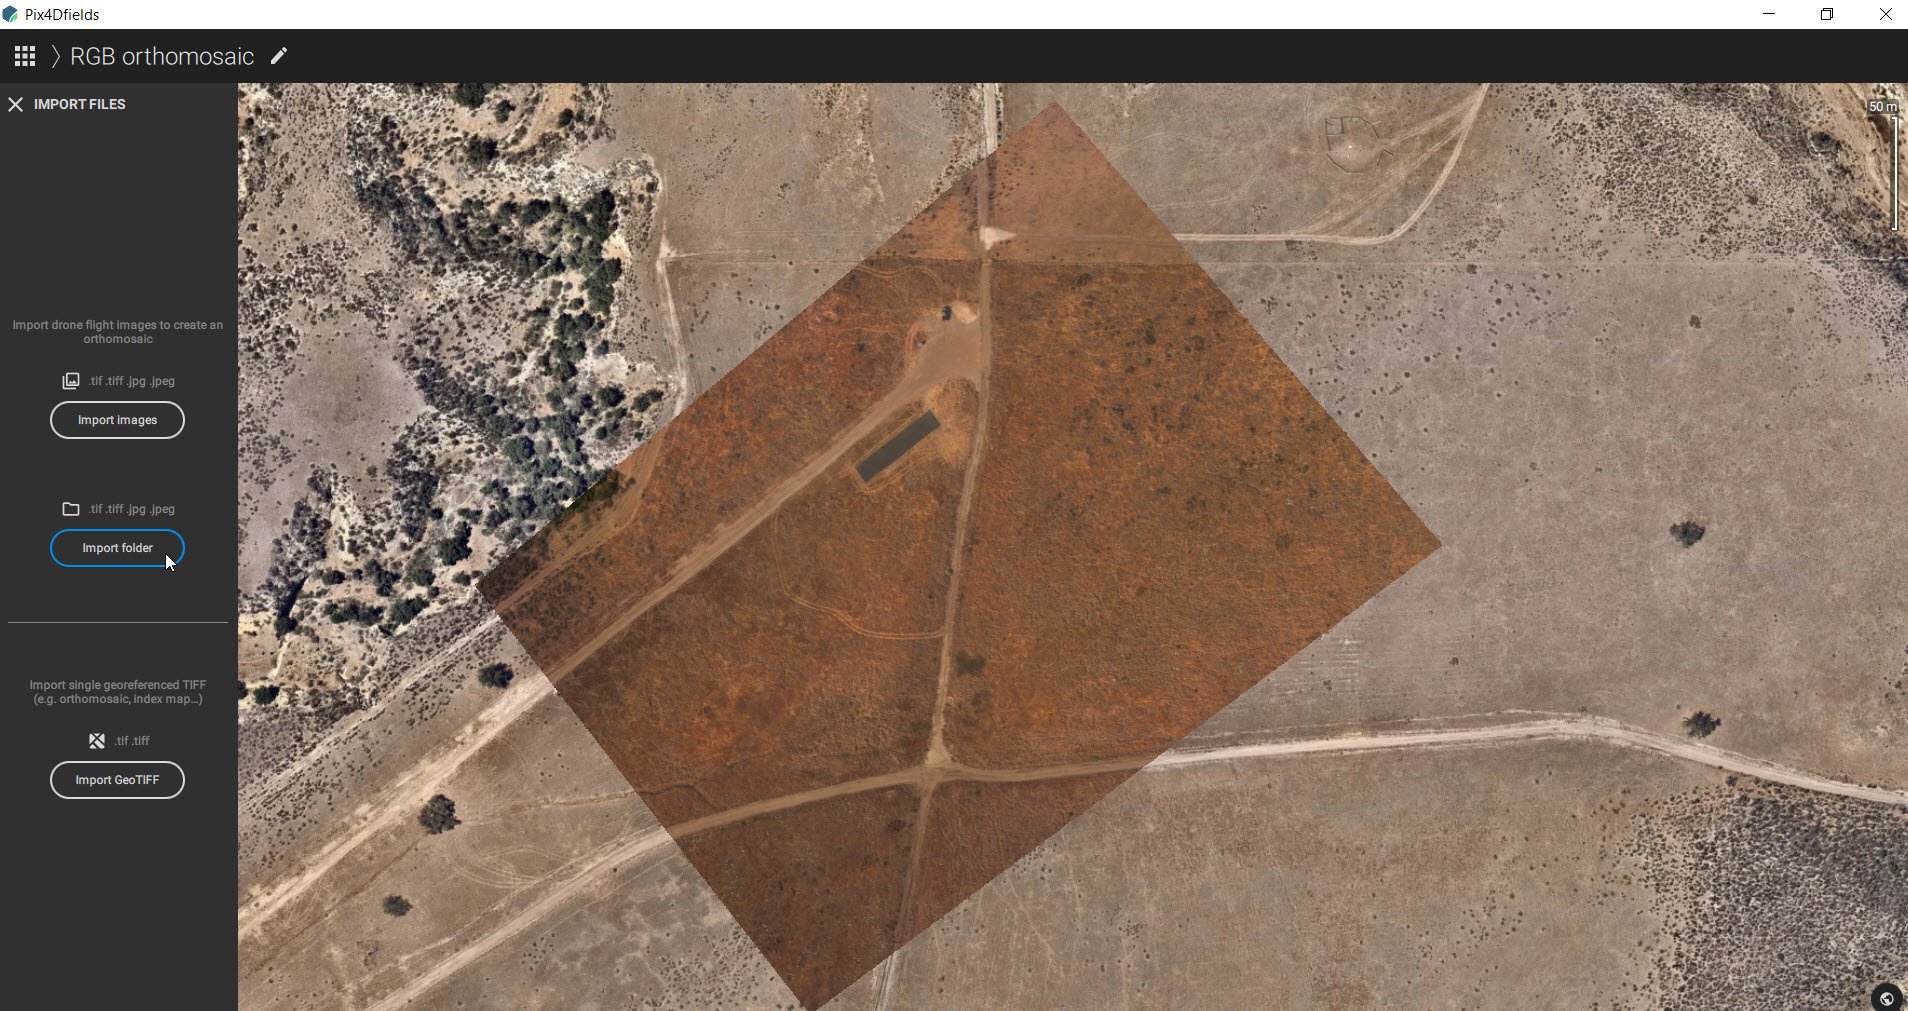
3. Open PIX4Dfields, start with a new project, select Import folder.
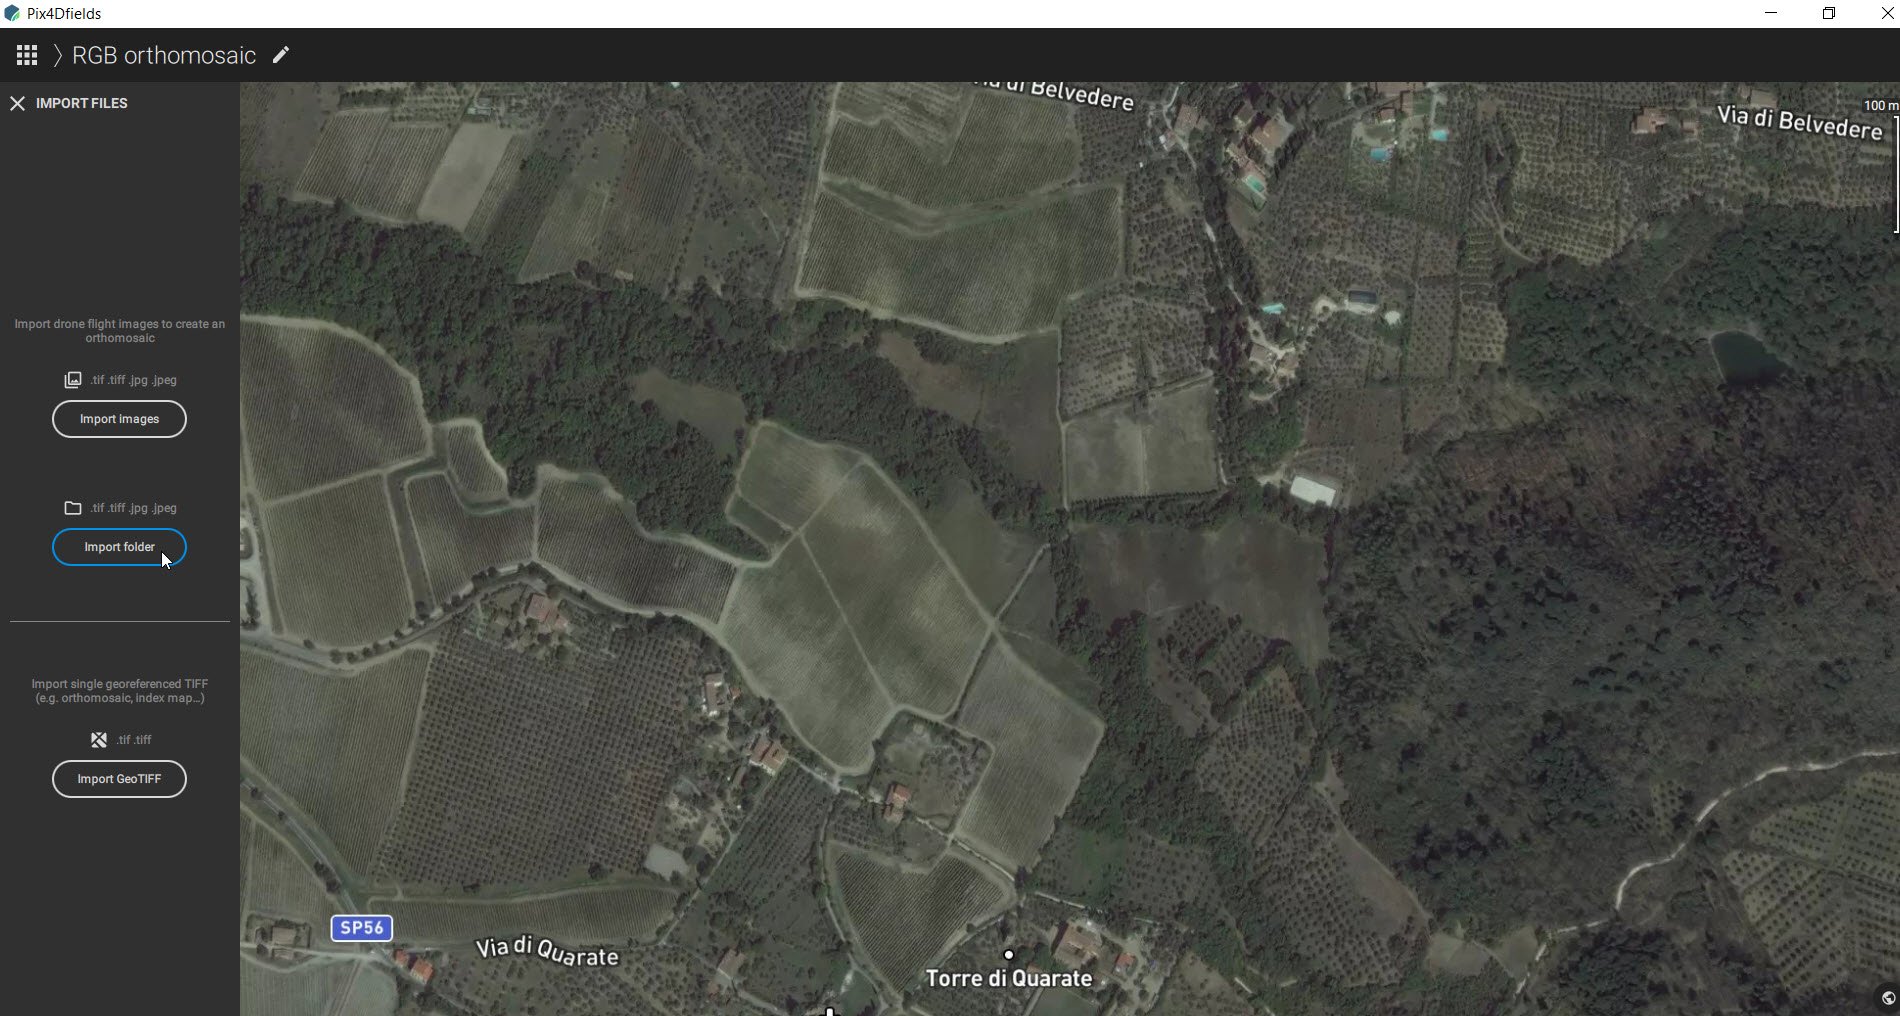
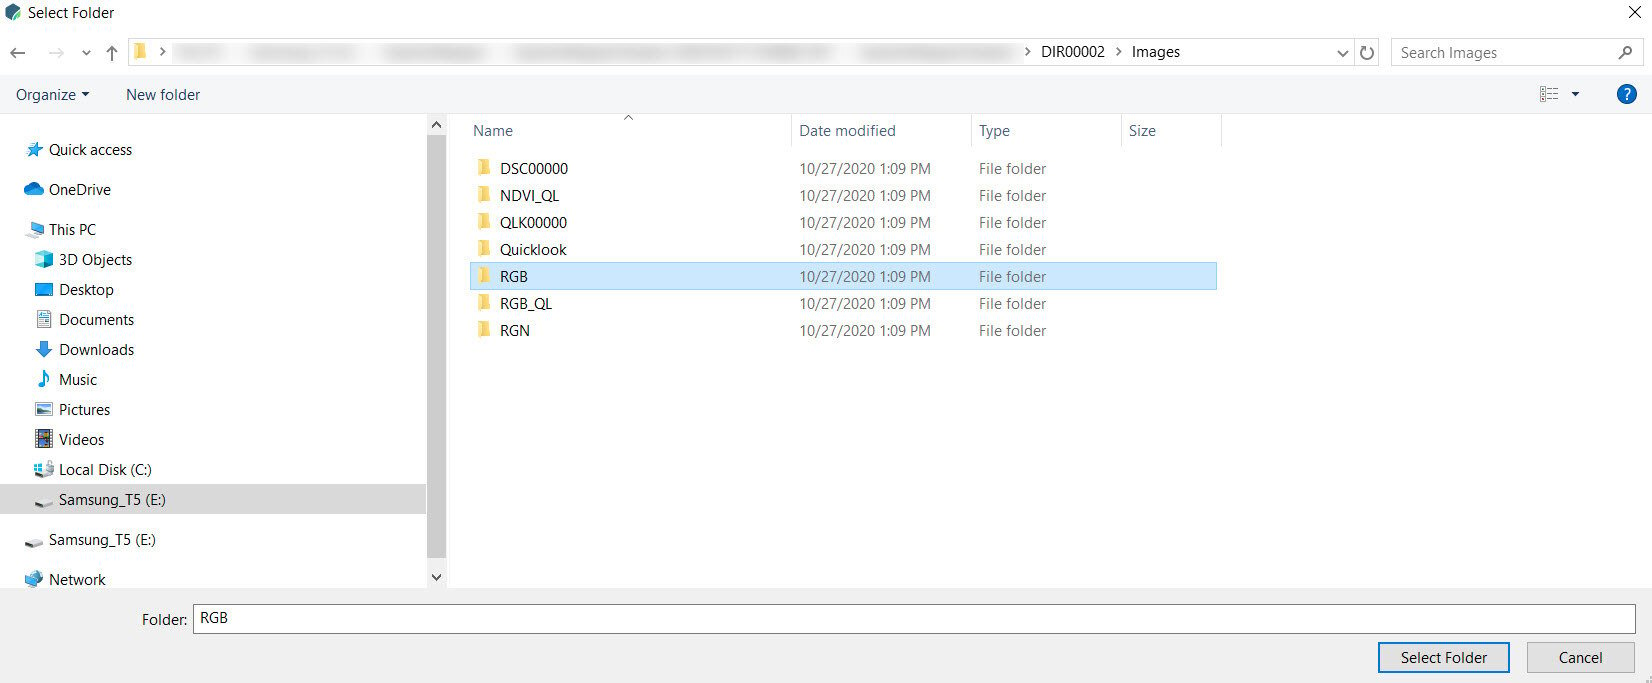
4. Navigate to the Images > RGB folder and Select folder.
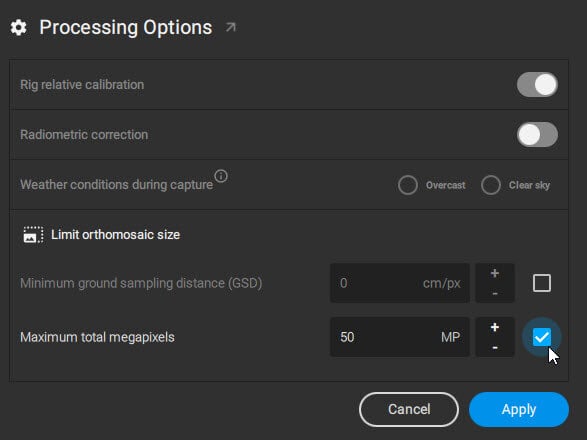
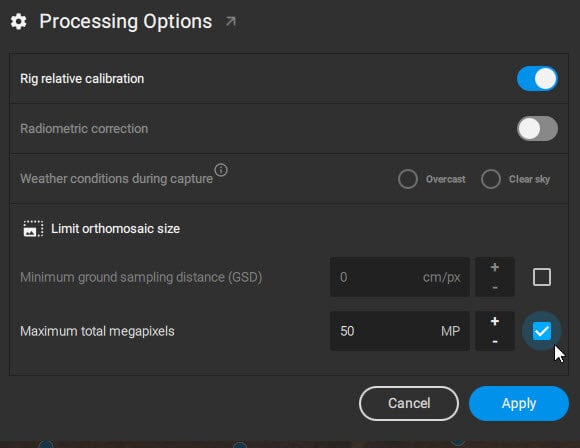
5. After importing select desired processing options and click Apply.
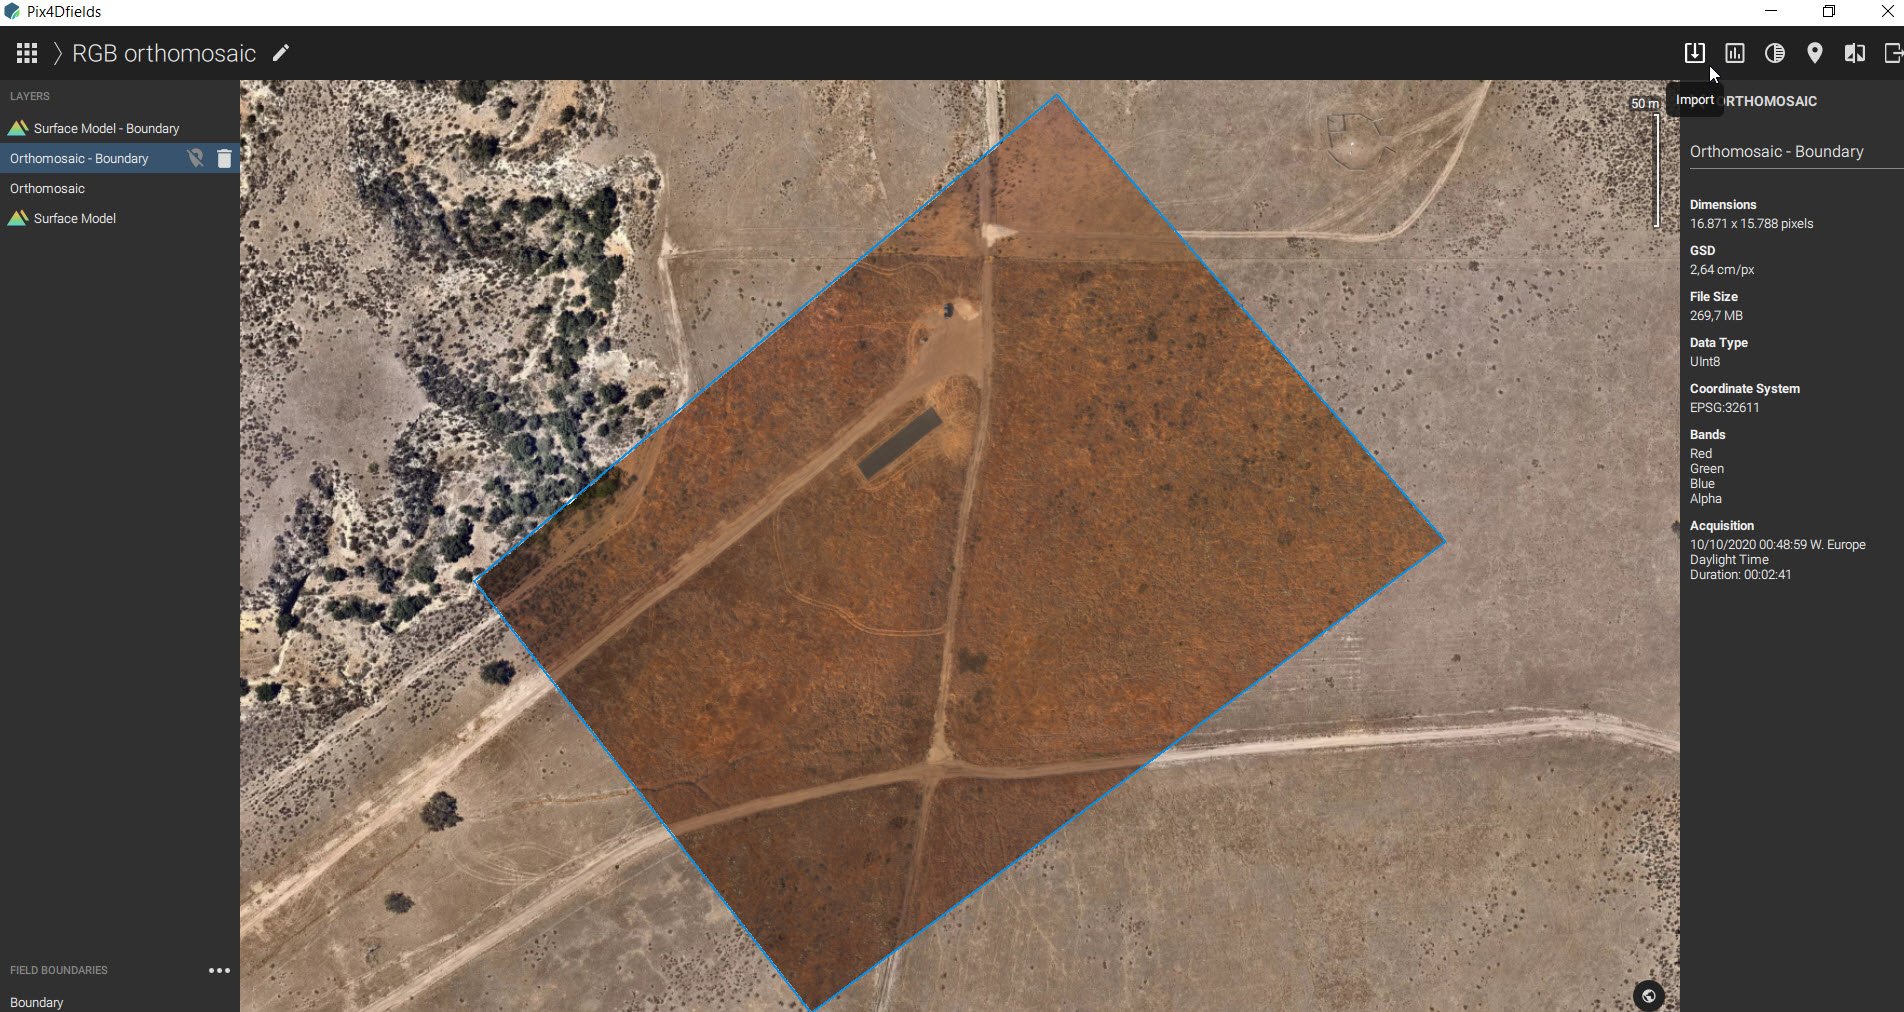
6. When all images are loaded click Start processing.

How to generate NDVI and NDRE orthomosaics
1. To create the NDVI and NDRE maps first process the Red, Green, and NIR (RGN) dataset. Start by importing images.
2. Select Import folder.
3.Navigate to the Images > RGN folder and Select folder.

4. After importing unselect rig relative calibration then click Apply.
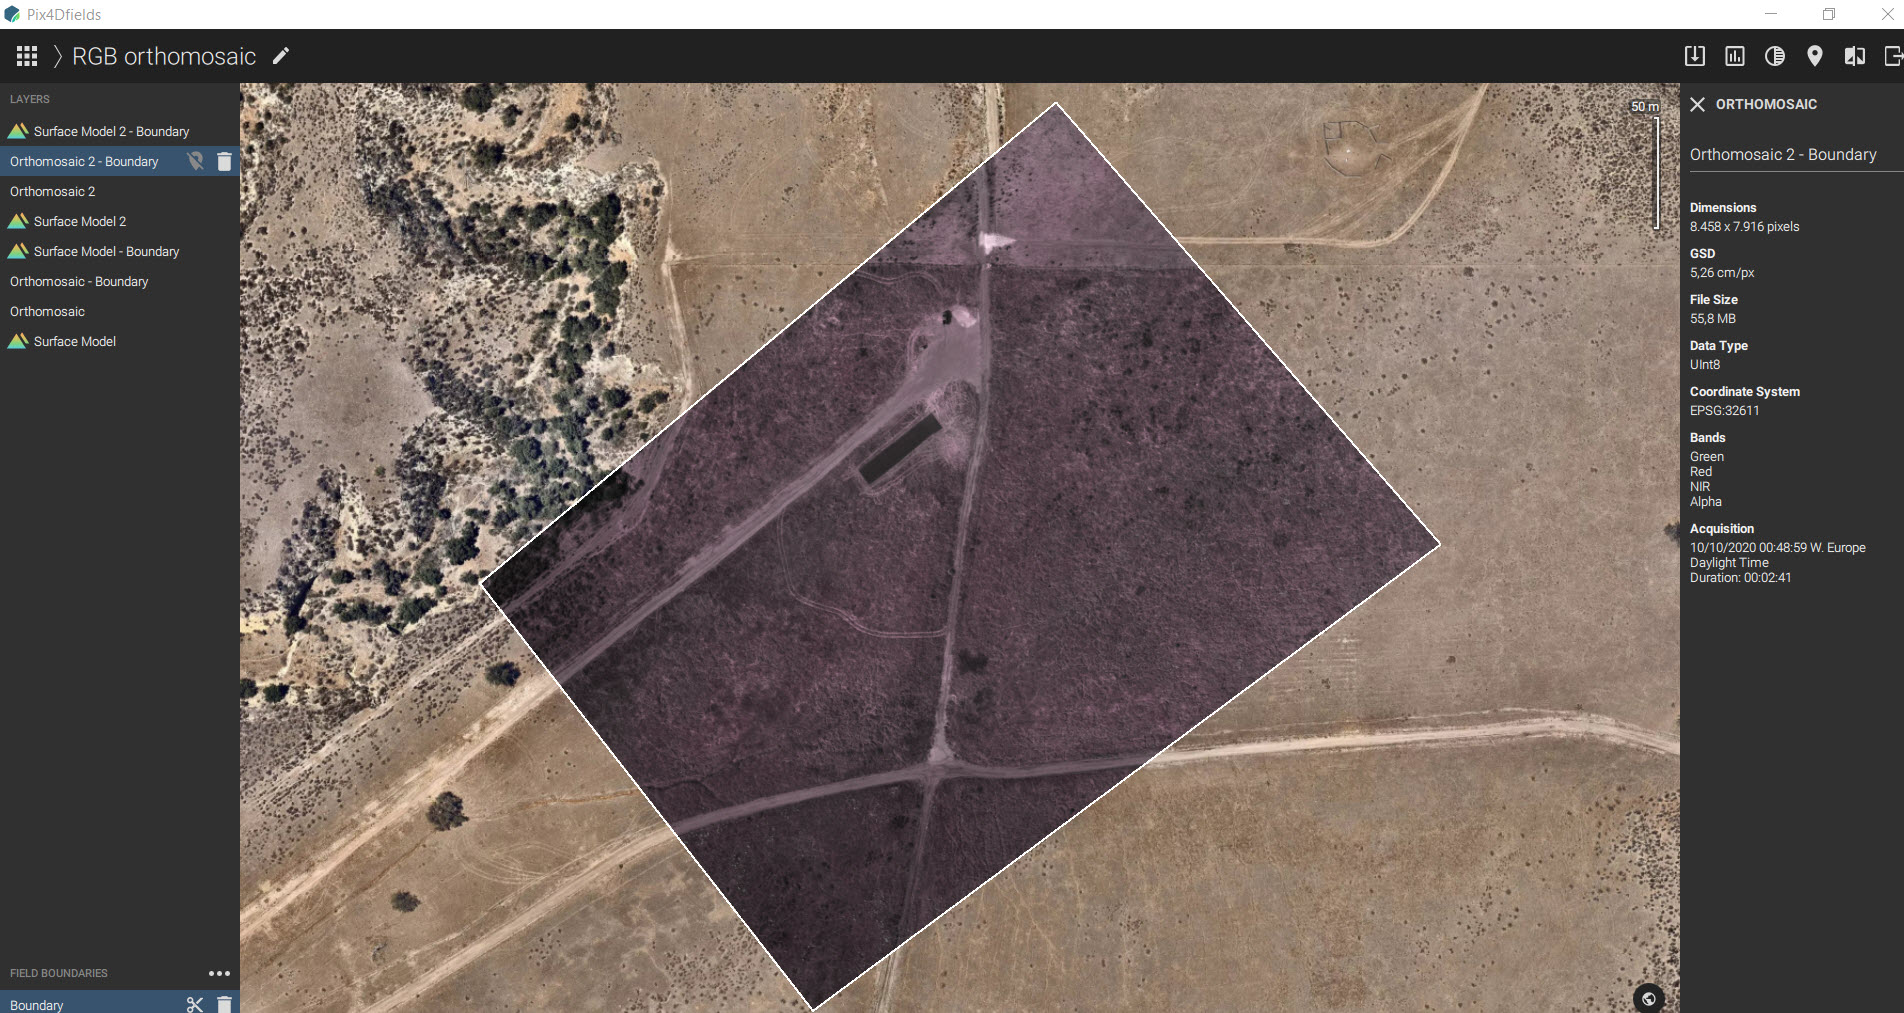
5. Once complete the RGN orthomosaic can be used for further analysis using the index generator.