|
|
|
|
|
|
|


Note: since version 2.4.0, processing can be paused and resumed at any time as long as the project remains open. There is no need to cancel and start over. If processing is paused and the project is about to be closed, the following message will appear.

- Click Process
 .
. - On the Menu bar, click Process > Dense point cloud...
IN THIS ARTICLE
AlgorithmReoptimization
Image scale
Multiscale
Density
Minimum matches
Noise filter
Sky filter
Mask-aware
Reoptimization
Exports
Dense point cloud
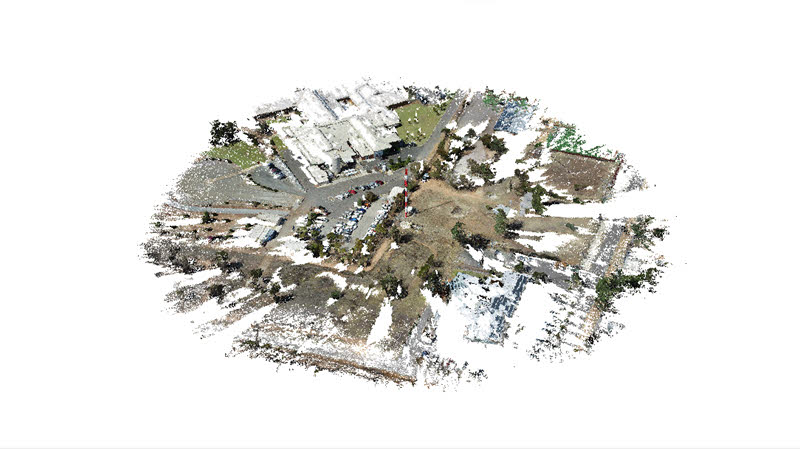
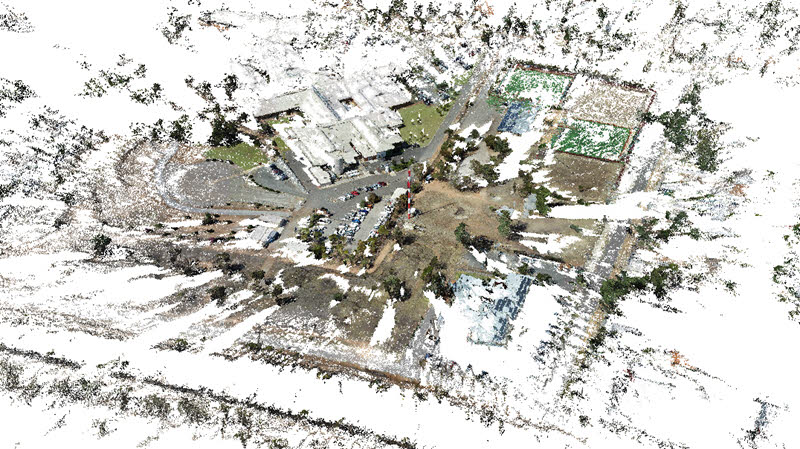
The Dense point cloud step generates a dense point cloud from images.
It allows users to change the following processing options:

Algorithm
This option allows switching between the densification algorithms:
- Hardware accelerated (Default): The densification will be computed using a GPU-capable algorithm. This option can contribute to reduced processing time.
- Standard: The densification will be computed using the standard algorithm.
Reoptimization
Starting from version 1.69.0, PIX4Dmatic enables the option for Reoptimization of the Dense point cloud.
- In the menu bar, click Process > Dense point cloud.. > Reoptimization
- Or select the Reoptimization button
 after enabling the Dense point cloud step and click Start.
Image scale
Image Scale defines the scale of the images at which additional 3D points are computed.
- 1/1 (Original image size, Slow): The original image size is used to compute additional 3D points. This option requires four times more RAM and processing time than processing with the default value 1/2, and it usually does not significantly improve results.
- 1/2 (Half image size, Default): Half-size images are used to compute additional 3D points. It is the recommended image scale.
- 1/4 (Quarter image size, Fast): Quarter-size images are used to compute additional 3D points. Fewer points are computed than with the 1/2 image scale, and the processing time is reduced. This option can generate more points when processing vegetation areas.
- 1/8 (Eighth image size, Tolerant): Eighth-size images are used to compute additional 3D points. Fewer points are computed than with the 1/2 or 1/4 image scale, and the processing time is further reduced. This option can generate more points when processing vegetation areas.
Multiscale
Multiscale (default): When this option is activated, additional 3D points are computed on multiple image scales, starting with the selected Image scale and going down to the 1/8 image scale.
- Computing points in vegetation areas and preserving details in non-vegetated areas.
- Filling holes in low-texture regions, such as uniform walls.
- There is noise along building edges.
- Reconstructing thin elements, such as cell tower structures.
Density
This parameter defines the density of the point cloud:
- Optimal (Default): A 3D point is computed for every 8th pixel of the original image. This is the recommended point cloud density.
- High: A 3D point is computed for every 2nd pixel of the original image. It results in an oversampled point cloud that requires up to 4 times more processing time and RAM than Optimal density. Typically, this point cloud option does not significantly improve the results compared to Optimal density.
- Low: A 3D point is computed for every 32nd pixel of the original image. The final point cloud is computed up to 4 times faster and uses up to 4 times less RAM than Optimal density.
Minimum matches
Minimum Number of Matches (2-6, 3 default) represents the minimum number of valid re-projections of this 3D point to the images. For example, when using the Minimum Number of Matches 3 (default), each 3D point has to be correctly re-projected in at least 3 images.
- 2: For projects with a small overlap, but it may result in more noise and artifacts.
- 4, 5, or 6: To reduce noise and improve point cloud quality, though fewer 3D points may be computed in the final output.
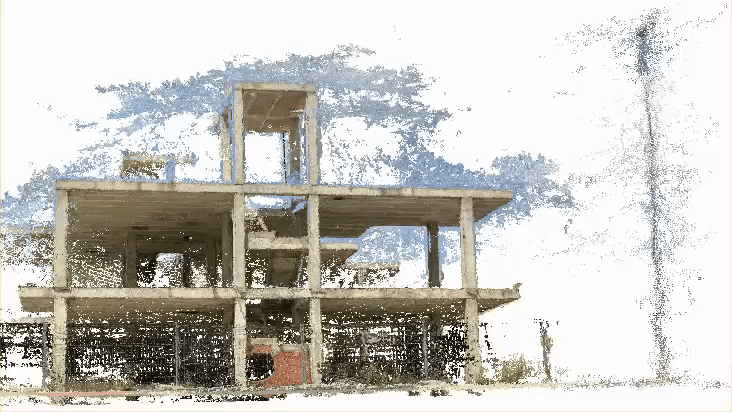
Noise filter
The Noise filter option cleans point clouds for datasets with oblique images. It removes points that are far from the images, such as features visible in the images but distant on the horizon, preventing their reconstruction.
Sky filter
The Sky filter removes points associated with the sky in a dense point cloud. This feature is particularly useful for datasets containing sky in images, such as:
-
Terrestrial datasets acquired with PIX4Dcatch.
-
Inspection datasets of bridges or towers.
Mask-aware
Masks improve the quality of dense point clouds and meshes by removing selected elements from the scene. Specify the layers to be used in the Dense Point Cloud and Mesh steps under the Mask-aware setting.

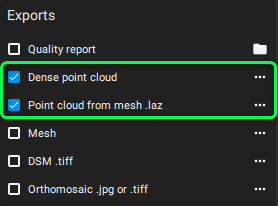
Exports
From the Exports section, the following point clouds can be exported after processing the Densify and Mesh step:
- Dense point cloud (available after processing Densify step)
- Point cloud from mesh .laz (available after processing Mesh step)
Dense point cloud
To export the point cloud automatically during the Densify step:
- In Exports, select the Dense point cloud .laz option.
- (Optional) Click the file icon
 and specify the desired path and filename.
- On the Menu tab, click File > Export dense point cloud .laz...
- Specify the desired path and filename.
- Click Save.
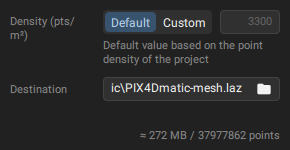
Pointcloud from mesh (.laz)
PIX4Dmatic allows the generation and export of point clouds from a mesh. You can select the default or a custom Density (pts/m³) when exporting. The expected point cloud size and total number of points are displayed during export. This ensures the creation of point clouds even for areas not directly reconstructed, eliminating holes in the final point cloud. The exported point cloud is in .laz format.