IN THIS ARTICLE
Organize PIX4Dfields projects on the home screen
Add name and description to a project
Add crop information to the project (crop type and crop variety)
Organize a project based on the Client, Organization, and Farm
Organize PIX4Dfields projects on the home screen
To organize PIX4Dfields projects on the home screen. Follow these steps:
- Add the crop information, project structure, and/or names to the settings of each project.

- Go to the home screen (dashboard), click on All projects, or Sort by modification date.
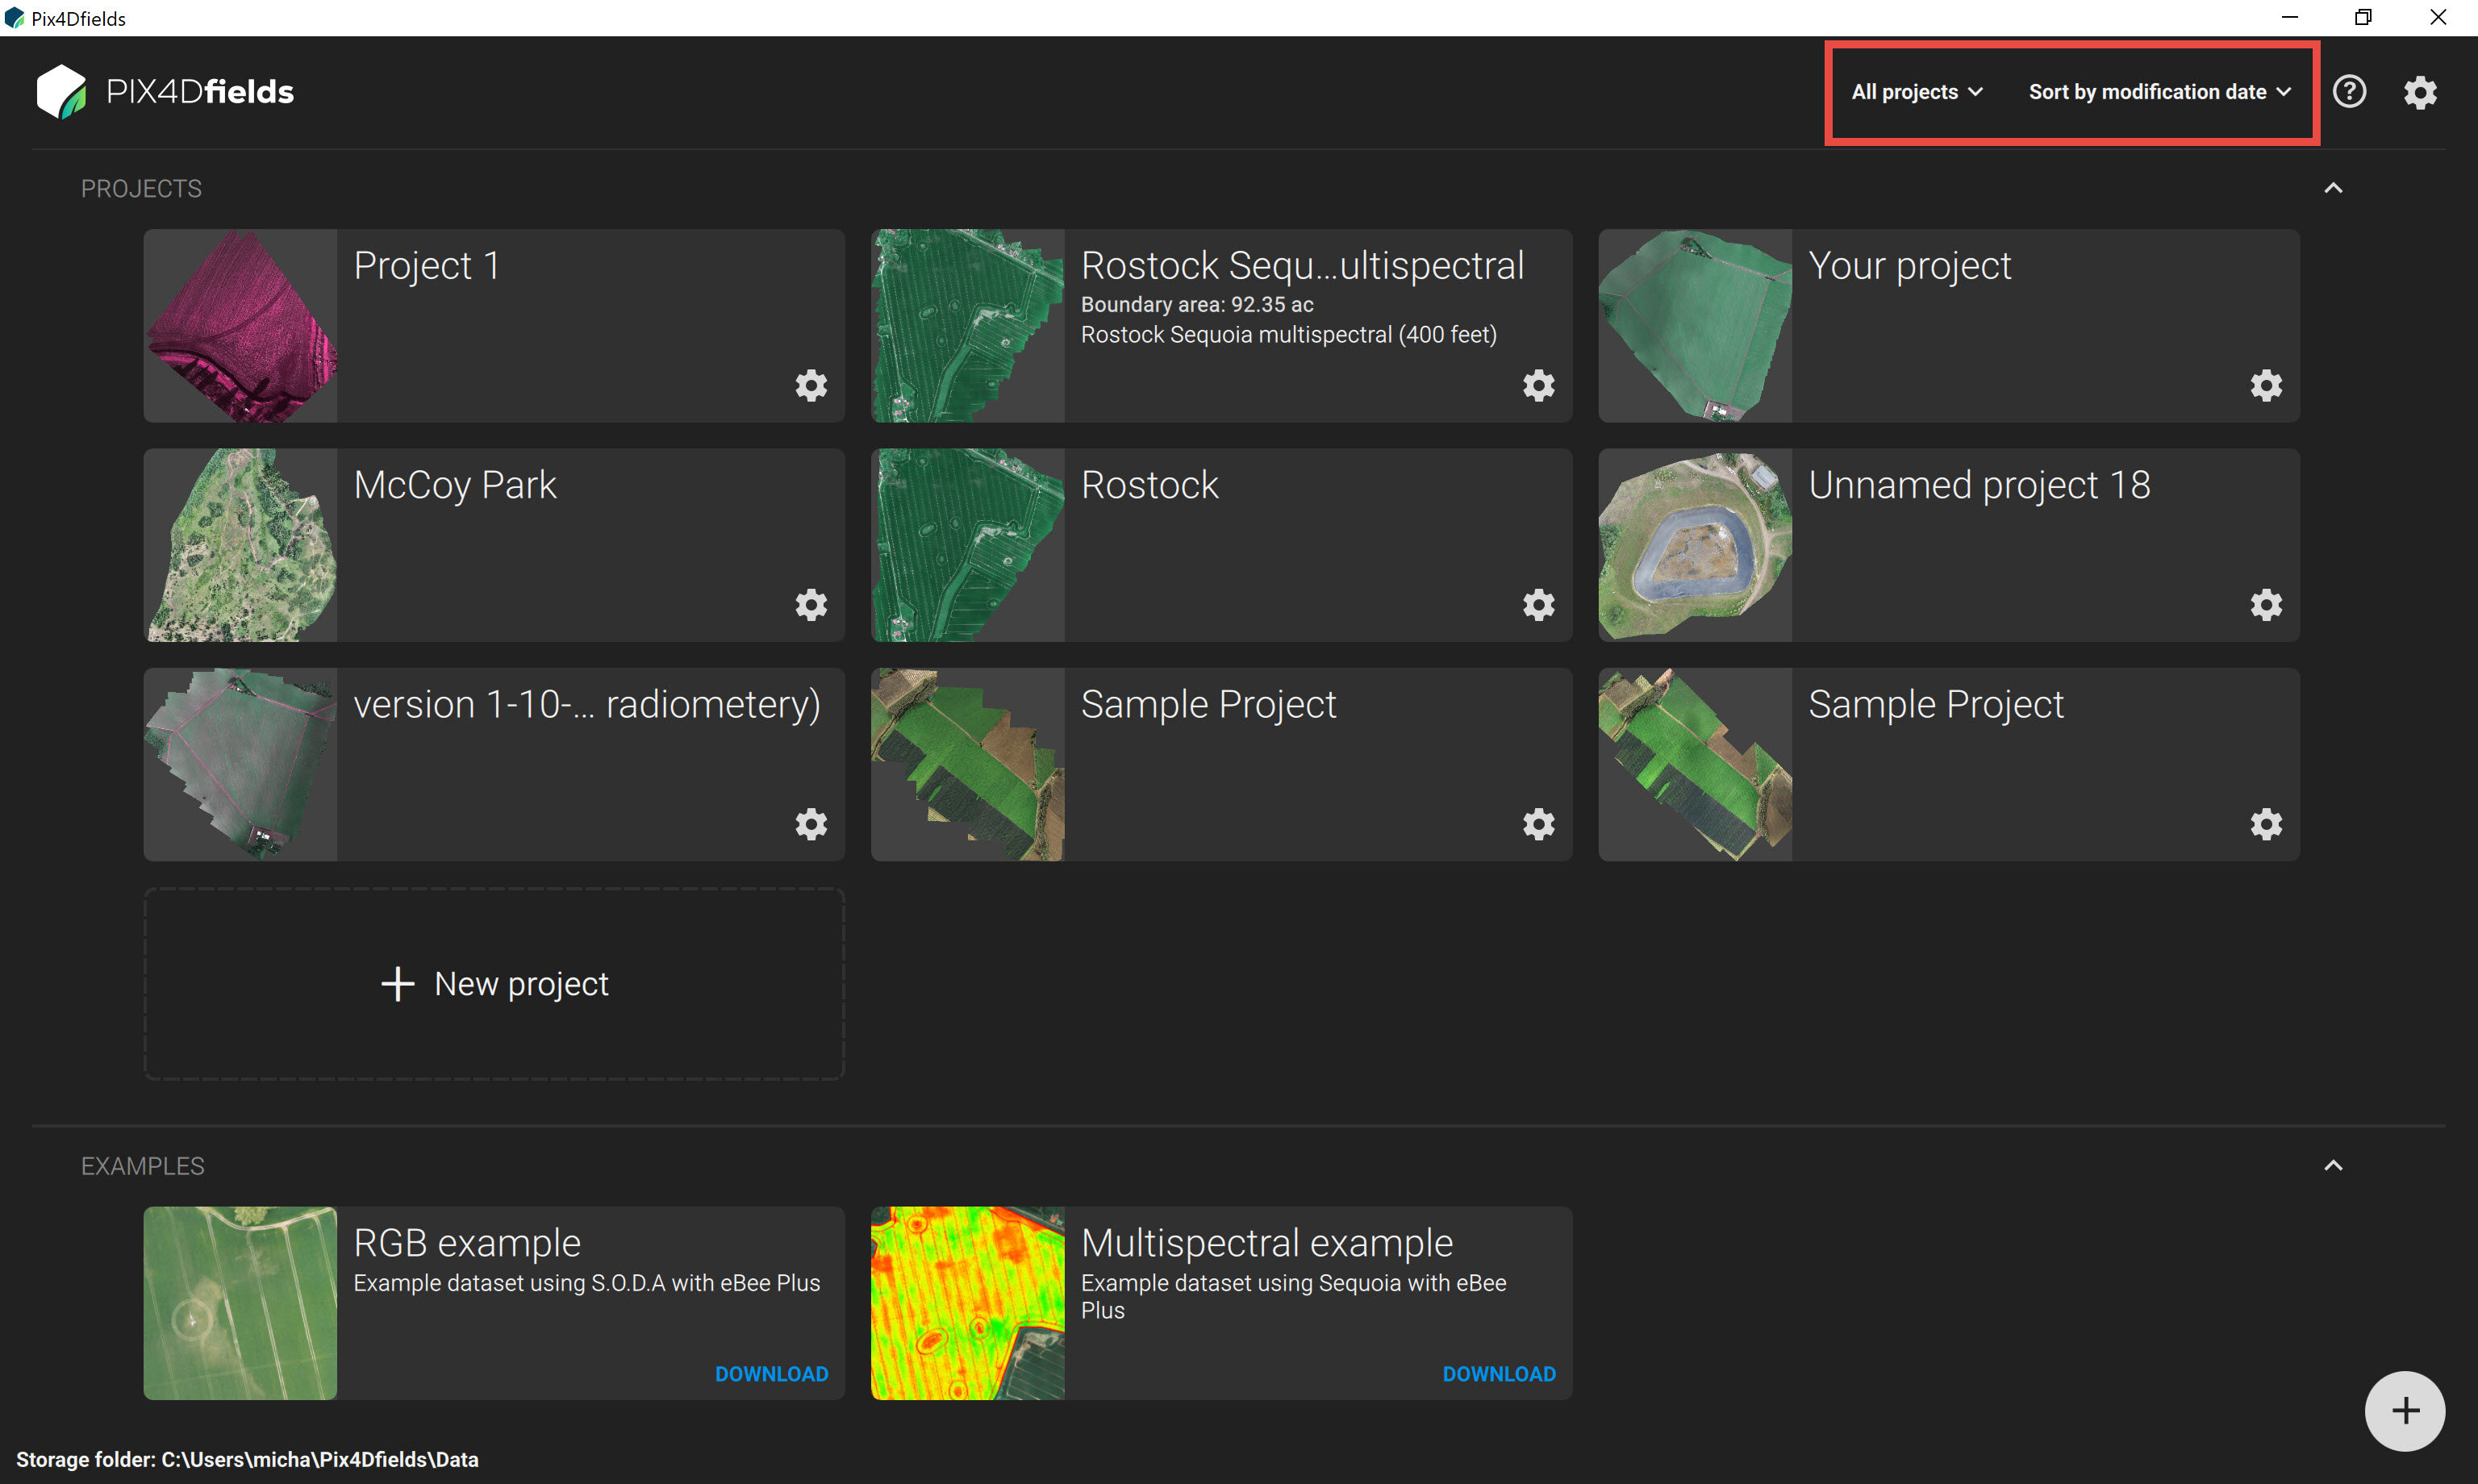
- The projects will be organized on the home screen depending on:
-
- Organization: Farms, Clients, Organizations, Crop types, Crop varieties.
- Sort by modification date: Sort by modification, Sort by modification date (reversed), Sort by name, and Sort by name (reversed).
Add name and description to a project
- Click on the settings project
 .
. - In the first section, add a name and description to the project.
Add crop information to the project (crop type and crop variety)
Crop type
1. Click the project settings 
2. In the section CROP INFORMATION, select the arrow besides Crop type  .
.
4. Select the crop type of project e.g. Maize, Rice.
5. (optional) To add a new crop type click on Edit Crop Types, write the New Crop Type, select Add, and click Done.
6. Select the new crop type of your project.
Crop variety
1. Click the project menu.
2. In the section CROP INFORMATION, select the arrow besides Crop variety  .
.
4. On the NEW CROP VARIETY section write the desired name.
5. Click Add.
6. (optional) To add a new crop variety click on Edit Crop Varieties, write the New Crop Variety, select Add.
7. Click Done.
8. Select the new crop variety.
Organize a project based on the Client, Organization, and Farm
Add a project structure
1. Click the project menu.
2. In the PROJECT STRUCTURE section, select the arrow beside Client  , Organization
  , or Farm
  .
.
4. Write the desired name to structure a project.
5. Click Add.
6. (optional) To add a new Client, Organization or Farm click on Edit Client, Edit Organization, or Edit Farm, write the names, select Add.
7. Click Done.
8. Select the new project structure.