This article explains how to calculate the volume through the 3D View of the volumes view or using the rayCloud in PIX4Dmapper.
If the volume drawn is not accurate, it is possible to correct the position of the vertices:
- Using the 3D View of the volumes view (less accurate).
- Using the right sidebar of the rayCloud (more accurate).
Using the 3D View of the volume view
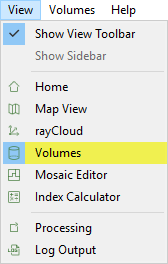
1. Click View > Volumes, to open the Volumes view.
2. In the 3D View, click the vertex to select it.
3. Click again the vertex and drag and drop it to its new position.
Using the right sidebar of the rayCloud
1. Click View > rayCloud to open the rayCloud view.

2. In the 3D View, click the vertex to select it.
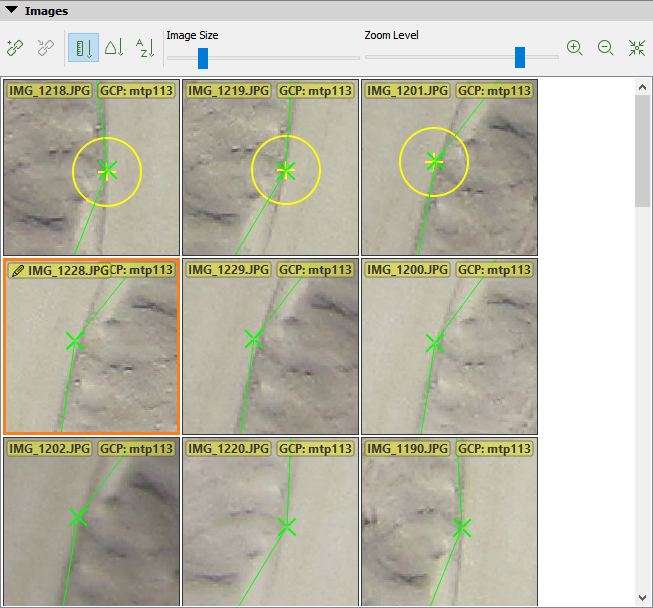
3. In the Images section of the right sidebar, zoom in/out of the images to better see the position of the vertex using the scroll wheel of the mouse (moving forwards to zoom in and backwards to zoom out) and pan using the left click of the mouse.
4. Left click to mark the vertex on the images. Mark the vertex on at least 2 images.
- A green cross represents the projection of the corresponding 3D vertex.
- A yellow cross represents the edited/marked vertex in the image.

5. Click Apply.
6. The 3D position of the vertex and the associated Manual Tie Point is corrected in the 3D View of the rayCloud and the Volumes view.