In a rolling shutter readout, the sensor is exposed and read line-by-line, instead of the entire sensor being exposed at once. This can lead to distortions when capturing fast-moving objects or when capturing the image while moving at a high rate of speed.
The rolling shutter effect becomes significant when flying the drone fast or when flying at a low altitude. In these cases, it is recommended to use the rolling shutter algorithm that Pix4D has developed to acquire more accurate results.
For more information about the rolling shutter and how Pix4D models it: Advanced knowledge - Scientific papers.
To use the rolling shutter algorithm:
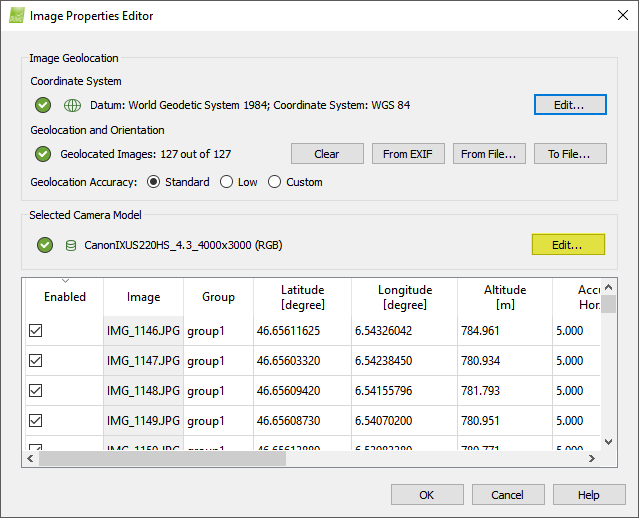
1. On the Menu bar, click Project > Image Properties Editor...
2. In the section Selected Camera Model, click Edit...
3. In the section Camera Model, click Edit.
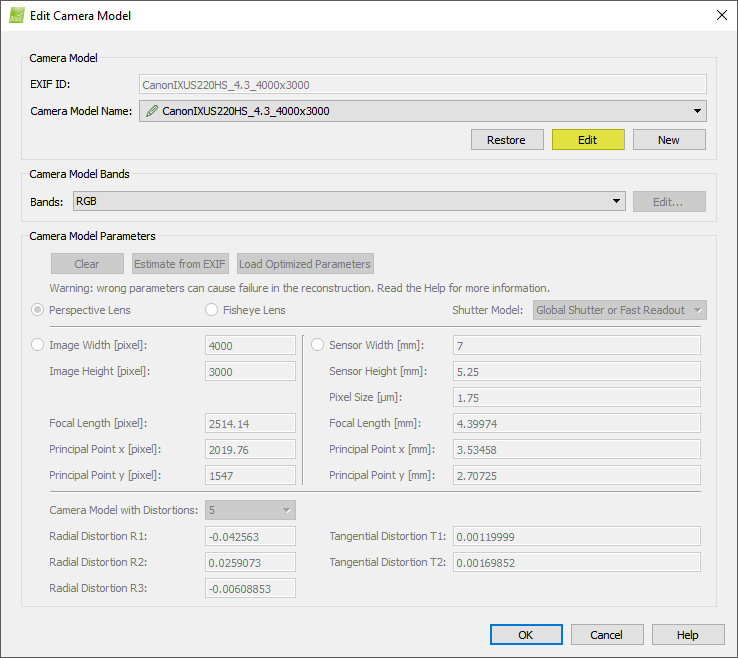
4. In the section Camera Model Parameters, at the Shutter Model drop-down list, select Linear Rolling Shutter.

5. Click OK.
6. Run step 1. Initial Processing.