- In order to orient a project, step 1. Initial Processing has to be completed.
- If the project has images with geolocation, and the Orientation Constraint is too divergent from the orientation given by the image geolocation, the Orientation Constraint will not be taken into account. If the orientation given by the image geolocation is inaccurate, the geolocation should be removed to orient the project. For more information about image geolocation: Menu Project > Image Properties Editor... > Image Geolocation.
In order to orient a project, an Orientation Constraint needs to be defined in the rayCloud:
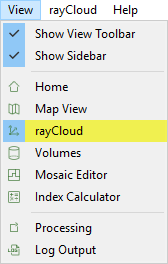
1. On the Menu bar, click View > rayCloud.
2. On the Menu bar, click rayCloud > New Orientation Constraint.

3. In the 3D View, a white circle appears beside the mouse. Left-click to insert the first vertex.
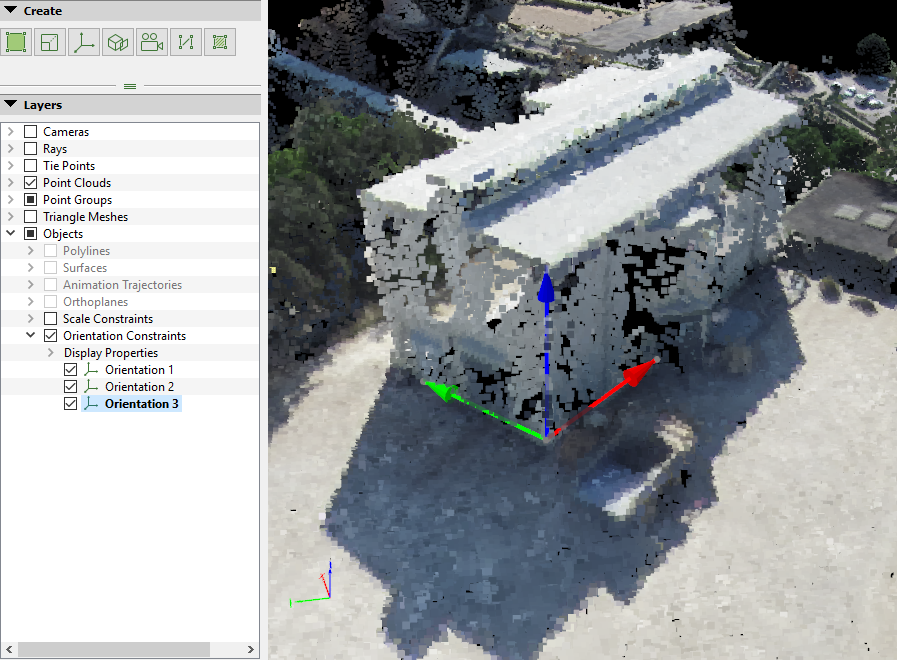
- An Orientation Constraint has direction and is defined by a line connecting two vertices.
- For each vertex, a Manual Tie Point is created.
- A vertex used by other objects can be reused for a new Orientation Constraint. Simply click on the vertex while drawing the Orientation Constraint.
4. Right-click to add the last vertex and to create the Orientation Constraint.
5. Select the Orientation Constraint in the 3D View and correct the position of the vertices in the images: How to edit Objects in the rayCloud.
6. In the Selection section of the right sidebar, select the Axis and enter the Angular Accuracy.
7. (optional) Click Flip to change the orientation.
8. Click Apply to save the changes.
9. (optional) Add more Orientation Constraints following steps 2 through 8.
10. Click Process > Reoptimize to orient the project.