This article describes how to access the tool Clipping Box and explains the information displayed when clipping a box. Finally, it describes how each action button works in the Clipping Box tab.
Access: On the Menu bar, click
View > rayCloud to open the rayCloud. In the toolbar, click the button
 . The right sidebar is displayed on the right of the main Window.
. The right sidebar is displayed on the right of the main Window.
The
Clipping Box is displayed in the 3D View and the Clipping Box Properties are displayed in the right sidebar.
Note: The
Clipping Box only affects the display, not the results of any outputs of step
1. Initial Processing, step
2. Point Cloud and Mesh or step
3. DSM, Orthomosaic, and Index.
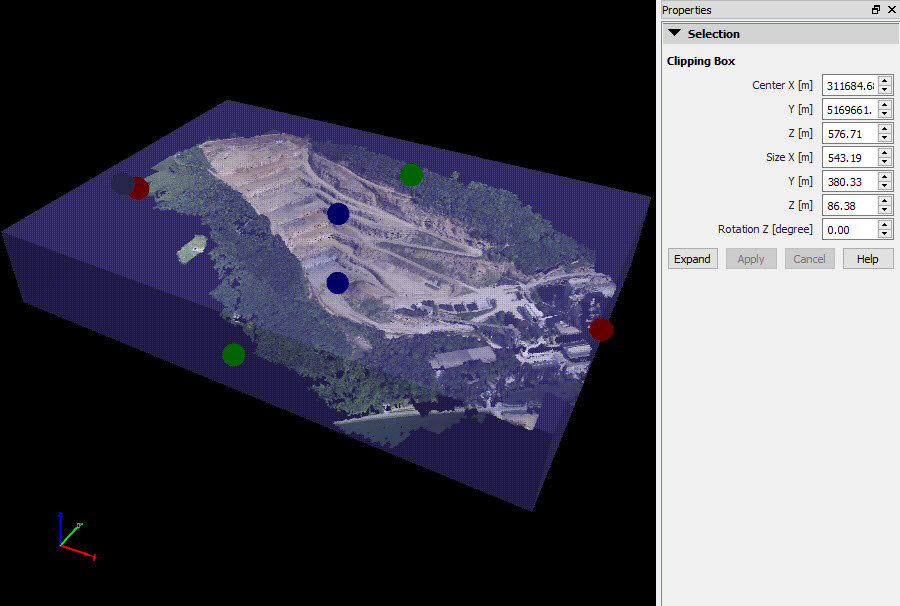
The following information is displayed:
- Center X [m]: Relative X coordinate of the center of the Clipping Box.
- Y [m]: Relative Y coordinate of the center of the Clipping Box.
- Z [m]: Relative Z coordinate of the center of the Clipping Box.
- Size X [m]: Size in meters of the X side of the Clipping Box.
- Y [m]: Size in meters of the Y side of the Clipping Box.
- Z [m]: Size in meters of the Z side of the Clipping Box.
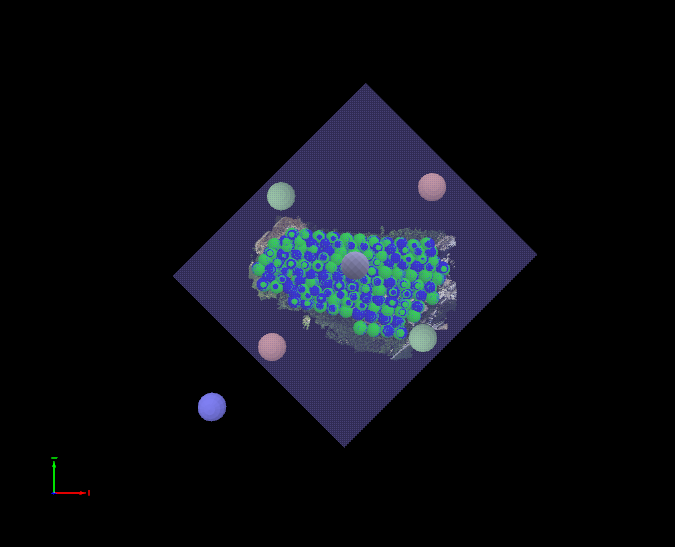
- Rotation Z [degree]: Represents the angle between:
- The X-axis of the model and the X-axis of the Clipping Box.
- The Y-axis of the model and the Y-axis of the Clipping Box.
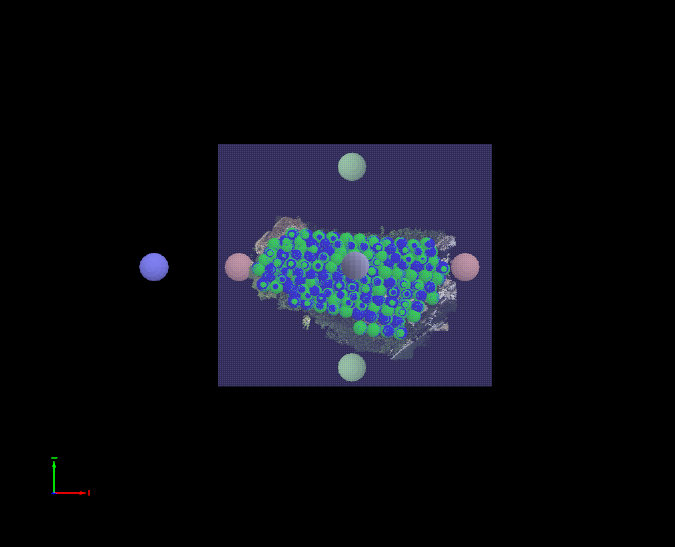
Rotation 0o
Rotation 45o
Below that information there are four buttons:
- Expand: Creates a new Clipping Box which covers the full model.
- Apply: Applies the changes in the values of the properties of the Clipping Box.
- Cancel: Cancels the changes in the values of the properties of the Clipping Box.
- Help: Opens the PIX4Dmapper help.
Note: On the toolbar,
 applies the
Clipping Box in the 3D View and visualize only the area contained in the Clipping Box.
applies the
Clipping Box in the 3D View and visualize only the area contained in the Clipping Box.
applies the
Clipping Box in the 3D View and visualize only the area contained in the Clipping Box.
For step-by-step instructions about how to use the Clipping Box: How to use the Clipping Box in the rayCloud.