How to export an Animation Trajectory with the rayCloud - PIX4Dmapper
In order export the coordinates of a 3D fly-trough animation (Video Animation Trajectory) with the rayCloud:
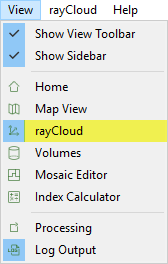
1. On the Menu bar, click View > rayCloud.

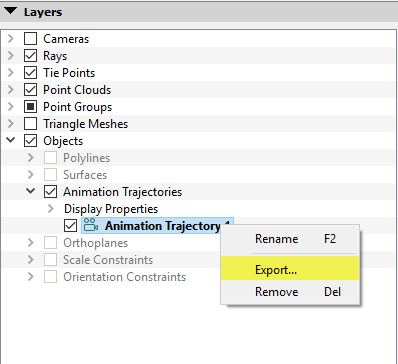
2. On the left sidebar, in the section Layers, right click the desired Animation Trajectory and click Export...

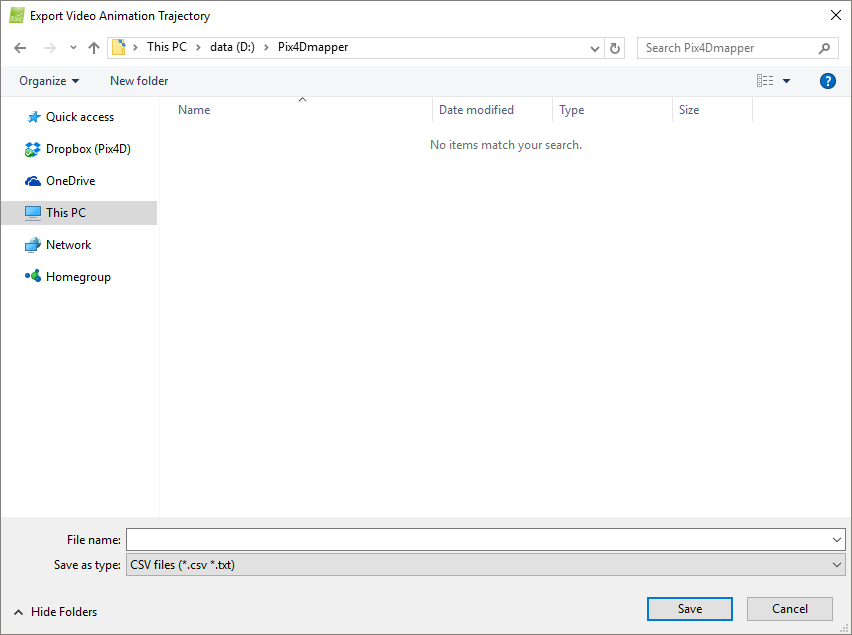
3. The Export Video Animation Trajectory pop-up appears:

4. On the Export Video Animation Trajectory pop-up, navigate to the folder to store the file.
5. In the File name field, type the desired name for the file.
6. Click Save.
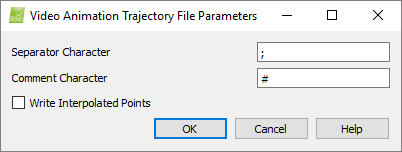
7. The Video Animation Trajectory File Parameters pop-up appears:

8. (optional) Change the Separator Character, which is the character used as separator for the information of each waypoint / interpolated point:
Time [s], Position X, Position Y, Position Z, Rotation X, Rotation Y, Rotation Z.
9. (optional) Change the Comment Character, which is the character used as first character for the comment lines which include information about the video animation options:
Name, Time computation, Interpolation, Max speed, Duration, Number of points, Distance unit of measure, Angle unit of measure.
10. (optional) By default the option Write Interpolated Points is not selected. This means that only the video animation options and the created waypoints name and coordinates are stored. Select Write Interpolated Points to also store intermediate points between consecutive waypoints.
Then, the Maximum distance between interpolated points [m] can be defined. By default, the value is 1 [m], and this creates one intermediate point each meter.
11. Click OK to export the Animation Trajectory.
