In order to create a Video Animation Trajectory in the rayCloud:
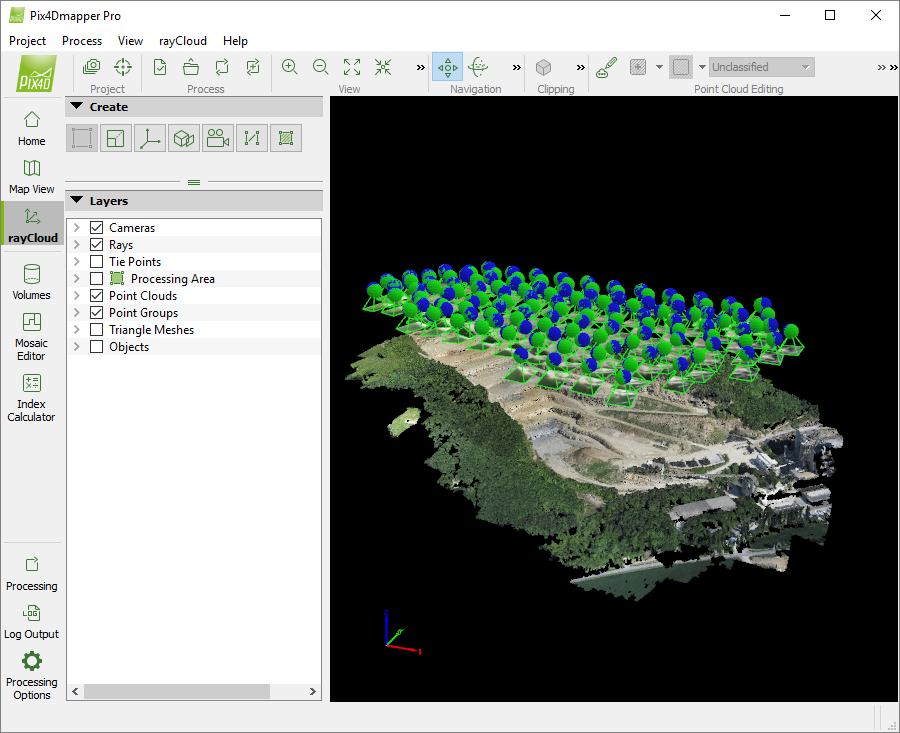
1. Access to the rayCloud: on the Menu bar, click View > rayCloud.
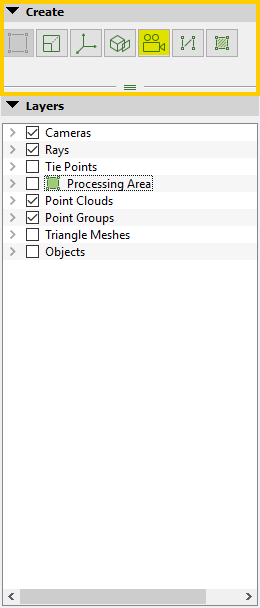
2. On the Create section of the left sidebar, click on the New Video Animation icon  .
.
3. The New Video Animation Trajectory wizard opens:
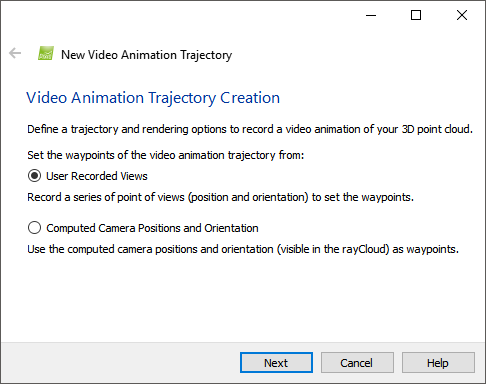
4. On the Video Animation Trajectory Creation window, set the waypoints by selecting one of the followings:
- User Recorded Views: It allows the user to select manually the position where the waypoints are located by navigating in the 3D View.
- Computed Camera Positions and Orientation: It uses the calibrated camera positions as waypoints, assigning the same order with which the original images were taken (time-stamp information from the EXIF data).
5. Click Next. Depending on the selection:
User Recorded Views
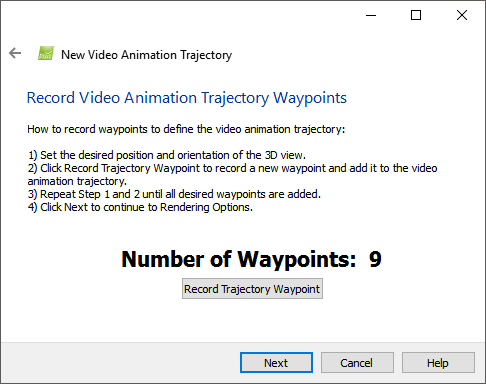
It is possible to record as many waypoints as desired.
5.1. Navigate in the 3D View (by panning, zooming and rotating). For more information: Menu View > rayCloud > 3D View.
5.2. Once the 3D View displays the 3D position to be used as waypoint, on the Record Video Animation Trajectory Waypoints window, click Record Trajectory Waypoint.
5.3. Repeat Steps 5.1 and 5.2 to record as many waypoints as desired.
5.4. Click Next.
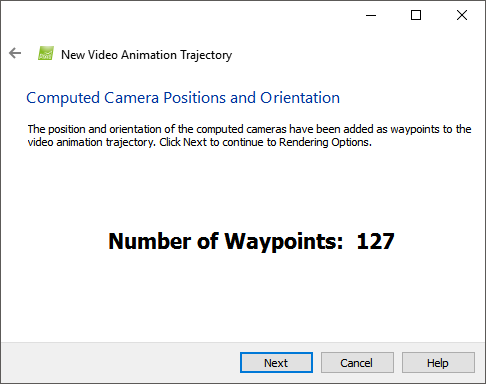
Computed Camera Positions and Orientation
The Computed Camera Positions and Orientation window displays the number of waypoints found (number of calibrated images)
5.1 Click Next.
6. (optional) On the Video Animation Options window, set the basic options:
6.1. (optional) Duration: By default the duration is set to 10seconds. It is possible to modify the duration in seconds or set the speed of the movement of the camera.
- Select the Duration to set the duration, and change if needed, the number in seconds.
- Select Maximum Speed [m/s] to set the duration using the speed of the movement of the fly-trough camera and change, if needed, the speed in meters/second.
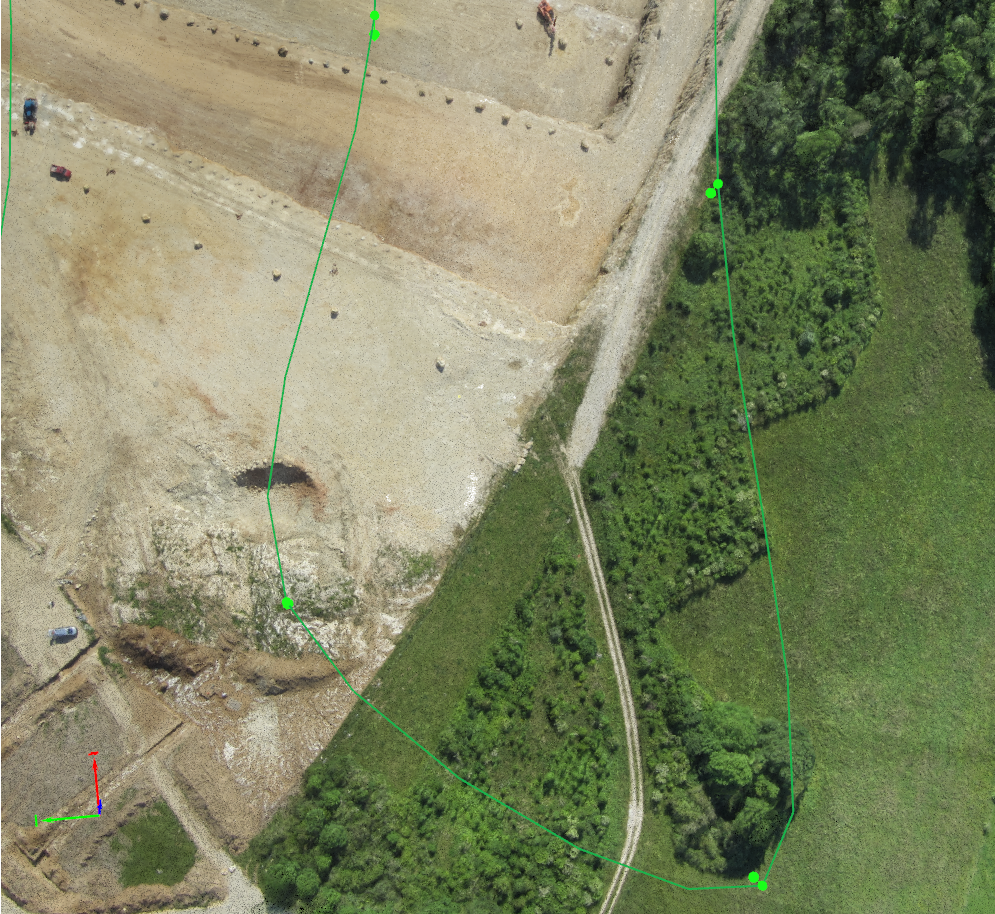
6.2. (optional but recommended) Select the check box Use Interpolation to ensure a smooth transitions between waypoints.
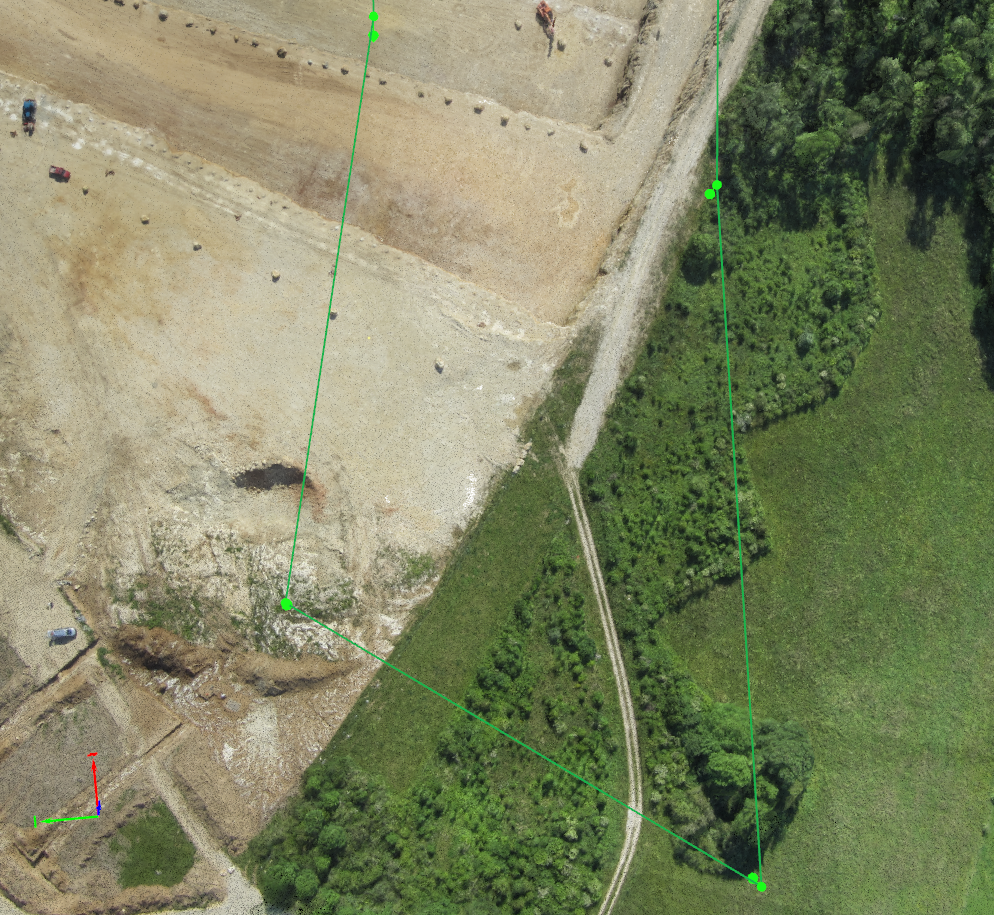
- If the Use Interpolation checkbox is NOT selected, the path between waypoints will be straight lines.
- If the Use Interpolation checkbox is selected, the path between waypoints will be curved lines. The angle of the curve is related to the angle between consecutive lines.
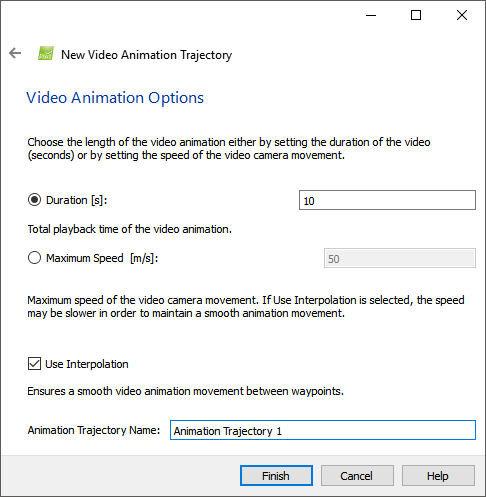
6.3 (optional) Change the Animation Trajectory Name (name to be displayed on the Layers section of the left sidebar).
7. Click Finish.
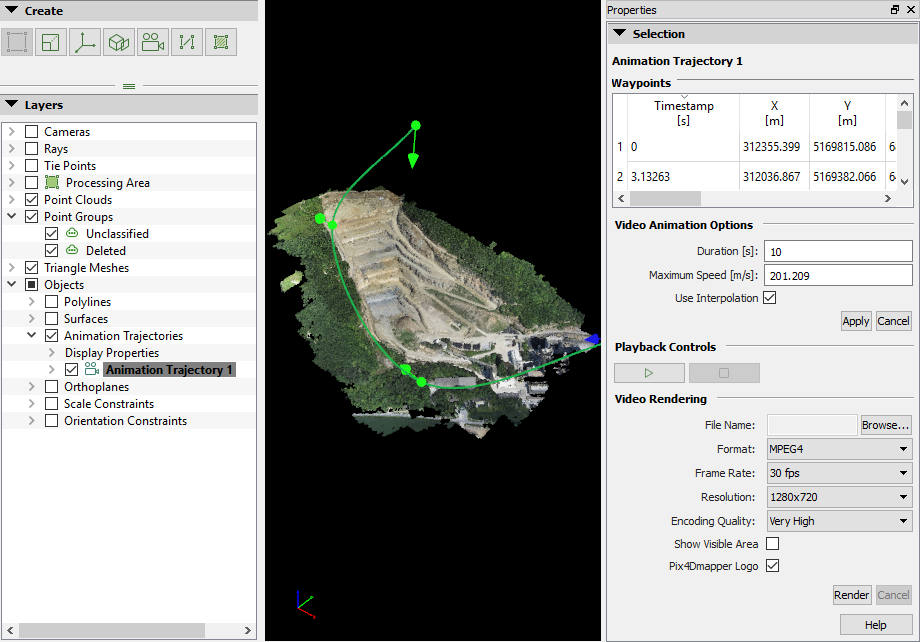
The New Video Animation Trajectory wizard closes and the animation trajectory is displayed and selected in the rayCloud.
8. (optional) On the right sidebar, in Playback Controls, click  to visualize the animation.
9. (optional) In any moment of the visualization, click  to stop the visualization.
Once the Animation Trajectory has been created, it is possible to:
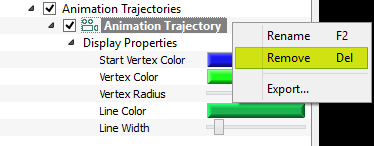
1. On the Layers section of the left sidebar, right click the Animation Trajectory to be deleted and click Remove.
1. (optional) On the Layers section of the left sidebar, select the Animation Trajectory to be displayed in the 3D View.
2. (optional) Edit the Display Properties: On the Layers section of the left sidebar, click the arrow next to the Animation Trajectory name, click the arrow next to the Display Properties and edit the values. For more information: Menu View > rayCloud > Left sidebar > Layers > Objects .

3. On the Layers section of the left sidebar, click the Animation Trajectory to be edited. The selected Animation Trajectory properties are displayed on the right sidebar.
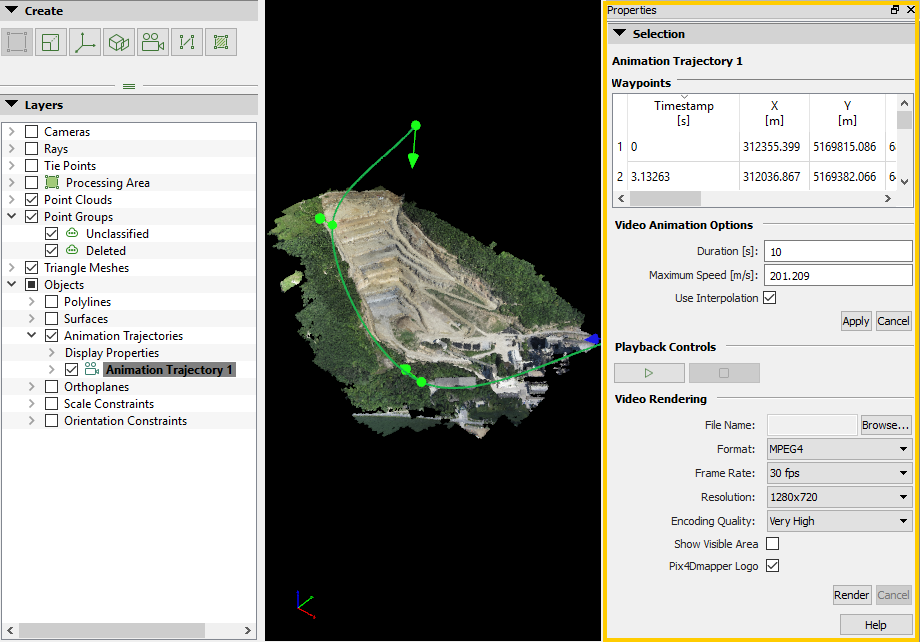
4. (optional) It is possible to edit the:
Waypoints
4.1 It is possible to edit the values, remove waypoints and insert the current viewpoint or displayed camera(s) position. For more information: Menu View > rayCloud > Right sidebar > Objects.
Video Animation Options
4.2 Change the Duration (seconds) or Maximum Speed (meters/second) values. When changing one of them the other value is updated automatically.
4.3 Select/unselect the Use Interpolation checkbox .
- If the Use Interpolation checkbox is NOT selected, the path between waypoints will be straight lines.
- If the Use Interpolation checkbox is selected, the path between waypoints will be curved lines. The angle of the curve is related to the angle between consecutive lines.
4.4. Click Apply to save the changes.
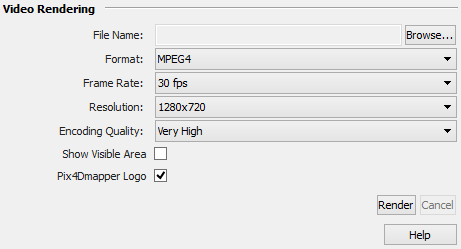
Create Video (Video Rendering)
1. On the Layers section of the left sidebar, click the Animation Trajectory to be edited. The selected Animation Trajectory properties are displayed on the right sidebar.
2. On Video Rendering section, Click Browse..., the Save Video As pop-up appears.
3. Navigate to the folder where the video will be stored, in File name, type the name of the video file and click Save.
4. (optional) Change the video Rendering Options. For more information: Menu View > rayCloud > Right sidebar > Objects.
5. Click Render.
Export Animation Trajectory as file
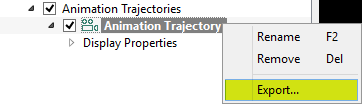
1. On the Layers section of the left sidebar, right click the Animation Trajectory to be exported.
2. Click Export...
3. The Export Video Animation Trajectory pop-up appears:
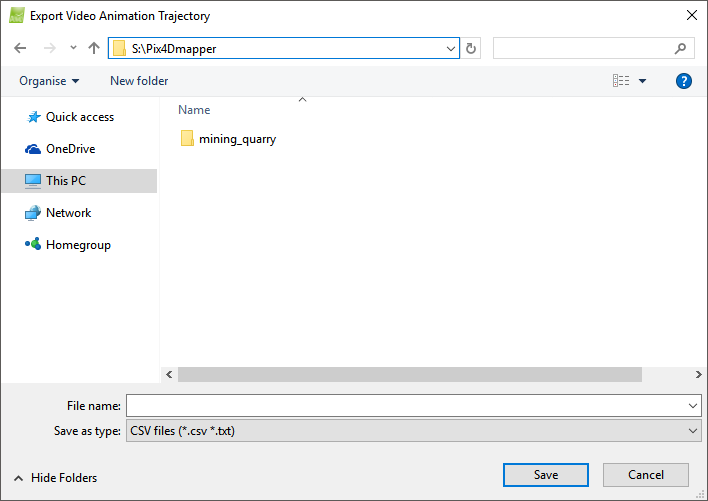
4. Navigate to the folder where the file will be stored, in File name, type the name of the Animation trajectory file and click Save.
The Video Animation Trajectory File Parameters pop-up appears:
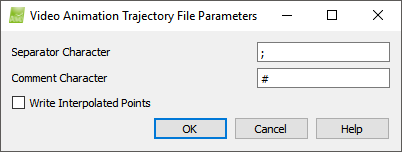
5. (optional) Change the default parameters. By default:
- The separator character used is ";".
- The character used to indicate a line with comments "#".
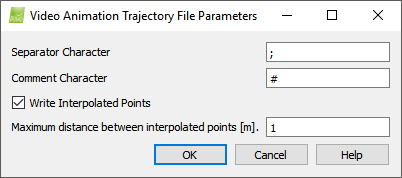
- Write Interpolated Points is not selected: It allows the user to store intermediate interpolated points each X distance defined by the user. By default the distance is 1 meter / feet depending on the coordinate system selected.
6. Click OK.
The Animation Trajectory is saved as .csv.