This article explains how to add and import ground control points (GCPs) when using the Basic GCP/MTP Editor.
- These step-by-step instructions are part of the procedure of how to include GCPs in the project. For more information about how to include GCPs in the project: How to include GCPs in the project.
- All GCPs must have the same coordinate system.
1. On the Menu bar, click Project > GCP / MTP Manager...

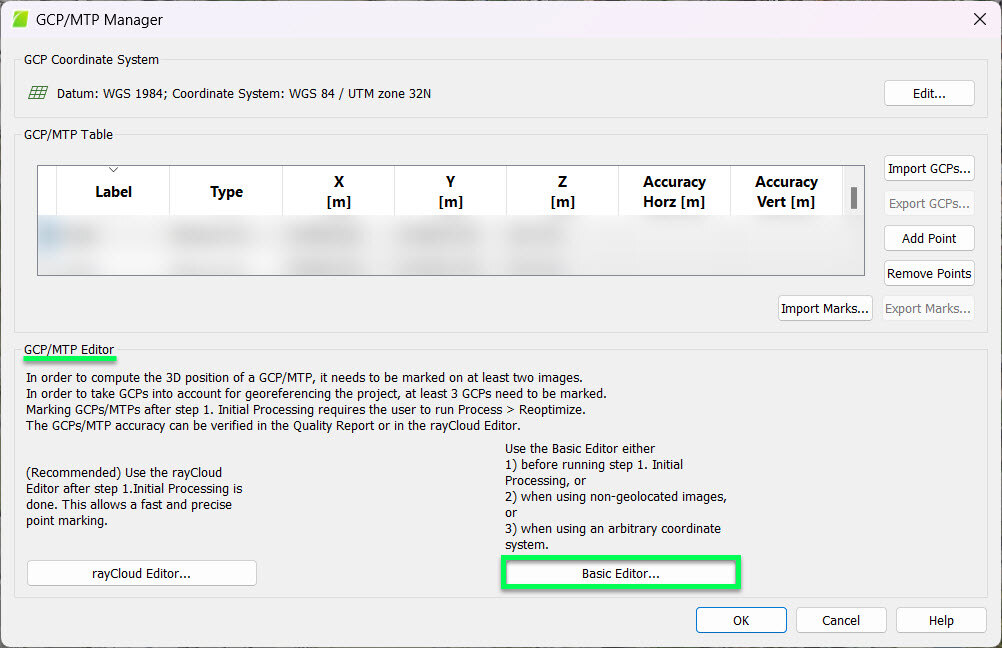
2. In the GCP/MTP Manager section, click Basic Editor... at the bottom right, the Basic GCP/MTP Editor window will appear.
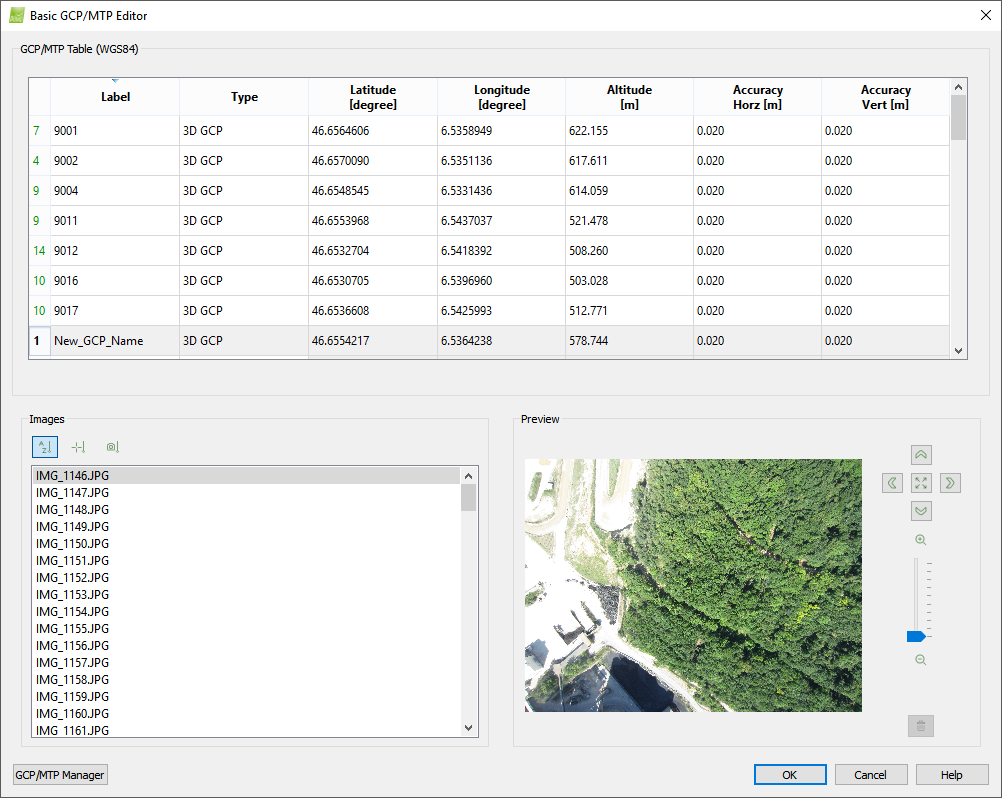
3. On the GCP/MTP Table, select the GCP to be marked....
4. On the Images section, sort the image list:
 By name: The images are sorted alphabetically.
 By Distance to GCP: Images closer to the GCP are listed first. This sorting can be used only if the images and GCPs are geolocated using a known coordinate system. This is the default sorting mode.
 By Distance to the Marked Image: When an image is selected and a GCP is marked on it, this option lists the images that are closer to the currently selected image. This sorting can be used only if the images are geolocated.
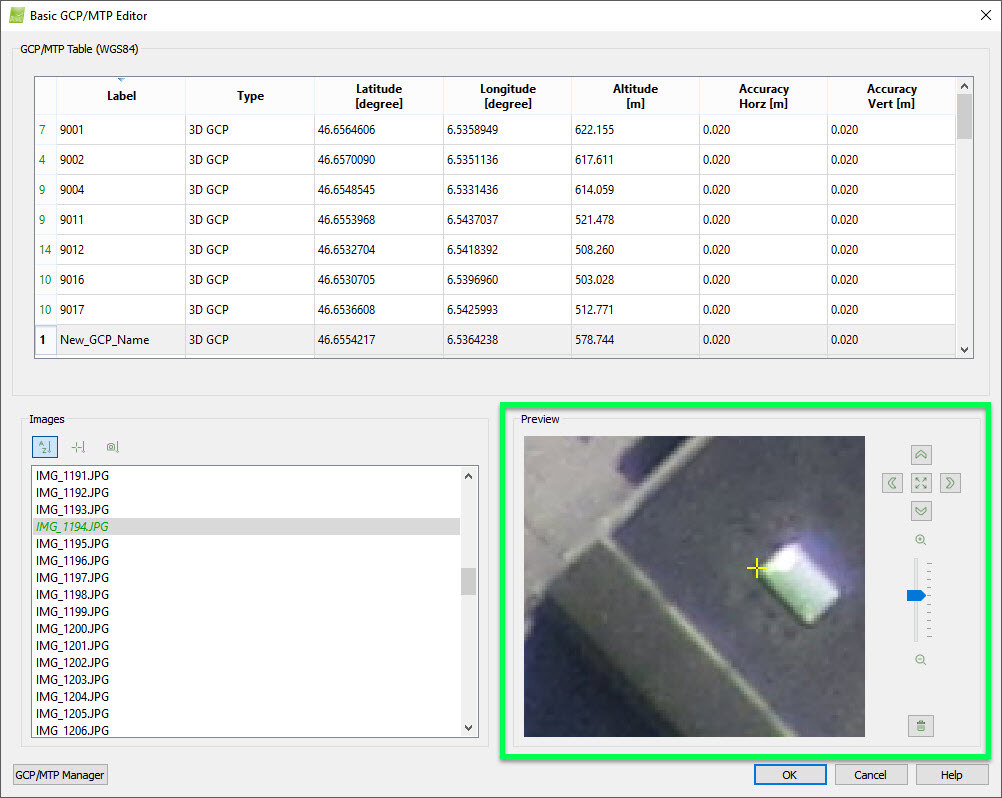
5. On the Images section, select the image on which the GCP should be marked. After the selection, the image is displayed in the Preview section.
6. Navigate in the image by:
- Zoom in: Moving the mouse scroll wheel forwards.
- Zoom out: Moving the mouse scroll wheel backwards.
- Pan: Using the mouse left click.
- Zoom in quickly on a specific point in the image: point with the mouse the point and press the Alt key. When the key is released, the view returns to the last zoom level.
- Zoom out to preview the zero zoom level: Press the Shift key. When the key is released, the view returns to the last zoom level.
7. Left click on the image to mark the point.
8. (optional) If it is needed to remove a mark, click  Remove.
9. On the Images section, select the next image on which the GCP should be marked.
10. Repeat steps 5 to 9 for other GCPs.
11. Click OK.