This article provides step-by-step instructions on how to edit an orthomosaic using the orthomosaic editor in PIX4Dmapper.
In order to edit the Orthomosaic:
1. Draw a new Region
Draw and edit as many regions as needed following:
1. On the Menu bar, click View > Mosaic Editor.
2. On the Menu bar, click Mosaic Editor > Mosaic Editing.

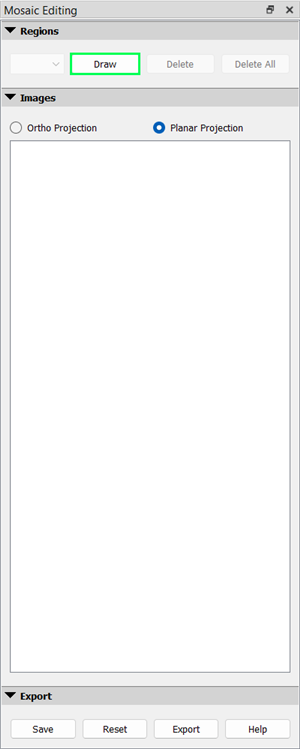
3. On the sidebar, in the section Regions, click Draw.
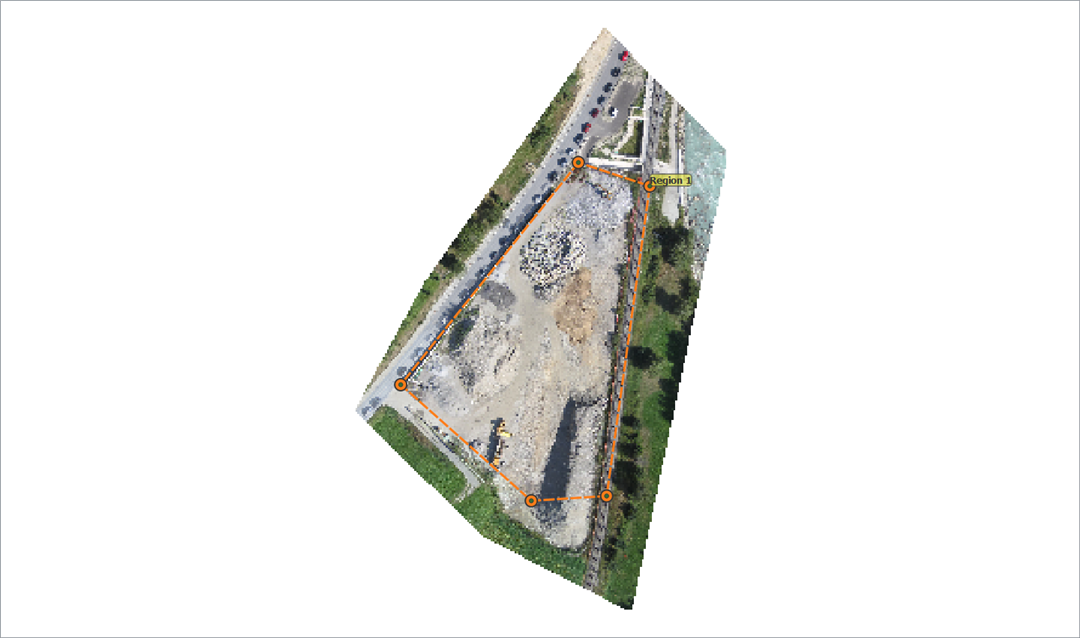
3. On the Mosaic View, left-click to insert the vertices of the region, right-click to draw the last vertex, and close the polygon.
4. (optional) Edit the shape of the region: left-click over a vertex while dragging it to the new position.
5. (optional) Change the projection selected for the region:
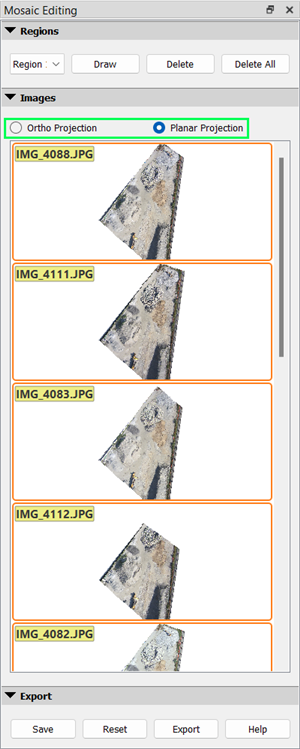
5.1 On the sidebar, in the section Images, select Ortho Projection or Planar projection.
- Ortho projection: The Ortho projection preserves distances and can be used for mosaics dedicated to measurement applications.
- Planar projection: The planar projection does not preserve distances, but has fewer distortions than the Ortho projection on sharp transitions such as building edges. Therefore it is not recommended to use planar images for mosaics dedicated to measurement applications. Its basic use is to improve the visual aspect of the Orthomosaic.
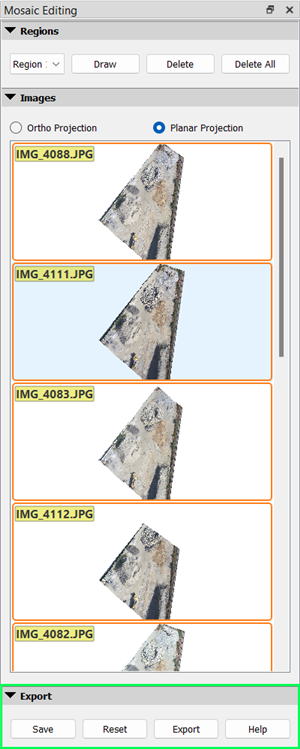
5.2. Select an image in Planar Projection or select one or multiple images in Ortho Projection. If multiple images are selected, they will be blended together.
It is possible to undo the changes:
- Reset the displayed Mosaic. The last saved and exported Edited Mosaic will be displayed.
- Reset the displayed Mosaic by using the DSM and Orthomosaic outputs files: On the sidebar, in the section Export, click Reset.
2. Save the changes
1. On the sidebar, in the section Export, click Save.
3. Export the saved Edited Mosaic into new outputs
1. On the sidebar, in the section Export, click Export.
- Ensure that all changes to be exported are saved.
- Exporting the Edited Mosaic will overwrite all the mosaics generated in step 3.
- The Grid DSM as well as the different orthomosaic formats (GeoTIFF, Google Maps Tiles, etc.) will be regenerated if selected in the processing options.