Sometimes, it may be necessary to remove images that do not contribute to producing accurate results, however the images were included in the project when the project was originally created. For example:
- Images captured during the taking off and landing.
- Images that do not contribute excessive image overlap.
- Images that are blurry or are over or under exposed.
- Images that do not capture the project area while the UAV was changing direction.
In these cases, to remove the images:
1. Open the project.
2. On the Menu bar, click Project > Image Properties Editor.
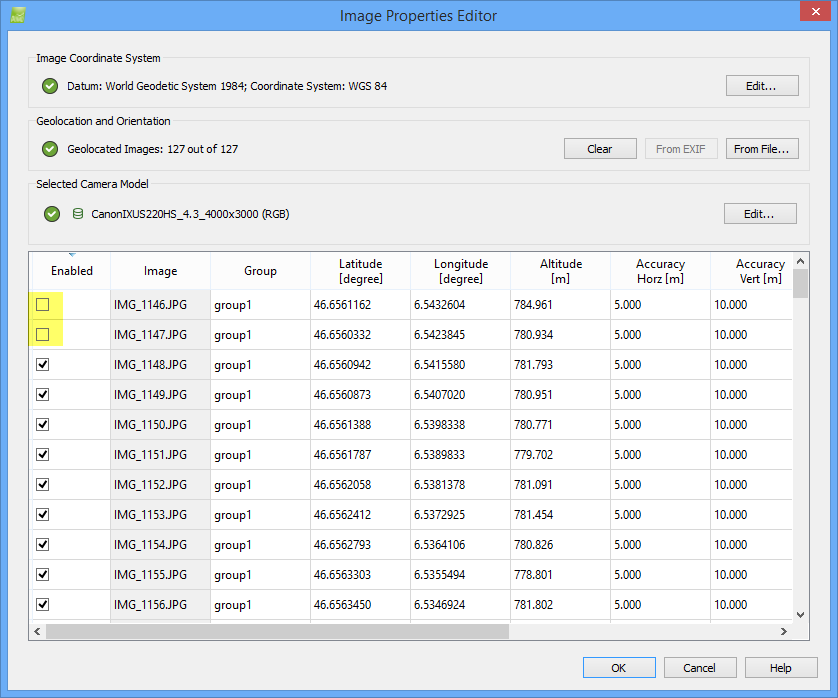
3. In the Image Properties Editor pop-up, disable the image by clicking on the check mark under Enabled for the images that are to be removed, as shown below:
4. Click OK.
5. Start step 1. Initial Processing.
Important: Disabling an image after a processing step is complete has no impact on the project results except if it is
reoptimized afterward. It is better to disable images before processing.