This article provides step-by-step instructions on how to improve the visual aspect of bridges of an orthomosaic using the Mosaic Editor in PIX4Dmapper.
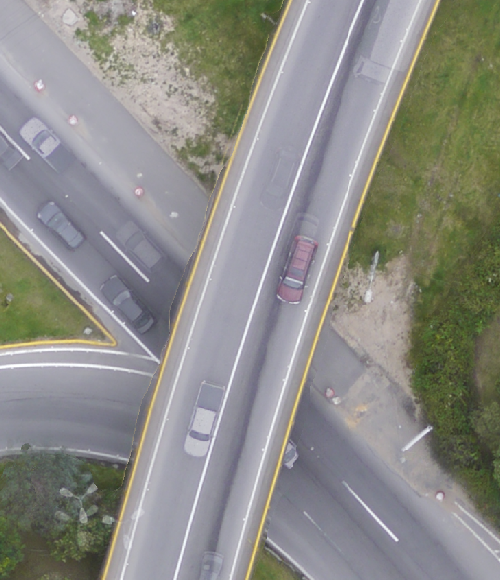
- The orthomosaic is generated using the DSM that comes from the 3D densified point cloud. So, all errors/noise of the 3D point cloud affect the orthomosaic. The distortions are created because of using Orthorectification instead of Photo Stitching. For more information: Photo stitching vs orthomosaic generation.
- When computing the 3D point cloud, the altitude of the points will not be perfectly estimated. There is always an error and some noise that is minimized for a good dataset (high overlap, good visual content of the images, use of GCPs, etc).
- This error/noise results in altitude differences for points that are supposed to be at the same altitude, like points that belong to the edge of a bridge. This altitude difference explains the orthomosaic distortions that appear on the bridge edges.
To improve the results of the mosaic with the Mosaic Editor:
1. On the Menu bar, click View > Mosaic Editor (available only if step 3. DSM, Orthomosaic and Index has been completed).
2. On the Mosaic Editing sidebar, under the section Regions click Draw.

3. Left-click to start drawing the region that will be improved (around the bridge).
4. Move the mouse to the next vertex of the region and right-click to add the last vertex.
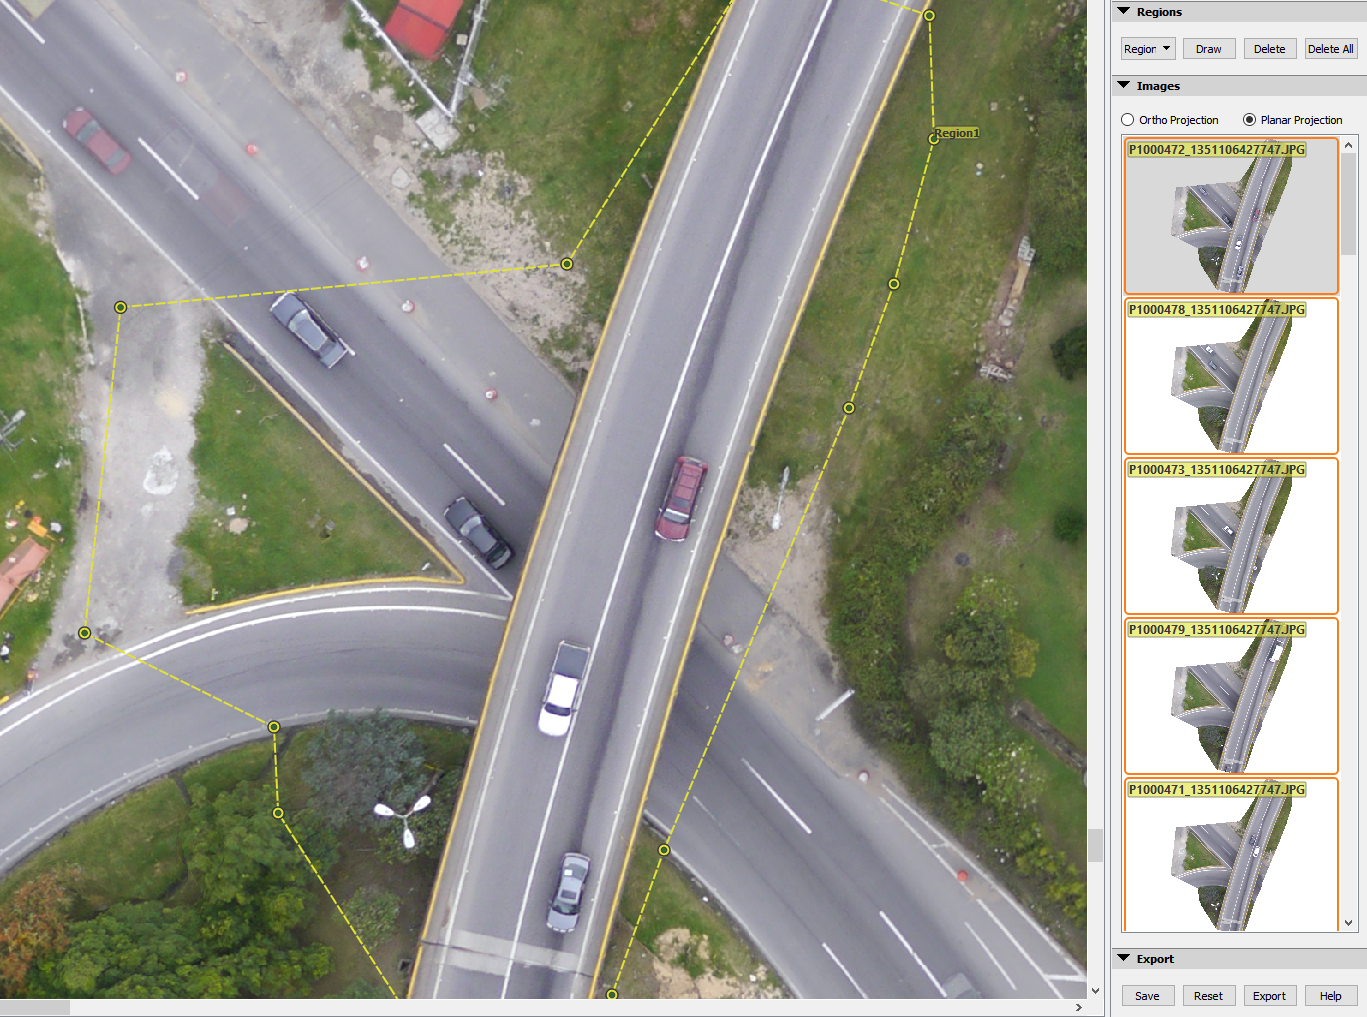

5. On the Mosaic Editing sidebar, under the section Images, select the Planar Projection check box (selected by default).
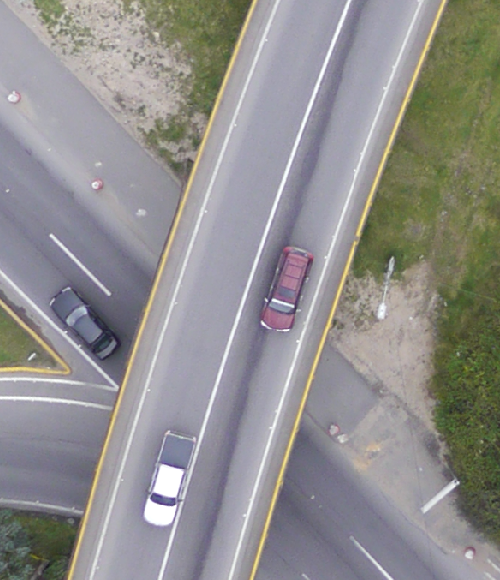
6. On the Mosaic Editing sidebar, under the section Images, select the image / projection that corrects better the bridge's distortions.
- Planar images/projections do not preserve the geometry (they should not be used for measurements).
- The better the overlap, the better the planar projection that can be selected: more nadir, preserving better the geometry.
- Selecting a planar projection will not affect the DSM.
7. After applying changes in the Mosaic Editor, click Save.
8. Click Export to export a new Orthomosaic to the Results Folder after all changes have been saved.

Dataset taken in Club Avisperos,Colombia, project results courtesy of Mavinci.