PIX4Dmapper generates two types of orthomosaics:
- project_name_mosaic_group_name: Orthomosaic with the type and number of bands of the input images. To generate this orthomosaic, select GeoTIFF Without Transparency in the Processing Options. For more information about this option: Menu Process > Processing Options... > 3. DSM, Orthomosaic and Index > DSM and Orthomosaic.
- project_name_transparent_mosaic_group_name (generated by default): Orthomosaic with one extra band (transparency band), which results in a transparent background of the orthomosaic.
Example: For example, if the input images are TIFF of 6 bands/16 bit float, the project_name_mosaic_group_name will be of 6 bands/16 bit float and the project_name_transparent_mosaic_group_name of 7 bands/16 bit float.
The difference is the following:
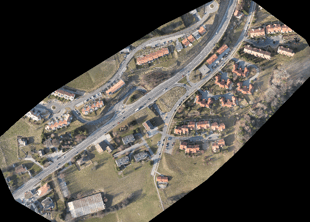
project_name_mosaic_group_name gives a black color value to the no value data pixels.
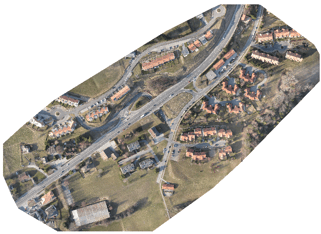
project_name_transparent_mosaic_group_name does not display color information (it applies a transparent band) to the no value data pixels.