Access: On the Menu bar, click View > rayCloud to open the rayCloud. The Layers section in the left sidebar is displayed on the left of the main window.
The Processing Area layer appears on the Layers section of the left sidebar once a Processing Area is drawn.
Warning:
- It is recommended to include areas covered by images in the Processing Area, so as to exclude areas of low overlap that can affect the results.
- The Processing Area affects only the visualization of the Automatic Tie Points in the 3D View of the rayCloud. It does not affect the results of step 1. Initial Processing.
- When the Processing Area is defined before step 2. Point Cloud and Mesh is processed, it affects the Point Cloud visualized in the 3D View of the rayCloud and the Volumes View and the results saved on disk. This Processing Area will also affect the results of step 3. DSM, Orthomosaic and Index.
- When the Processing Area is defined after step 2. Point Cloud and Mesh is completed, it only affects the Point Cloud visualized in the 3D View of the rayCloud and the Volumes View but not the results saved on disk. This Processing Area will also affect the results of step 3. DSM, Orthomosaic and Index.
- When exporting the Point Cloud, it is possible to take into account the Processing Area, even if it is drawn after step 2 is processed. For more information about how to export the Point Cloud: How to export the Point Cloud.
- When the Processing Area is defined before step 3. DSM, Orthomosaic and Index is completed, only the results of step 3 will be affected.
Warning:
In order to take the Processing Area into account for the visualization of the Point Cloud and / or the generation of the outputs of step 2. Point Cloud and Mesh, the corresponding filter should be selected in the Processing Options. For more information: Menu Process > Processing Options... > 2. Point Cloud and Mesh > Advanced.
The Processing Area will be taken into account for the results of step 3. DSM, Orthomosaic and Index even if the Processing Areas box is not selected in the Point Cloud Filters.
Note: For step by step instructions about how to select a Processing Area: How to use a processing area in PIX4Dmapper.
By right clicking on the Processing Area layer a context menu with the following option appears:
- Remove: Allows the user to remove the Processing Area. The Create Processing Area icon in the Create section of the left sidebar of the rayCloud can be used again to create a new Processing Area. The Processing Area layer of the Layers section of the left sidebar of the rayCloud is removed.
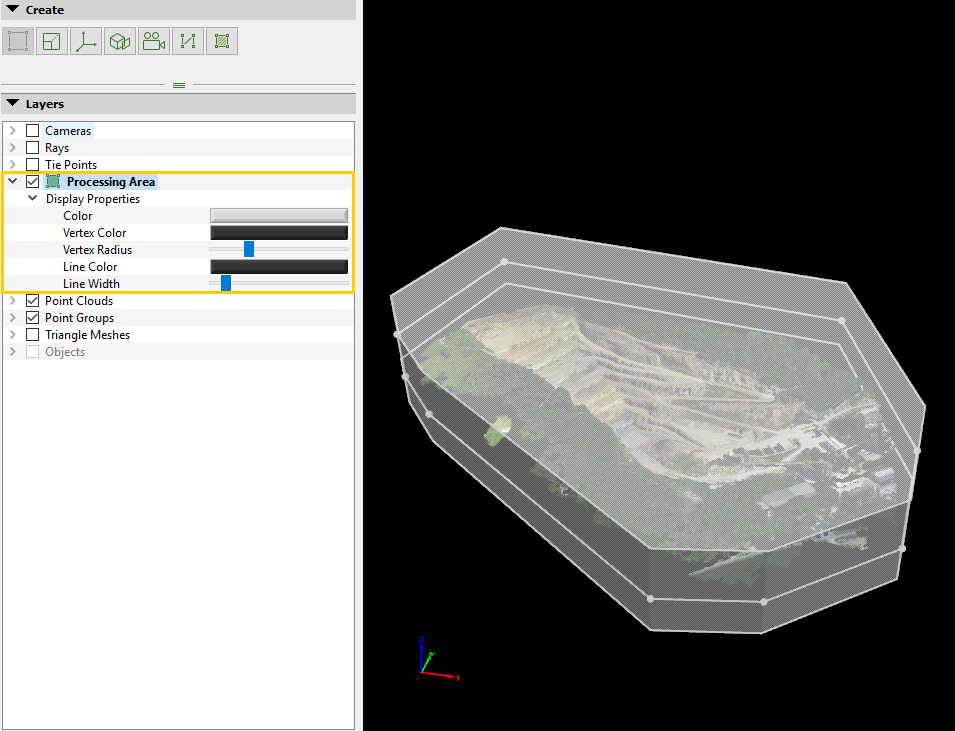
The Processing Area has the following sub-element:
- Display Properties: Allows the user to edit the display properties for the Processing Area. The following properties can be edited:
- Color: Color of the top, bottom, and side planes that define the area.
- Vertex Color: Color of the spheres that represent the vertices of the middle plane of the area.
- Vertex Radius: Radius of the spheres that represent the vertices of the middle plane of the area.
- Line Color: Color of the lines between the vertices of the planes (bottom, middle, and top planes) of the area.
- Line Width: Width of the lines between the vertices of the planes (bottom, middle, and top planes) of the area.