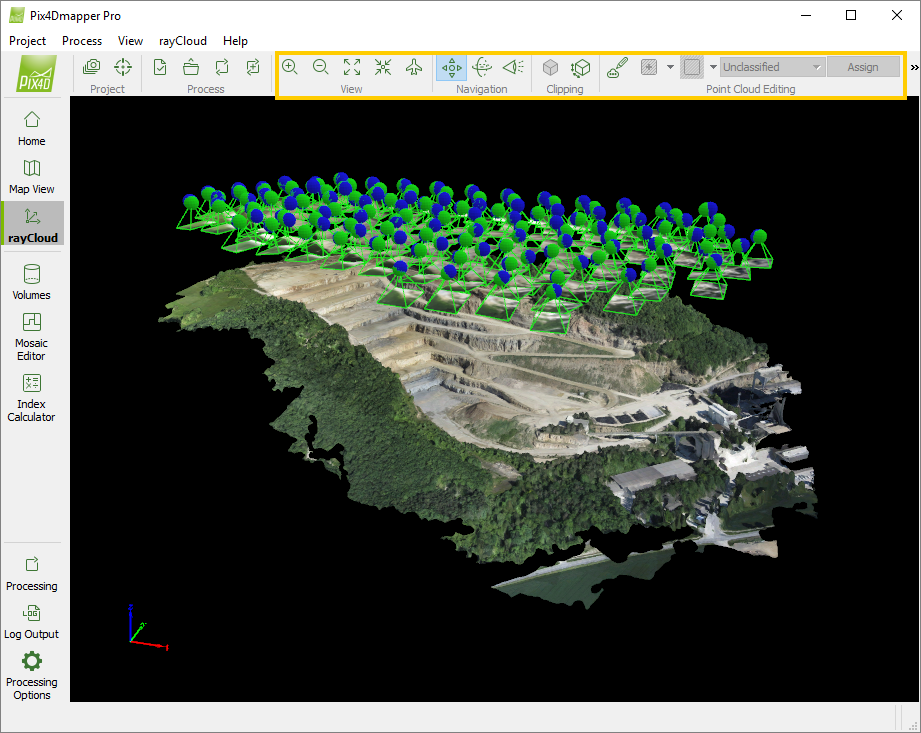
Menu View > rayCloud > Toolbar - PIX4Dmapper
The following Toolbar buttons are displayed:
- Standard Toolbar: For more information: Interface.
- Toolbar extra buttons.

Toolbar extra buttons
- View
 Zoom In: Zooms in the selected view.
 Zoom Out: Zooms out the selected view.
 View All: Moves the viewpoint in order to fit all the layers in the 3D View.
 Focus on Selection: Moves the viewpoint in order to display in detail the selected element (point, camera).
 View from Top: Moves the viewpoint in such a way that the layers are viewed from the top and fits all the layers in the 3D View.
- Navigation
 Set standard camera
 Set trackball camera
 Set first person camera
- Clipping
 Clip Point Cloud: Applies the Clipping Box in the 3D View and visualizes only the area contained in the Clipping Box.
 Edit Cliping Box: Visualizes the Clipping Box in the 3D View, visualize the Clipping Box properties in the right sidebar and allows the user to edit it in the 3D View and/or the right sidebar.
- Point Cloud Editing
 Edit Densified Point Cloud: Enters/exits the Edit Point Cloud Densification mode, enabling/graying out the editing toolbar buttons below.
 Add Points to Selection: Allows the user to select the points to be edited.
 Remove Points from Selection: Allows the user to unselect the points to be edited.
 Select All: Allows the user to select all the visible points to be edited.
 Clear Selection: Allows the user to clear all the points selected to be edited.
 Invert Selection: Converts the selected points to be edited into unselected and vice versa.
 Allows the user to select the Point Group to which the selected points will be assigned. The options are:
- Unclassified: Selected by default. It contains points that do not belong to any other point group. By default, all the points are Unclassified.
- Disabled: Points that will not be used for the step 3. DSM, Orthomosaic and Index. When processing step 3. DSM, Orthomosaic and Index, only the points belonging to the point group Disabled will not be used.
- Ground, Road Surface, High Vegetation, Building, Human Made Object: Predefined point groups that are created for the Point Cloud Classification.
- New Point Group: Option to create new Point Groups. By clicking New Point Group, a pop-up appears, type the New Point Group Name and click OK. The created group is selected.
 Assigns the selected points to the selected Point Group.
