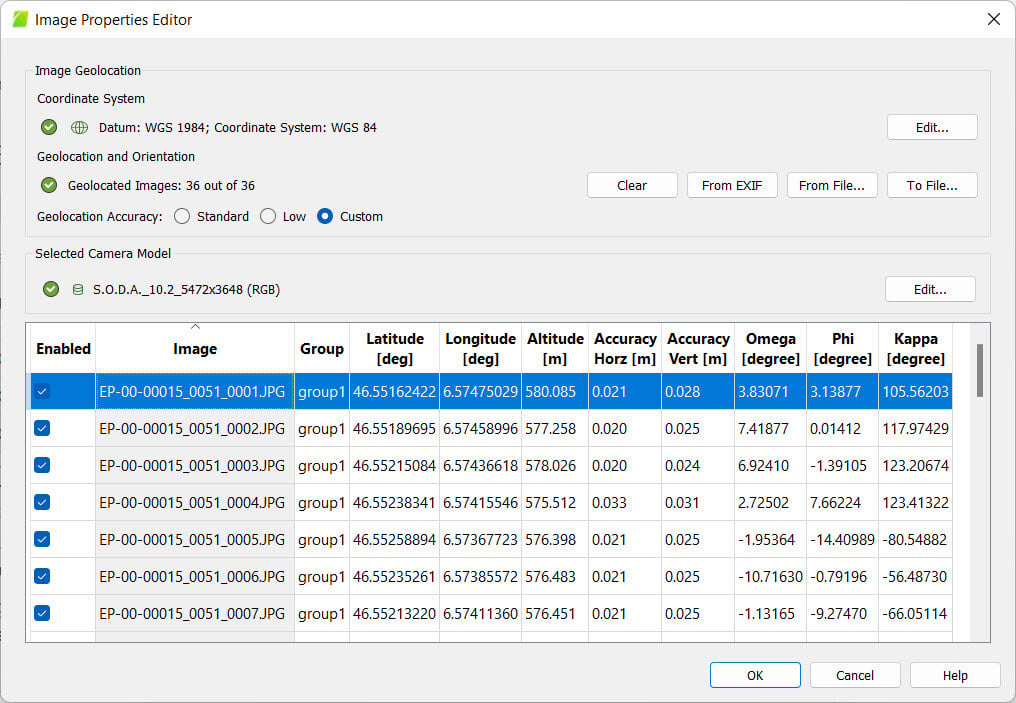
The article provides descriptions of each column in the Image Table that is within the Image Properties Editor in PIX4Dmapper.
This table is used to describe and edit the information and the status of the images used for the project.

The following actions can be performed in the table:
The number of images determines the number of rows in the table of a project. Each row displays information for one image. The information includes the followings:
- Status of the image (Enabled)
- Image
- Group
- Camera model (Multi-camera model projects)
- First coordinate
- Second coordinate
- Third coordinate
- Accuracy Horz
- Accuracy Vert
- Omega
- Phi
- Kappa
Actions on the table
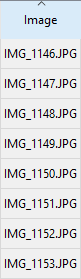
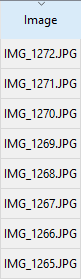
By clicking the column Image, the title will be used to sort the table, it will be ordered from the smallest to the highest value. By clicking again the column, the title already used for sorting, will be switched from smallest to highest to from highest to smallest, and vice versa.
A triangle indicates which column title is used for sorting and the type of sorting:
Selecting an image
Left click any of the image's cells. The row corresponding to the selected image is displayed in blue.
Selecting multiple images
For images that are displayed one after the other: Press the Shift key and left click the first and last images to be selected. The rows corresponding to the selected images are displayed in blue. Alternatively, left click one image and while keeping the left button clicked, move the mouse up or down.

For images that are not displayed one after the other: Press the Control key and left click all the images to be selected. The rows corresponding to the selected images are displayed in blue.
Editing one image
For the Enabled column:
1. Click the box (the status switch between selected/unselected).
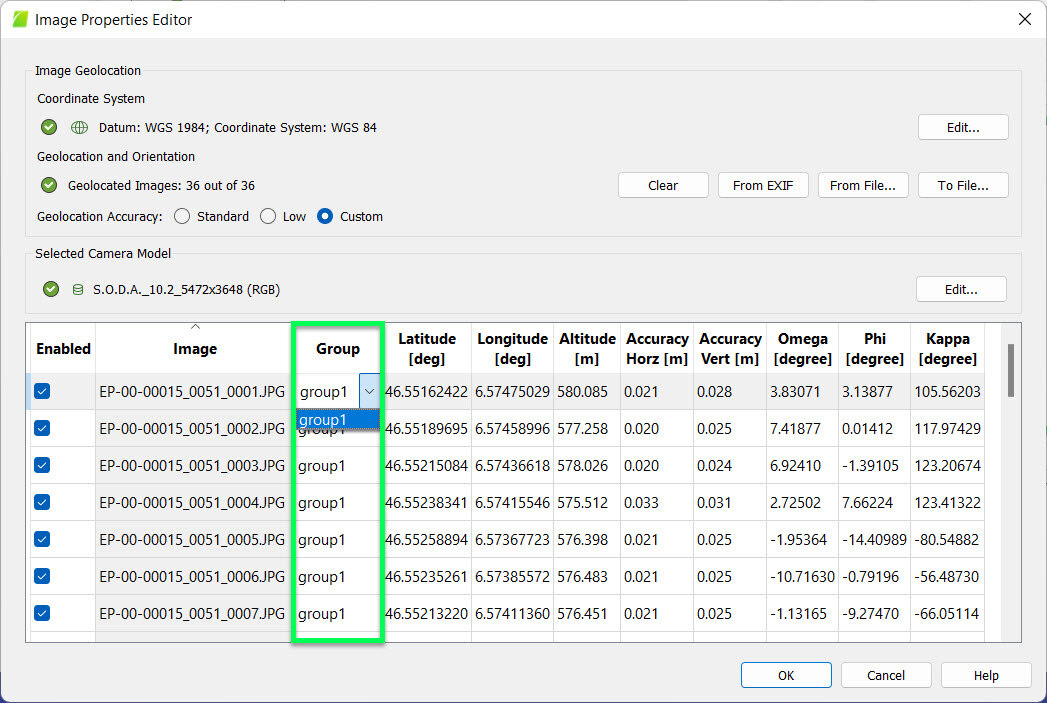
For the Group column:
1. Double click the cell.
2. Type the new value or click the left arrow to select among the existing values.
3. Click Enter or click outside the cell.
For the Latitude, Longitude, Altitude, Accuracy Horz or Accuracy Vert columns:
1. Double click the cell.
2. Type the new value.
3. Click Enter or click outside the cell.
Editing all the values for one column
For the Enabled column:
1. Right click one cell of the column.
2. Click Enabled All Images or Disable All Images.
For the Group column:
1. Right click one cell of the column.
2. Click Edit All Groups.
3. Type the new value or click the left arrow to select among the existing values.
4. Click Enter or click outside the cell.
For the Latitude, Longitude, Altitude, Accuracy Horz or Accuracy Vert columns:
1. Right click one cell of the column.
2. Click Edit All Altitudes / Horz. Accuracies / Vert. Accuracies.
2. Type the new value.
3. Click Enter or click outside the cell.
Editing the selected rows values for one column
Select multiple images and:
For the Enabled column:
1. Right click one of the selected cells of the column.
2. Click Enabled Selected Images or Disable Selected Images.
For the Group column:
1. Right click one of the selected cells of the column.
2. Click Edit Groups in Selected Rows.
3. Type the new value or click the left arrow to select among the existing values.
4. Click Enter or click outside the cell.
For the Latitude, Longitude, Altitude, Accuracy Horz or Accuracy Vert columns:
1. Right click one of the selected cells of the column.
2. Click Edit Altitudes / Horz. Accuracies / Vert. Accuracies in Selected Rows.
2. Type the new value.
3. Click Enter or click outside the cell.
Status of the image (Enabled)
The status of the image is displayed in the Enabled column. It is defined by a box that indicates if the image is used for processing or not. If the box is selected, the image is enabled and is used for processing.
To select or unselect an image: Left click on the box.
Image
This column displays the name of the images. It cannot be edited.
Group
When processing images that belong to different groups, all images are processed together, generating:
- One point cloud of automatic tie points for the whole project. The color of the automatic tie points will be mixed: some points will take color from the RGB images and others from the NIRGB images.
- One densified point cloud per group.
- One DSM for the whole project.
- One orthomosaic per group.
By default the images that have the same number and type of bands as well as the images with the same pixel type (byte, float) will be grouped as group1. Images with different bands and pixel type will be grouped as group2, group3, etc. To change the group of one image, double click on the corresponding cell and edit the group. For more information about editing the group of multiple images: Menu Project > Image Properties Editor... > Images Table.
Camera model (Multi-camera model projects)
For projects with more than one camera model, this column displays the camera model assigned to the corresponding images.
To change the camera model of one image, double click on the corresponding cell. Click on the arrow that appears and, from the drop-down list, choose the desired camera model.
First Coordinate
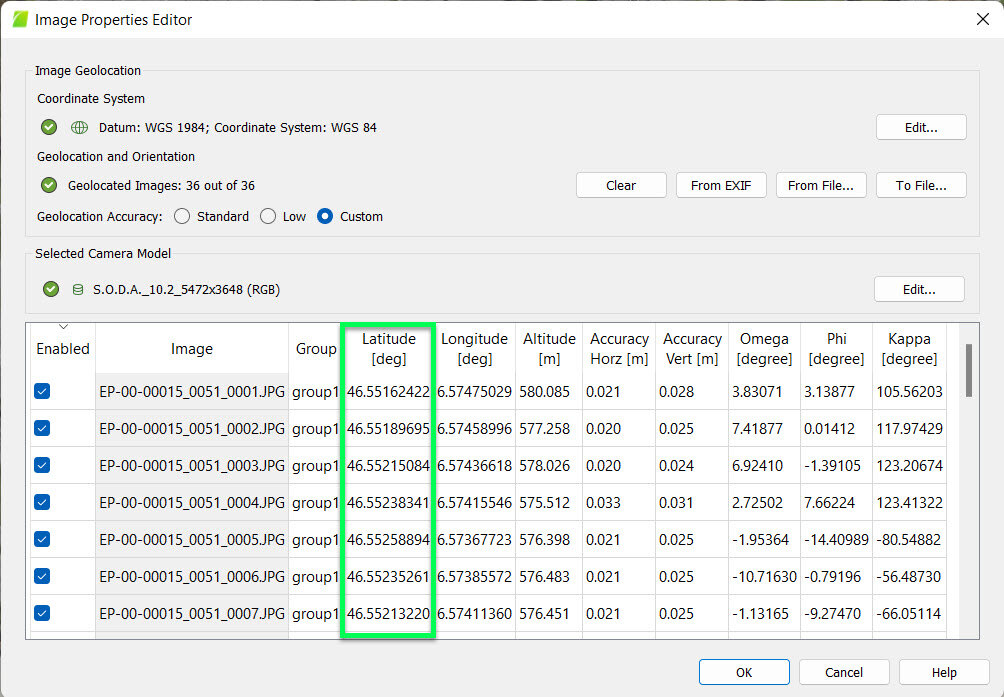
The first coordinate is:
- Latitude [degree]: If the coordinate system of the images is a geographic coordinate system.
- X [m]: If the coordinate system of the images is a projected coordinate system. The unit is given in meters.
- X [feet]: If the coordinate system of the images is a projected coordinate system. The unit is given in feet.
- Local X [m]: If the coordinate system is defined by the user (local coordinate system). The unit is given in meters.
The coordinate columns are filled:
- When importing the coordinates from the image EXIF data if the information exists.
- When importing the coordinates from the image geolocation file.
- When manually editing the table: double click on the corresponding cell and enter the coordinate.
Second coordinate

The second coordinate is:
- Longitude [degree]: If the coordinate system of the images a geographic coordinate system.
- Y [m]: If the coordinate system of the images is a projected coordinate system. The unit is given in meters.
- Y [feet]: If the coordinate system of the images is a projected coordinate system. The unit is given in feet.
- Local Y [m]: If the coordinate system is defined by the user (local coordinate system). The unit is given in meters.
The coordinate columns are filled:
- When importing the coordinates from the image EXIF data if the information exists.
- When importing the coordinates from the image geolocation file.
- When manually editing the table: Double click on the corresponding cell and enter the coordinate.
Third Coordinate

The third coordinate is:
- Altitude [m]: If the coordinate system of the images is a geographic coordinate system.
- Z [m]: If the coordinate system of the images is a projected coordinate system. The unit is given in meters.
- Z [feet]: If the coordinate system of the images is a projected coordinate system. The unit is given in feet.
- Local Z [m]: If the coordinate system is defined by the user (local coordinate system). The unit is given in meters.
The coordinate columns are filled:
- When importing the coordinates from the image EXIF data if the information exists.
- When importing the coordinates from the image geolocation file.
- When manually editing the table: Double click on the corresponding cell and enter the coordinate.
- The Z coordinate must be given in the same unit as the (X,Y) coordinates (meters or feet).
- All image geolocation coordinates have to be given in the same coordinate system.
Accuracy Horz

Defines the horizontal accuracy value (Accuracy Horz). The horizontal accuracy refers to the first and second coordinates (latitude, longitude, or X,Y) of the images.
- Very accurate image geolocation (latitude, longitude, or X,Y) coordinates: Low accuracy value.
- Non accurate image geolocation (latitude, longitude, or X,Y) coordinates: High accuracy value.
The higher the accuracy value, the less impact the image's coordinates will have on the Initial Processing, compared to other images or GCPs with lower accuracy values. The accuracy is a value between 0.001 and 10'000.
To edit the horizontal accuracy of one image, double click on the corresponding cell and enter the new value. For more information about editing the horizontal accuracy of multiple images, see Actions on the table.
Accuracy Vert

Defines the vertical accuracy value (Accuracy Vert). The vertical accuracy refers to the third coordinate (altitude or Z) of the images.
- Very accurate image geolocation (altitude or Z) coordinate: Low accuracy value.
- Non accurate image geolocation (altitude or Z) coordinate: High accuracy value.
The higher the accuracy value, the less impact the image ́s coordinate will have on the Initial Processing, compared to other images or GCPs with lower accuracy values. The accuracy is a value between 0.001 and 10'000.
To edit the vertical accuracy of one image, double click on the corresponding cell and enter the new value. For more information about editing the vertical accuracy of multiple images, see Actions on the table.
Omega
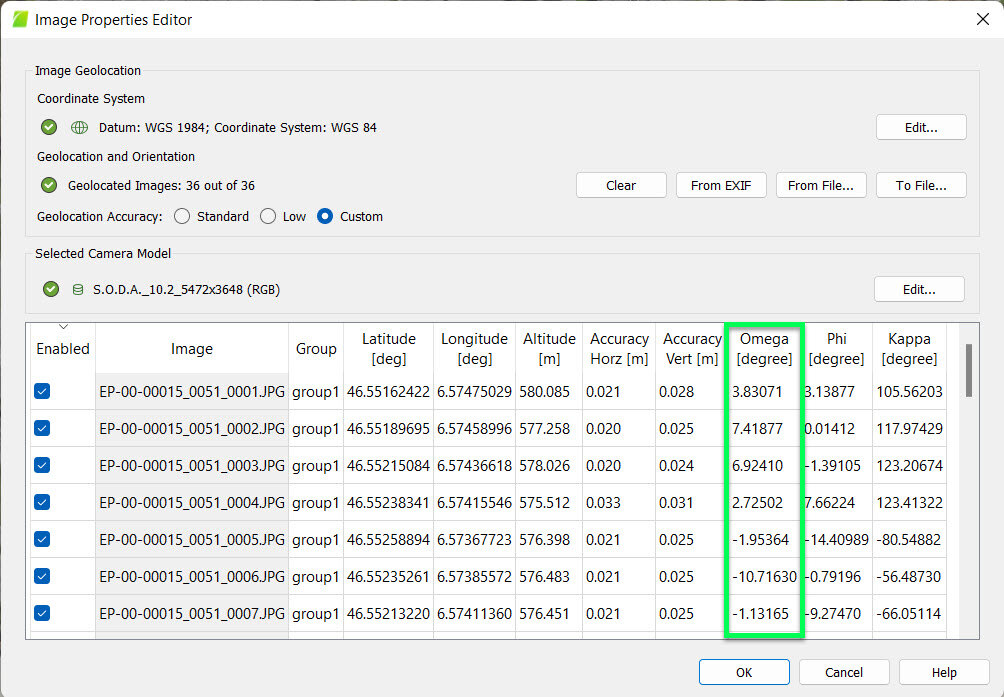
Omega (ω) is the rotation around the Χ-axis. It is given in degrees.
The rotation columns are filled:
- When importing the angles from the image geolocation file.
- When manually editing the table: Double click on the corresponding cell and enter the angle.
This value is optional as PIX4Dmapper does NOT require the orientation of the camera in order to process the projects.
For more information about how PIX4Dmapper defines the Omega - Phi - Kappa angles: How are omega, phi, kappa defined?.
Phi
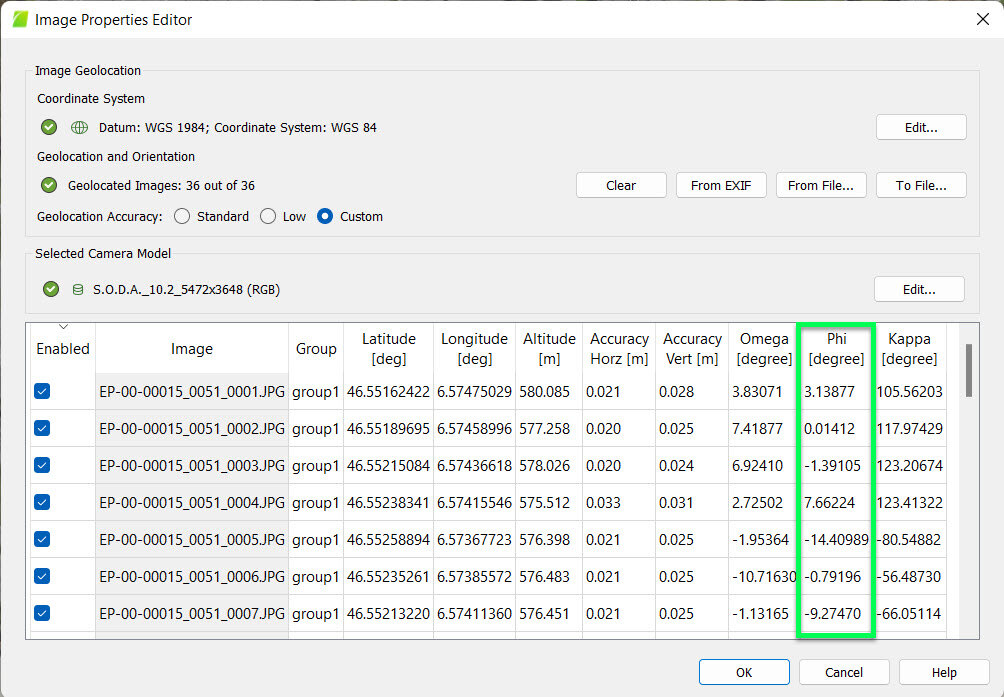
Phi (φ) is the rotation around the Y-axis. It is given in degrees.
The rotation columns are filled:
- When importing the angles from the image geolocation file.
- When manually editing the table: Double click on the corresponding cell and enter the angle.
This value is optional as PIX4Dmapper does NOT require the orientation of the camera in order to process the projects.
For more information about how PIX4Dmapper defines the Omega - Phi - Kappa angles: How are omega, phi, kappa defined?.
Kappa
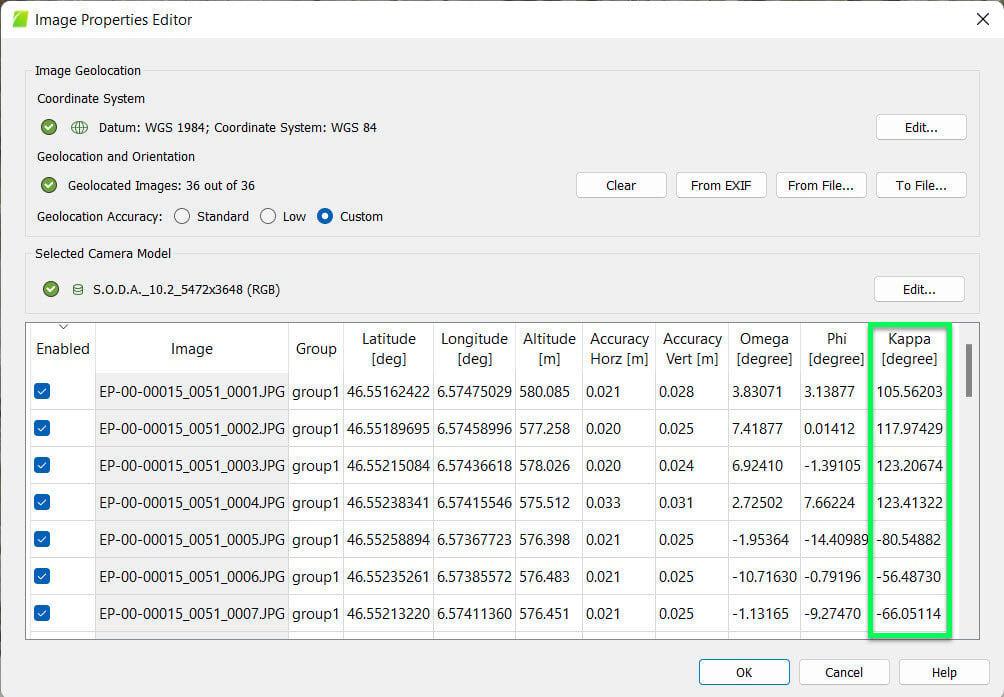
Kappa (κ) is the rotation around the Z-axis. It is given in degrees.
The rotation columns are filled:
- When importing the angles from the image geolocation file.
- When manually editing the table: Double click on the corresponding cell and enter the angle.
This value is optional as PIX4Dmapper does NOT require the orientation of the camera in order to process the projects.
For more information about how PIX4Dmapper defines the Omega - Phi - Kappa angles: How are omega, phi, kappa defined?.