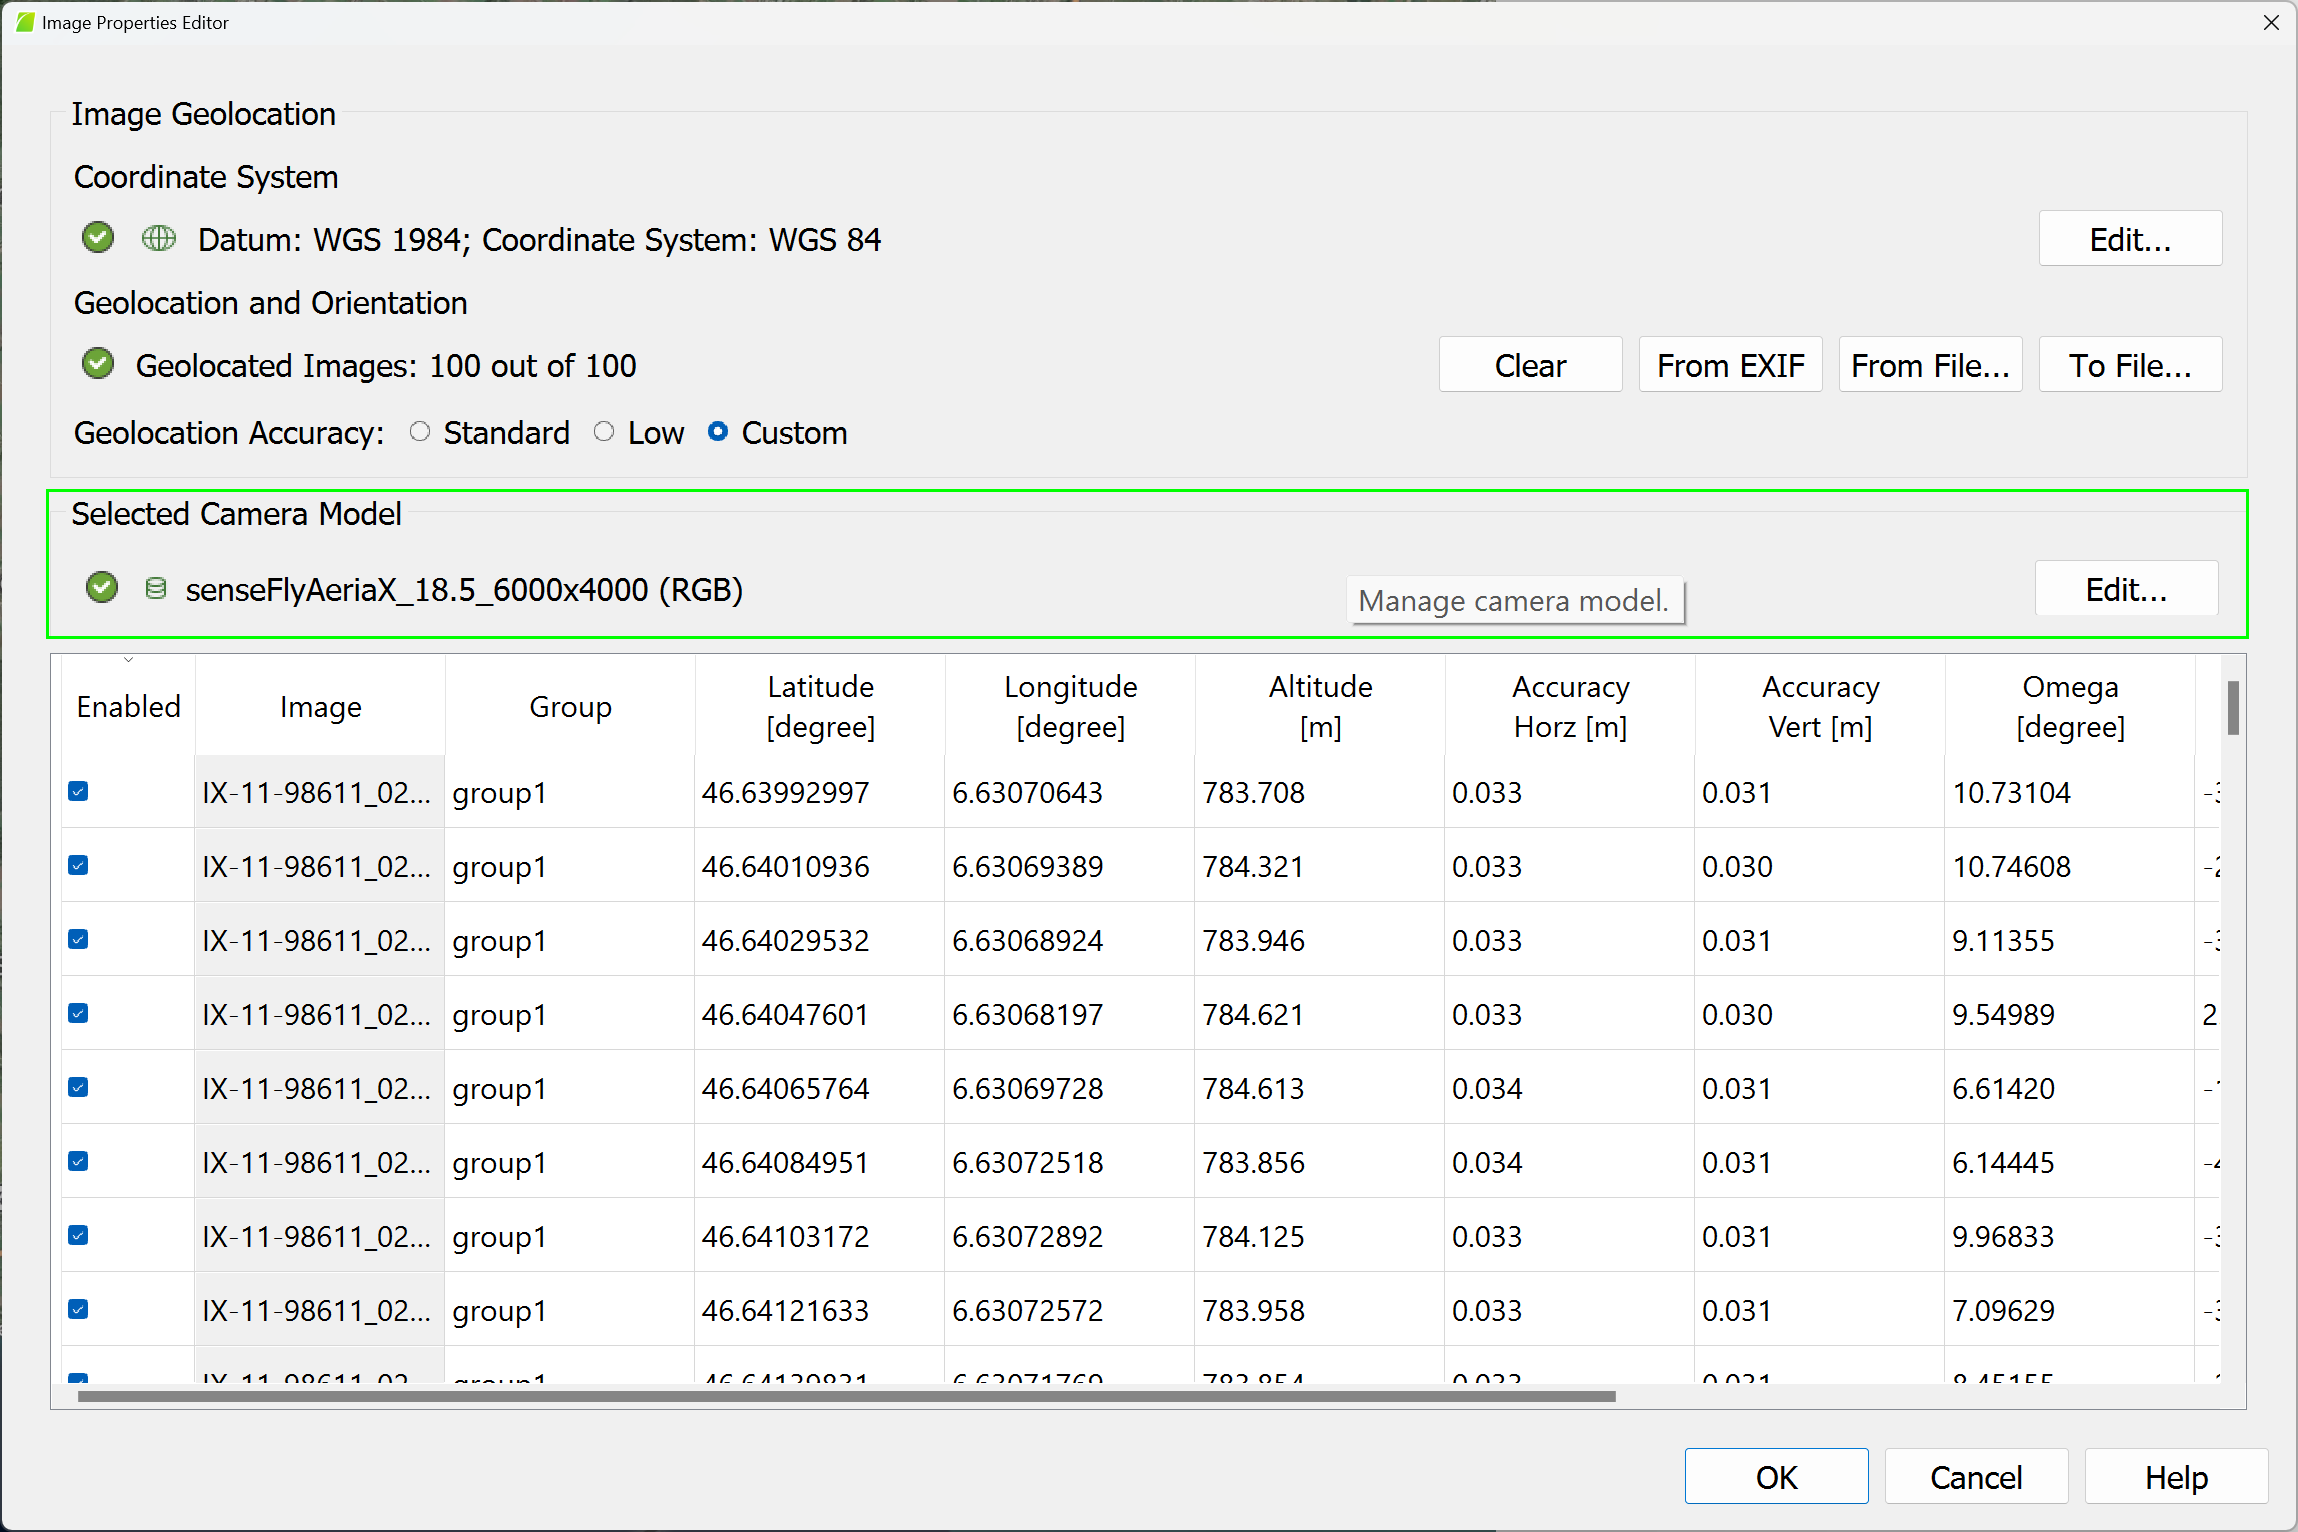
The Selected Camera Model section in PIX4Dmapper is used to describe the selected camera model(s) associated with the images.
The status indicator is represented with the left icon:
 : The camera model is valid if it is retrieved from PIX4Dmapper's camera model database, from the user's camera model database, from a project file, or from the image EXIF data if enough information exists in the data.
 : The camera model is invalid if the camera model does not correspond to any model of the camera model databases and if the EXIF data of the images does not have sufficient information about the camera model.
On the right of the status indicator, there is an icon that describes the source of the camera model:
 : Camera model taken from the PIX4Dmapper's camera model database.
 : Camera model taken from the PIX4Dmapper's camera model database with some user-edited values.
 : Camera model taken from the user's camera model database.
![]() : Camera model taken from the image EXIF data when the camera model does not exist in the PIX4Dmapper's or the user's database and there is valid information in the EXIF data.
: Camera model taken from the image EXIF data when the camera model does not exist in the PIX4Dmapper's or the user's database and there is valid information in the EXIF data. : Camera model taken from the .p4d project file when a .p4d file is opened and its camera model does not exist in the PIX4Dmapper's or the user's database.
Beside the status indicator, appears the EXIF ID (CameraModel_ FocalLength_ResolutionWidthxResolutionHeight) and the band configuration.
On the right of the Selected Camera Model section, there are the following buttons:
- Edit...: Opens the Edit Camera Model pop-up which allows the user to edit the corresponding camera model. For more information about the Edit Camera Model window: Menu Project > Image Properties Editor... > Selected Camera Model > Edit Camera Model.
- Assign (optional): Appears if more than one camera model is detected (e.g. multiple flights with different cameras or merged projects). By clicking it, the corresponding camera model is assigned to other detected camera models that have the same image width and height.