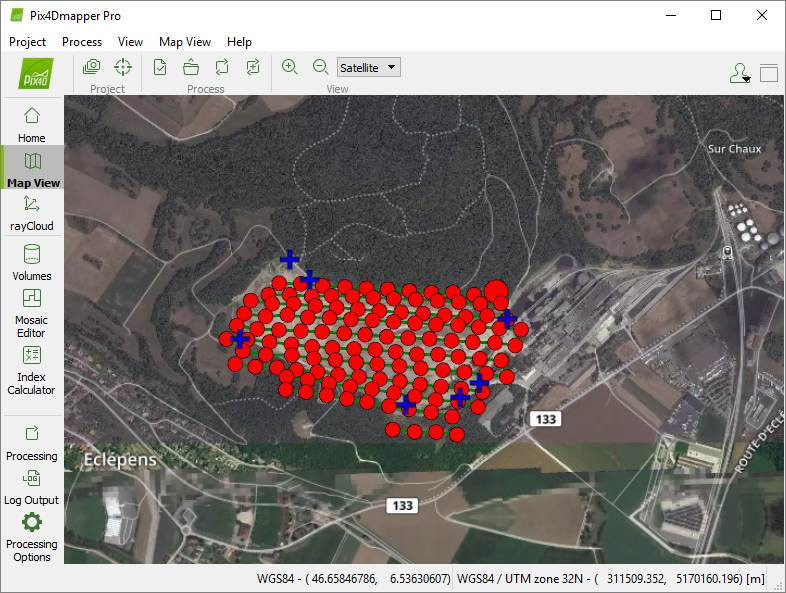
Once the project is created, the Map View is displayed.
There are some optional steps that can be done before processing:
1. (optional) Selecting the Processing Area
By default, the area selected for processing corresponds to the entire area covered by all the images that are calibrated. It is possible to restrict the processing area to the area of interest, but it is not compulsory. This option can be useful to generate the outputs only for an area of interest instead of the entire area.
For step by step instructions about creating a Processing Area: How to use a processing area in PIX4Dmapper.
2. (optional) Changing the Processing Options Template and / or the Process Options
Change the output results files (types and format), change some processing options to improve the quality of the results when needed, or change some processing options for advanced use. For more information: How to change the processing options.
3. (optional) Adding GCPs
Add Ground Control Points (GCPs) to improve the global accuracy of the project (georeference). GCPs can be measured in the field using topographic methods, taken from existing geospatial data or Web Map Service (WMS).
If no Ground Control Points are used:
- The final results are not scaled, oriented or georeferenced. Therefore they cannot be used for measurements, overlay, and comparison with previous results.
- They may produce an inverted 3D model in the rayCloud.
- The final 3D model may be shifted (this problem can be corrected using Manual Tie Points: How to import and mark Manual Tie Points (MTPs)).
For step by step instructions about how to include GCPs in the project: How to include GCPs in the project.