IN THIS ARTICLE
How to create a video animation
To create a video animation, at least two Views must be set up. These Views act as waypoints that define the path of the virtual camera, which moves smoothly from one View to another. The animation is generated by interpolating the camera’s position and orientation between these Views, creating the effect of a continuous fly-through.
To use the Videos and Views tool:
- Click on the
 Videos & Views tab in the bottom right corner.
 - Navigate in the 3D view to the desired location.
- Save the current view by clicking on Save current view or using the Ctrl+B keyboard shortcut.
- The first view is created and added to the Views list.

- Navigate to the next desired viewpoint in 3D and repeat the procedure to save the next view.
- Repeat as needed.
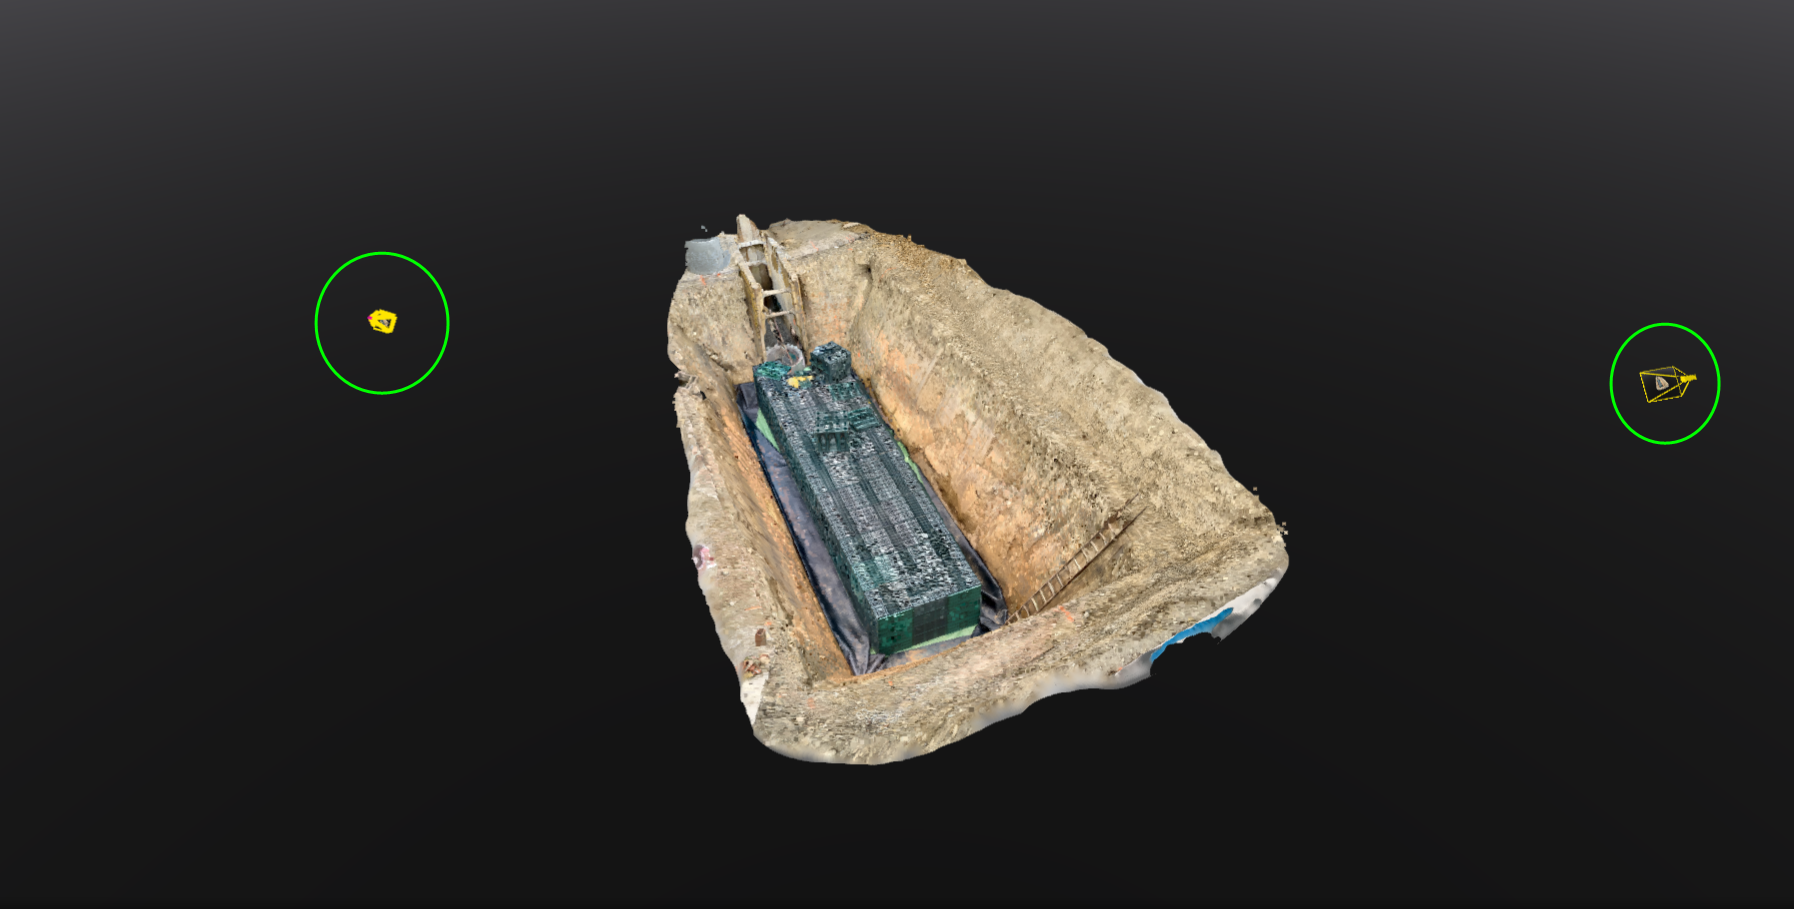
- A yellow camera will be created in the 3D view, showing the location and orientation of each view.
- Each View can be edited to change the name and add an optional description.
- Click on Create Animation.
- All the camera Views
- The path of the virtual camera
- Pause and Play button for the preview of the video animation.
- The video animation settings.

Settings
| Video animation settings | |
| Duration[s] | Sets the duration of the video in seconds. |
| Interpolation | Controls transition smoothness with either Constant speed or Constant time between keyframes. |
| Frame rate [fps] | Adjusts frames per second for motion fluidity. |
| Resolution [px] | Sets video clarity in pixels, in 480p, 720p, 1080p, 2K, or 4K. |
| Quality | Adjusts compression between Very high, High, Medium, and Low. |
| Destination | Specifies the video saving or sharing location. |
| Logo | Add a custom logo in the video |
Export
After creating the Views and modifying the video animation settings, click on Export video to export the video animation to the location identified in the Destination setting. The status bar will be updated with the progress of the export. After the export is complete, a .webm file will be created in the desired location for further use.
The .webm file format is widely supported and can be opened with most modern web browsers. This compatibility allows you to easily view your video animation without the need for additional software or plugins.
Since version 1.78 is possible to export the trajectory used to create the animation. The file extension of this file is .json.