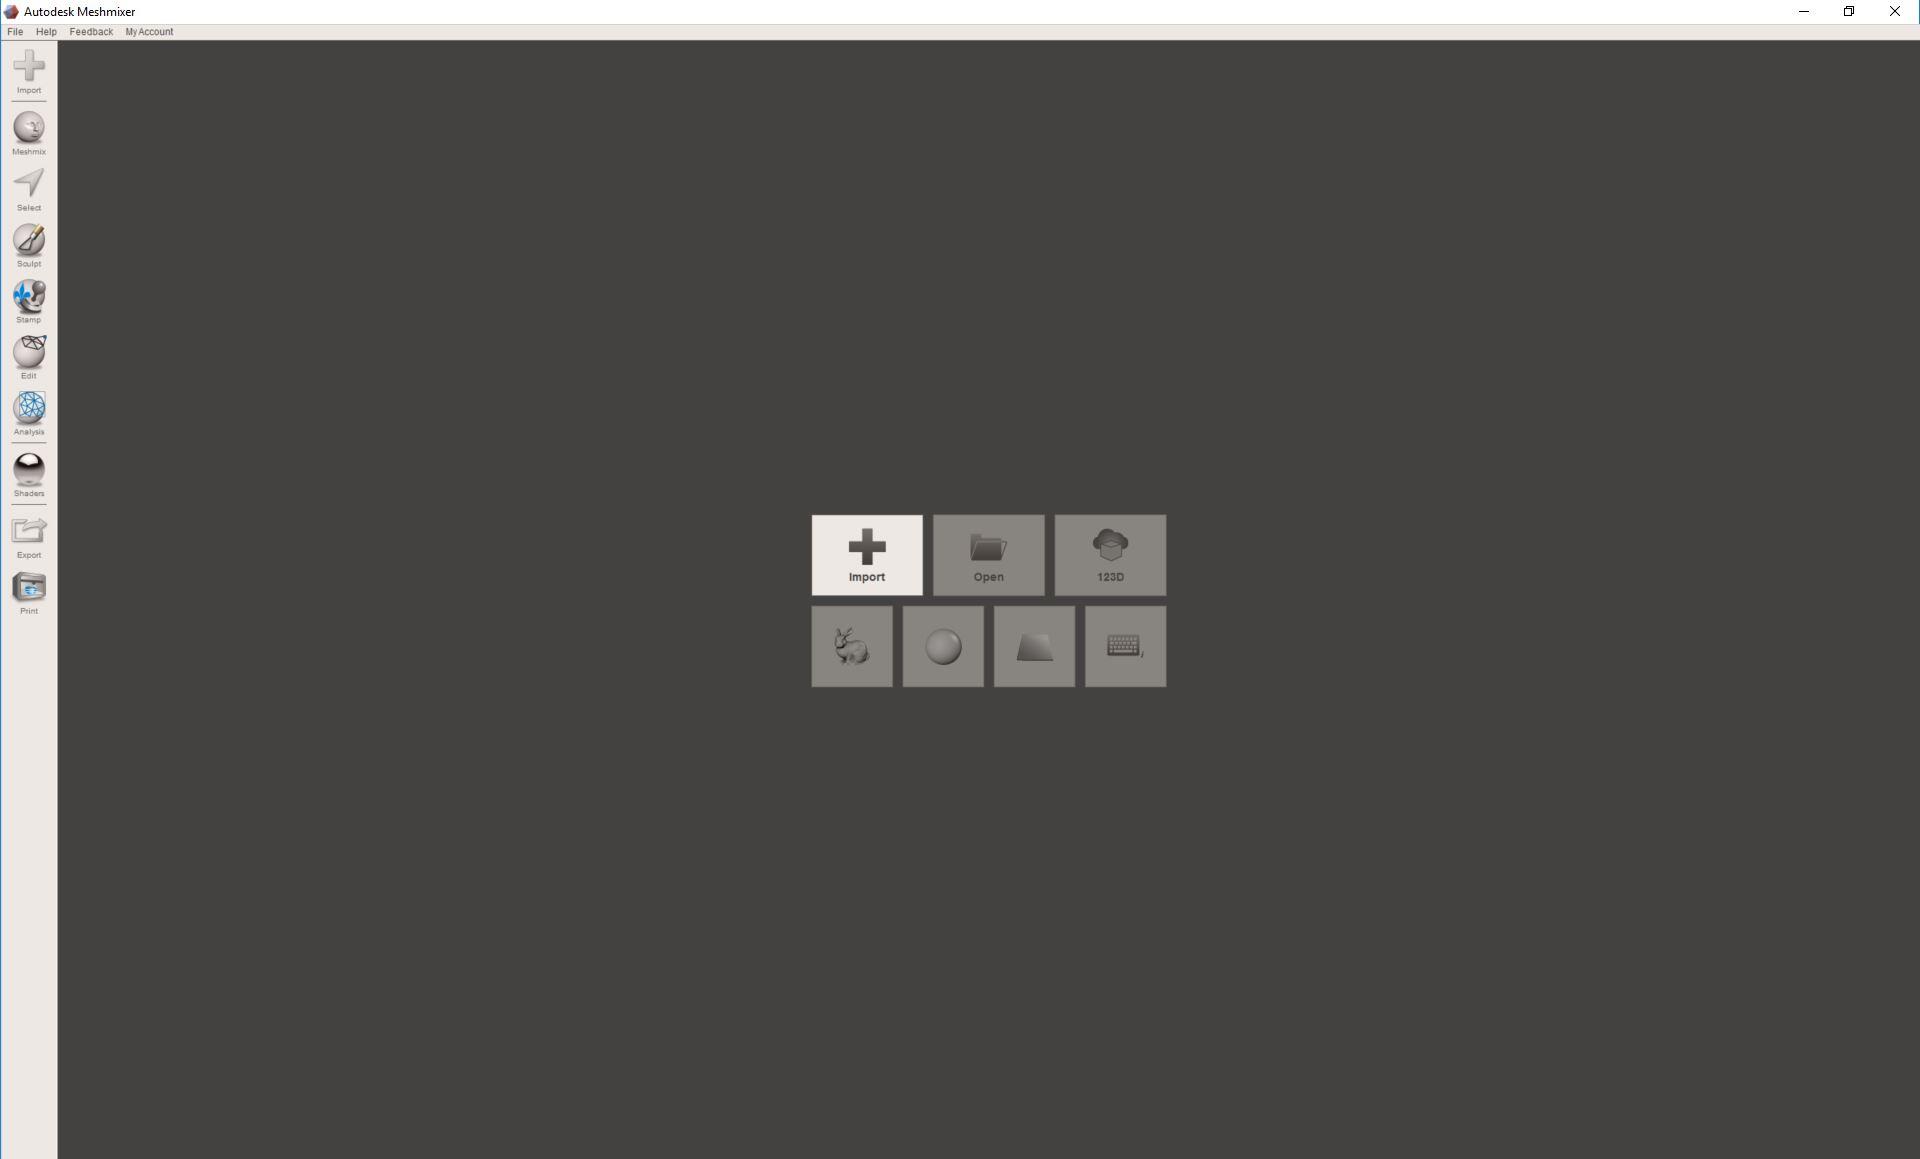
1. Open MeshMixer.
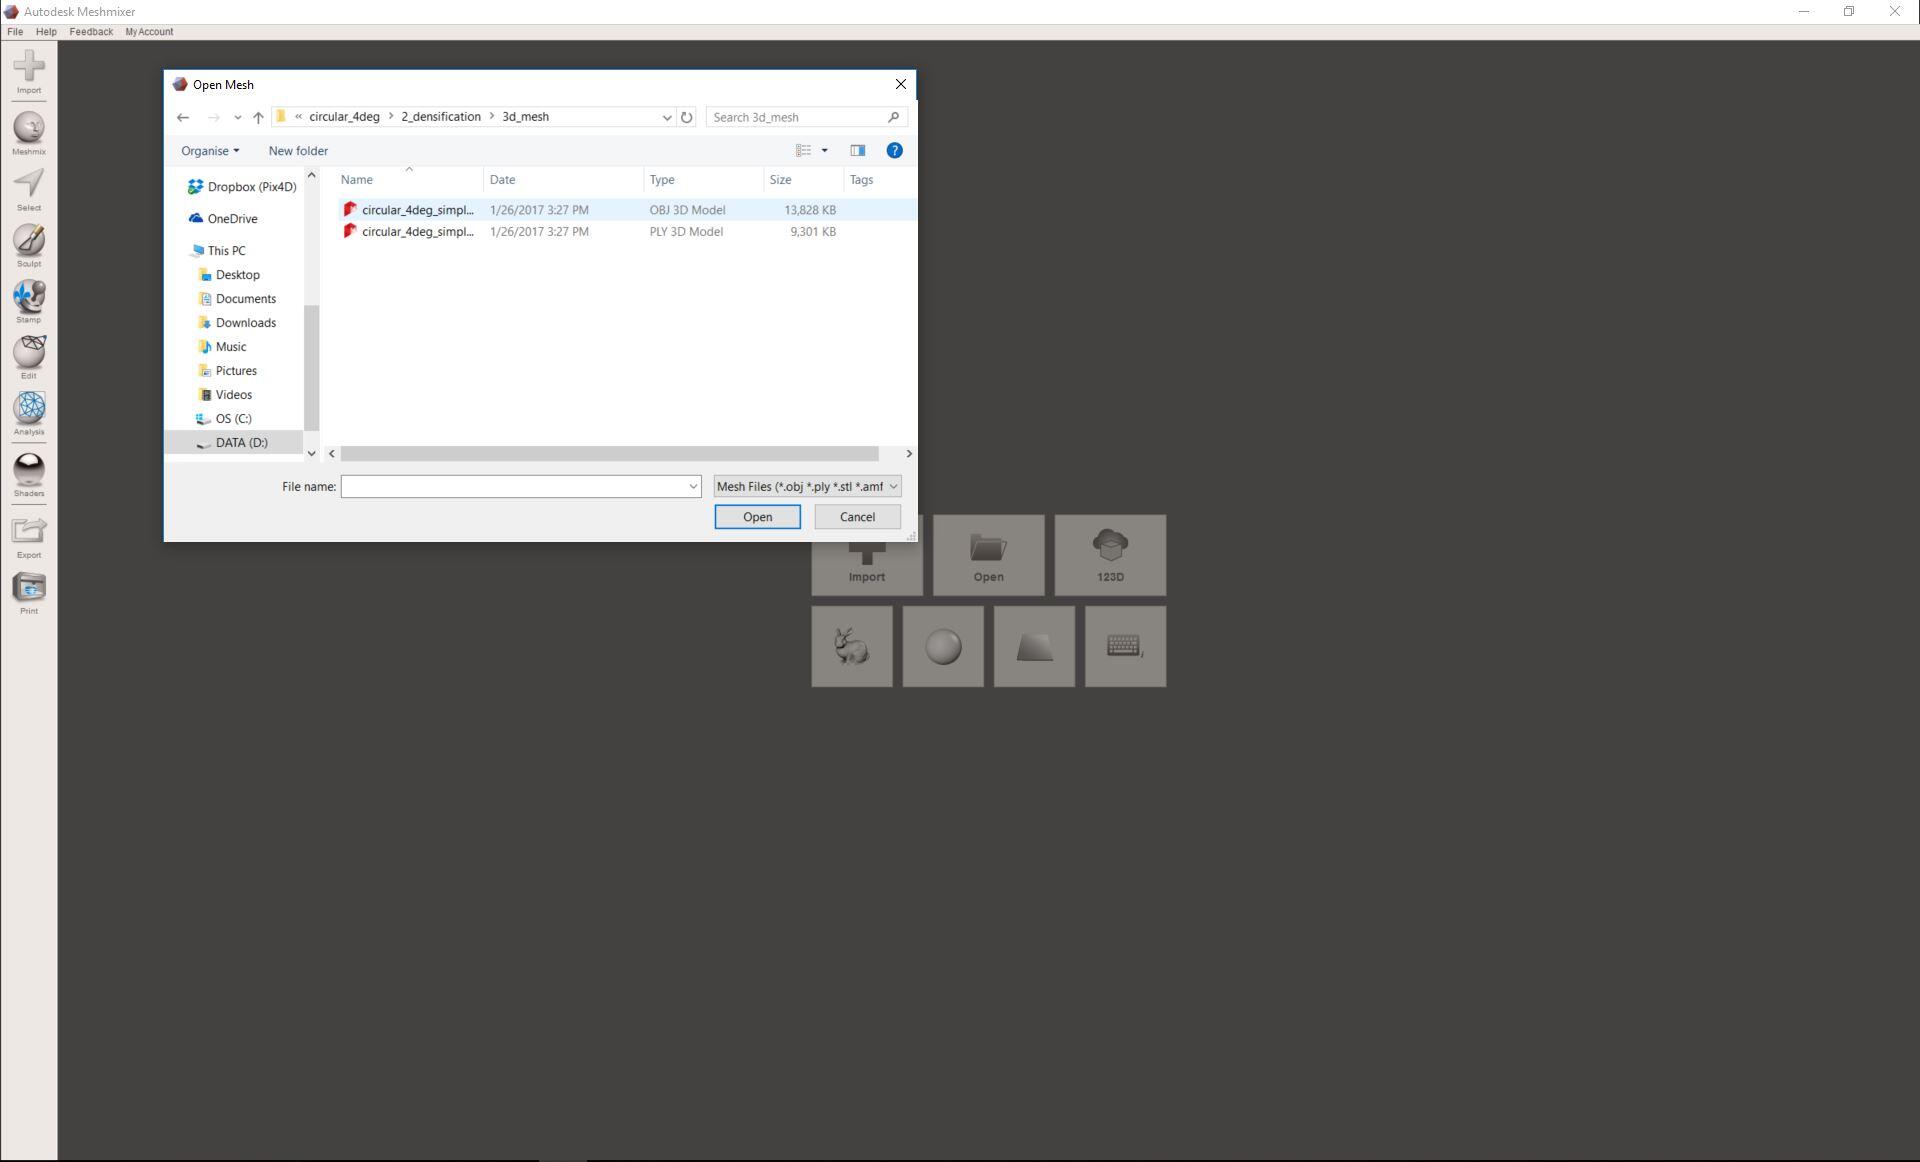
2. Click + and navigate to the folder to import the .obj or .ply file.
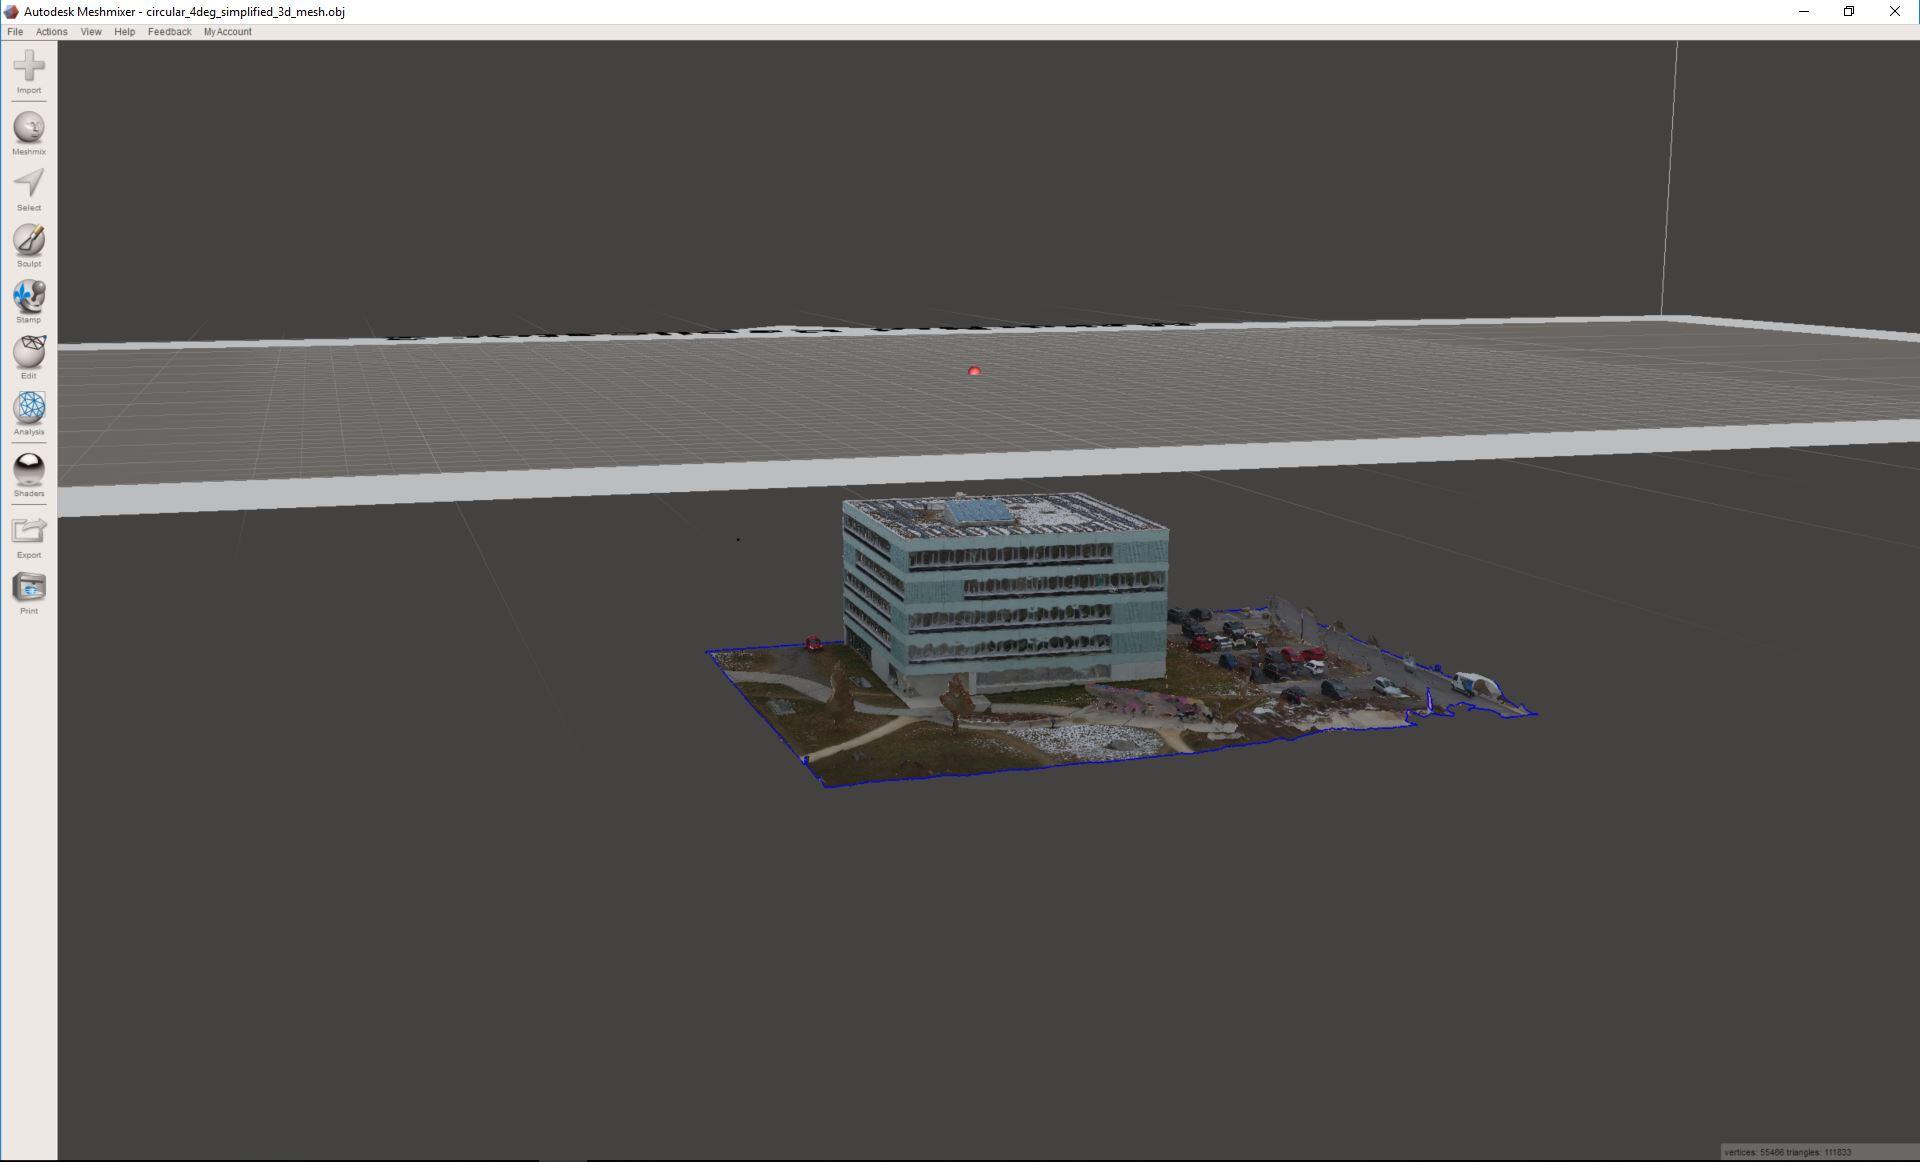
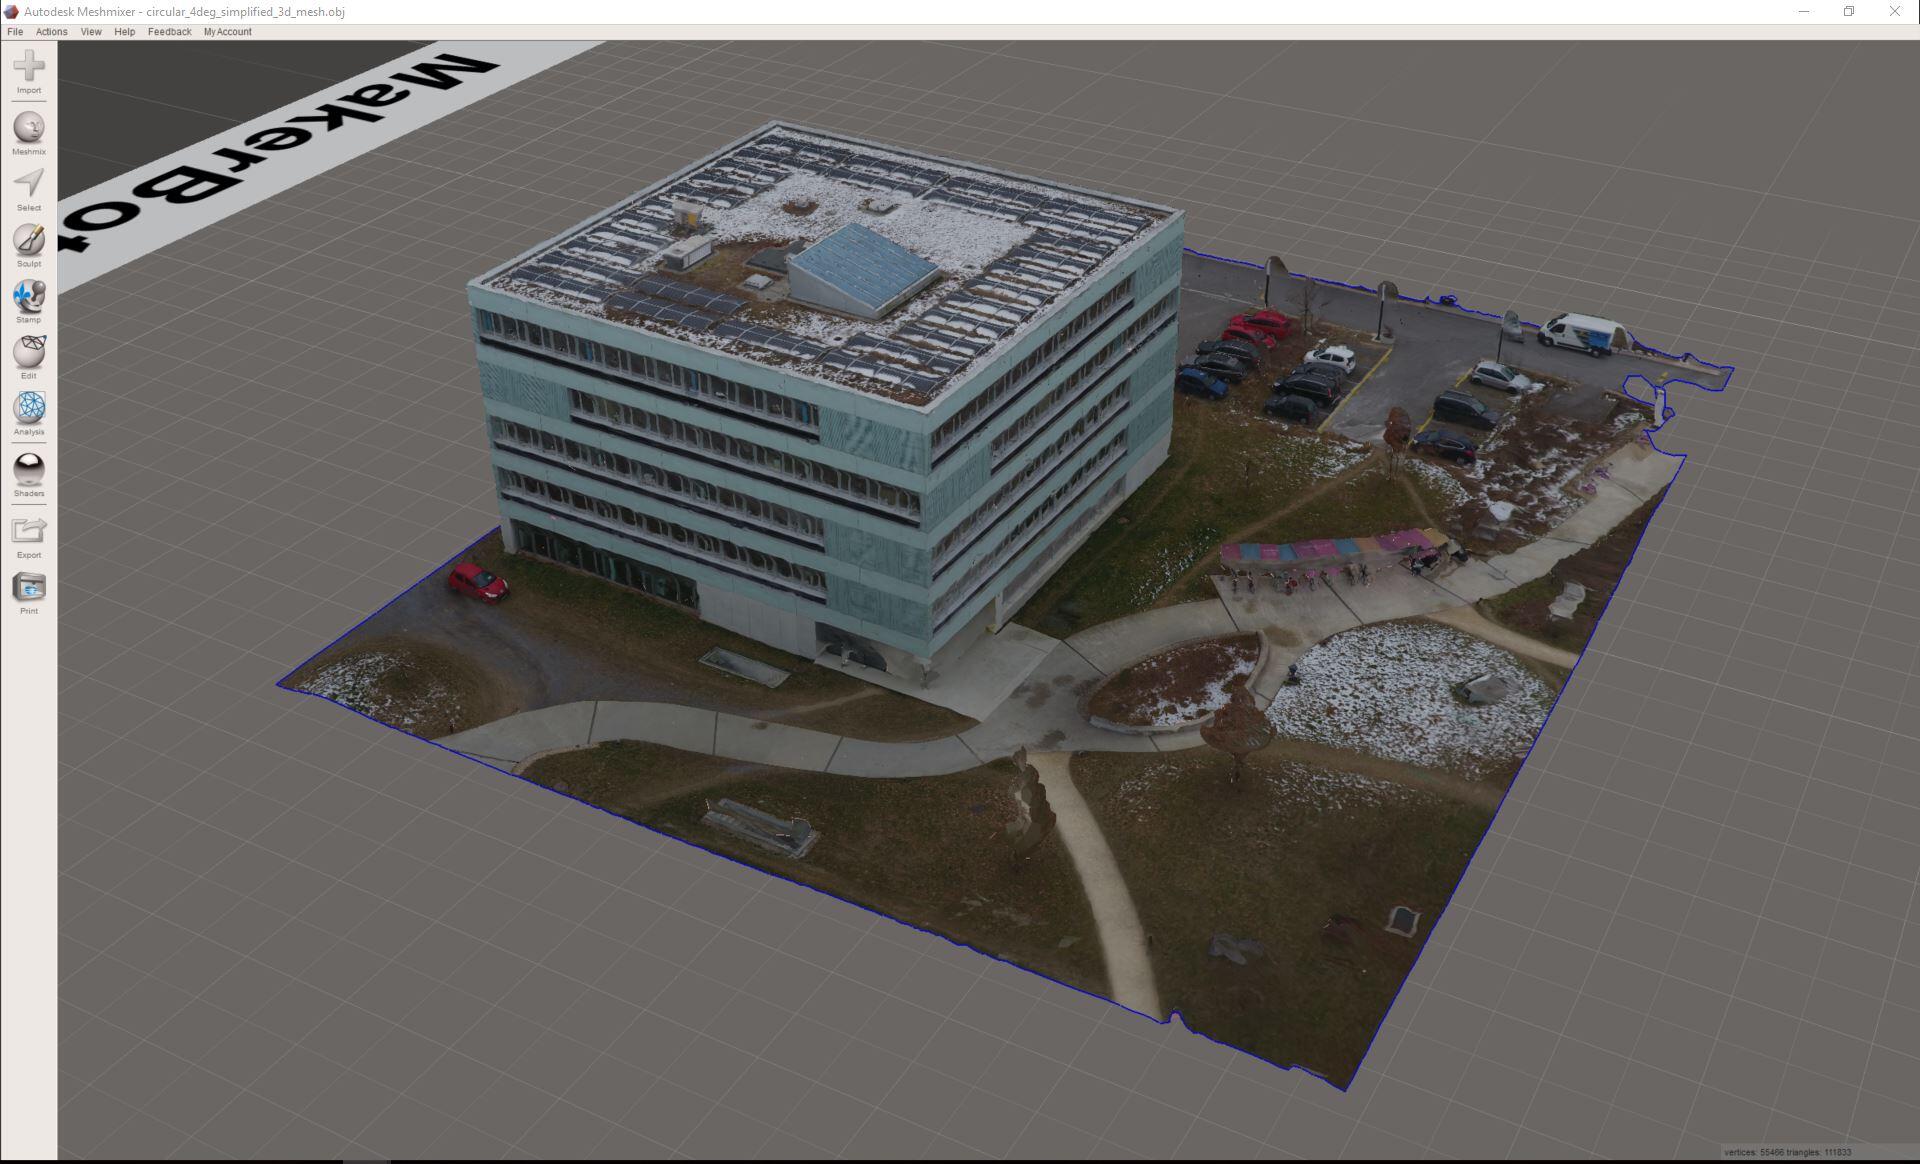
3. The 3D Textured Mesh is displayed under the x axis.
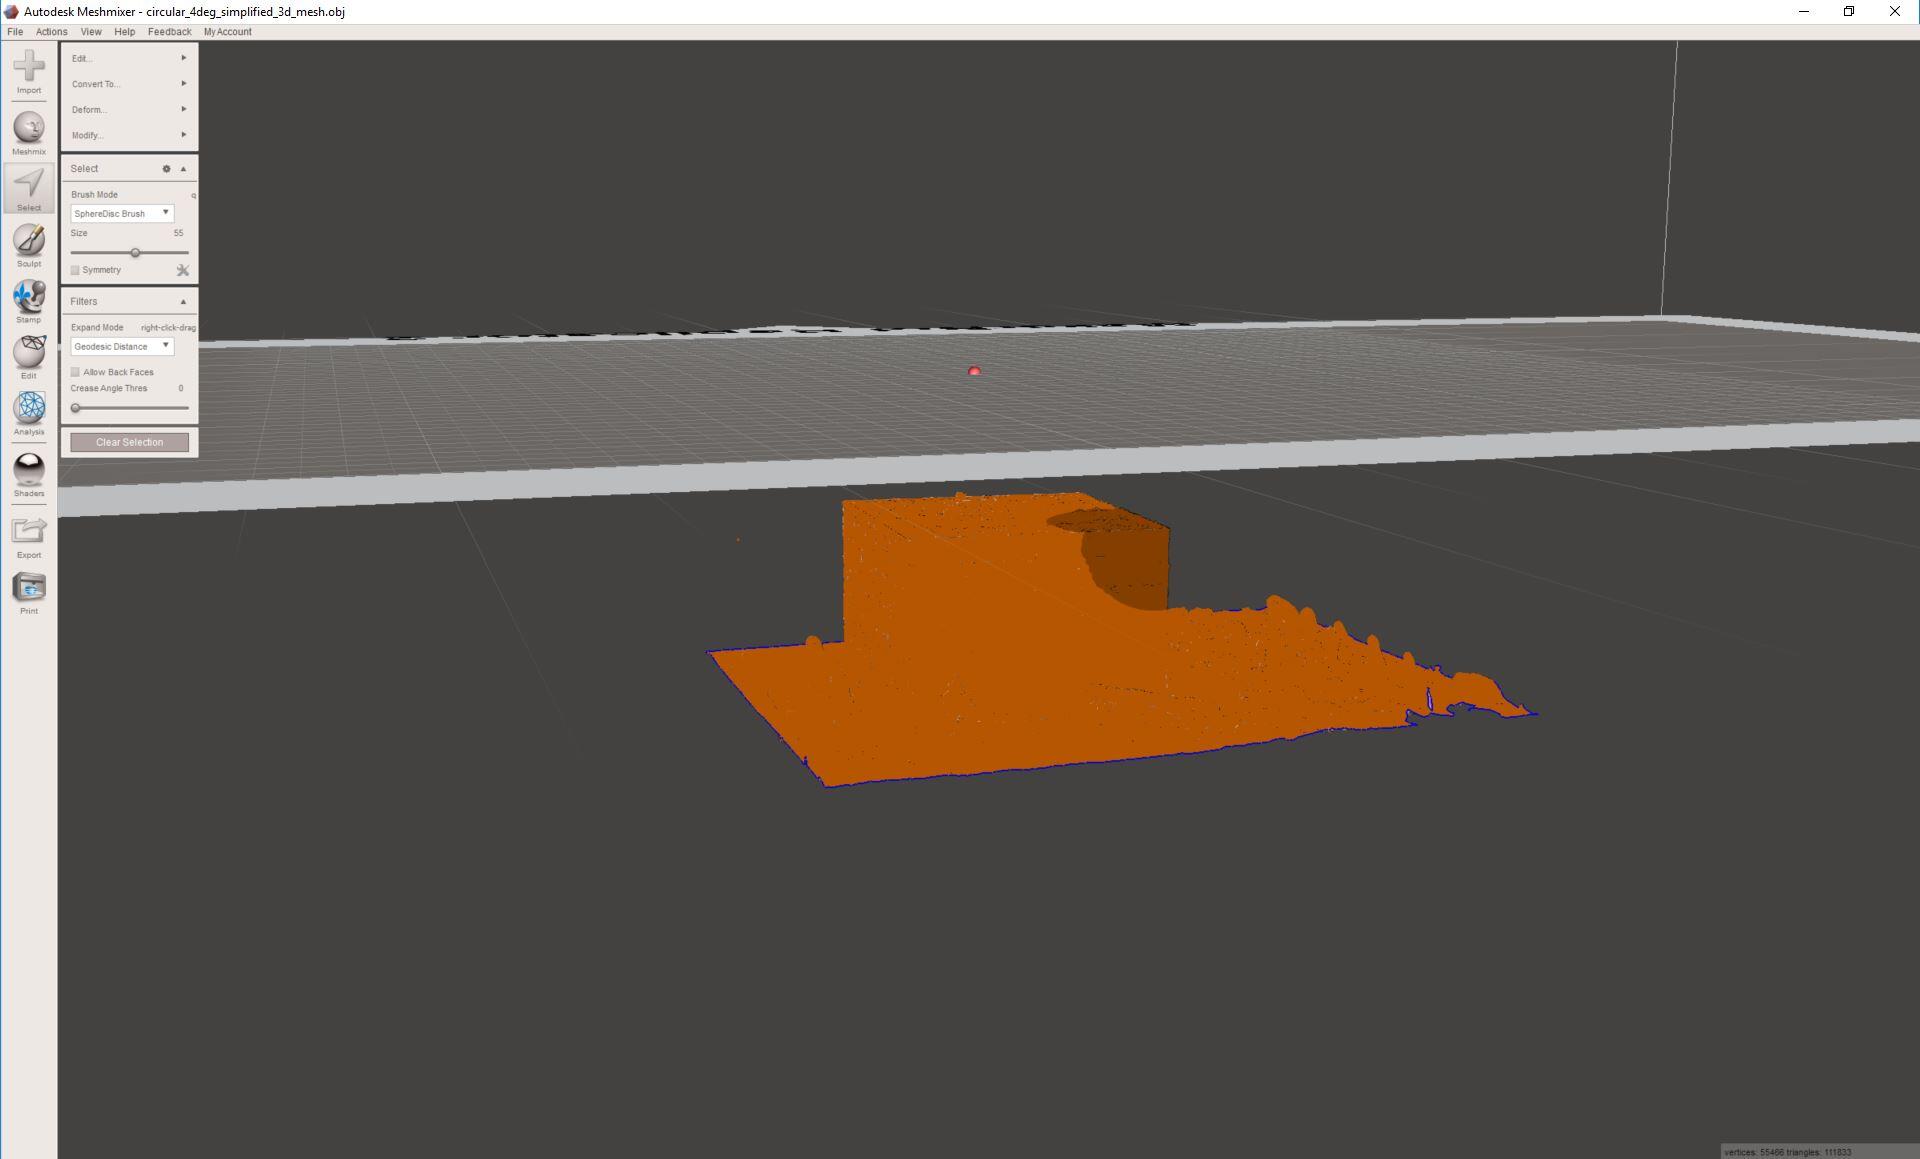
4. Press CRTL+A on the keyboard to select the whole 3D Textured Mesh.
5. Press
T on the keyboard to activate the transform tool, to change the position of the 3D Textured Mesh, the angle or scale.
6. Place the mesh in the desired position and click Accept.
7. The mesh is correctly displayed.
Disclaimer: Pix4D publishes this information as a courtesy to its customers. Pix4D makes no warranty of any kind, expressed or implied, with respect to the content's validity or accuracy.