
IN THIS ARTICLE
What is a clipping box?
Where can the clipping box be activated?
Can the size be adjusted?
What is affected by the clipping box?
What is a clipping box?
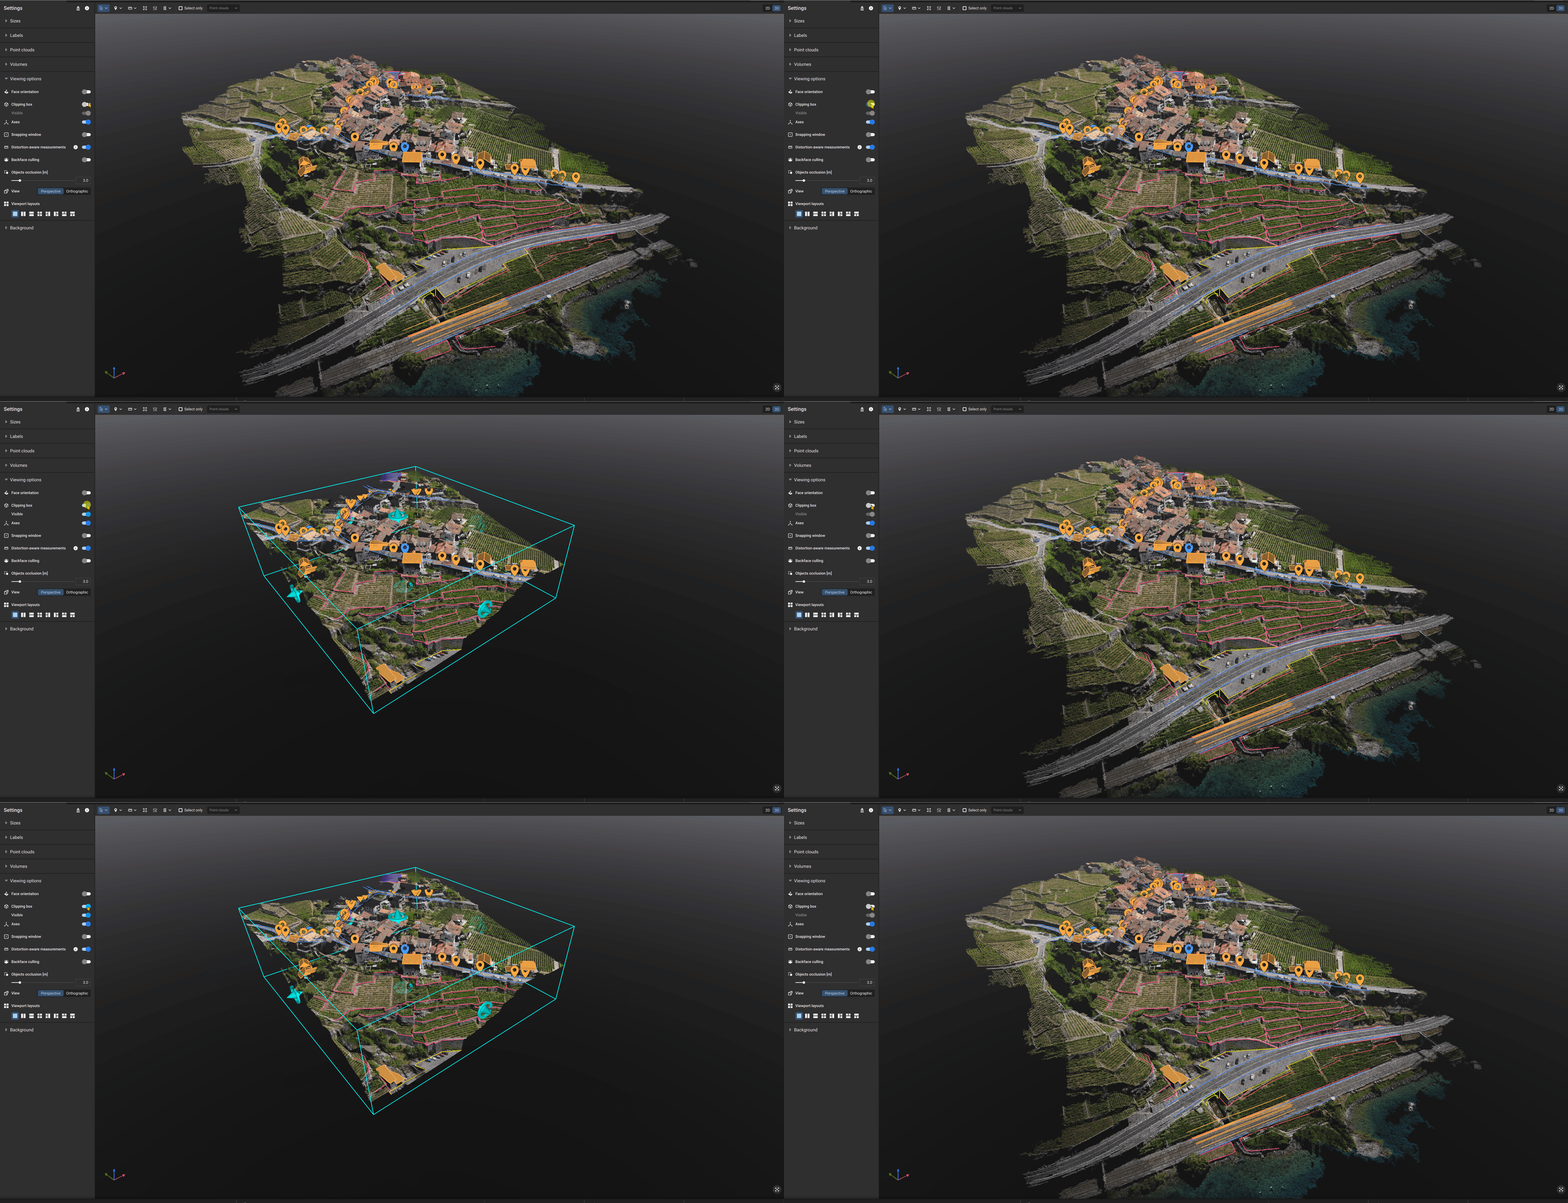
The clipping box is a visualization tool that restricts the 3D view to the area contained within a defined box. Everything inside the box remains visible, while data outside the box is temporarily hidden.
Where can the clipping box be activated?
The clipping box can be activated in different ways:
-
Via the menu: Settings > Viewing options > Clipping box. This option enables the clipping box and displays the default box in the 3D view.
-
By using a geometry to create a clipping box by right-clicking in the 3D view. In this case, a selected geometry (for example, a polygon or polyline) defines the extent of the clipping box, which is then created around that area.
Once the clipping box is adjusted to the area of interest, its display can be enabled or disabled. When the display is disabled, the box itself is hidden, but the clipping remains active in the background, so only the content inside the defined volume is still shown in the 3D view.
Can the size be adjusted?
Yes. The size of the clipping box can be adjusted using the arrows around the box. These arrows allow resizing the box along each axis to match the desired extent. By refining the visible area, it is possible to inspect data in more detail and isolate specific areas of the point cloud.
What is affected by the clipping box?
The clipping box affects the visualization of 3D data in the view. Only elements contained within the box are displayed, including point clouds, meshes, and other 3D layers that support clipping. Data outside the box is not deleted or modified; it is only hidden for display purposes and remains available when the clipping box is disabled or reset.